One of the benefits using the Open API Extension for Azure Functions is that it significantly increases the discoverability of the Azure Function app. By taking this benefits, we can easily create a custom connector that is integrated with either Azure Logic Apps or Power Platform. Throughout this post, I'm going to discuss how to integrate the Open API extension with Azure Functions, create a custom connector, and apply the connector to Power Automate and Power Apps.
Sample Azure Function App
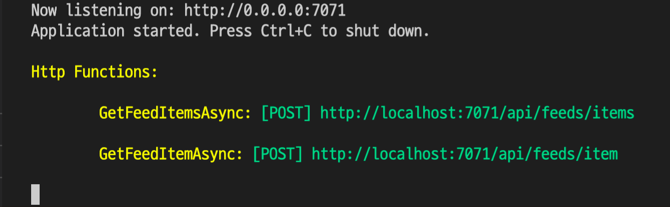
Here's the sample Azure Function app that has two endpoints of /feeds/items and /feeds/item (line #7, 15).
| namespace FeedReaders.FunctionApp | |
| { | |
| public static class FeedReaderHttpTrigger | |
| { | |
| [FunctionName(nameof(FeedReaderHttpTrigger.GetFeedItemsAsync))] | |
| public static async Task<IActionResult> GetFeedItemsAsync( | |
| [HttpTrigger(AuthorizationLevel.Function, "post", Route = "feeds/items")] HttpRequest req, | |
| ILogger log) | |
| { | |
| ... | |
| } | |
| [FunctionName(nameof(FeedReaderHttpTrigger.GetFeedItemAsync))] | |
| public async Task<IActionResult> GetFeedItemAsync( | |
| [HttpTrigger(AuthorizationLevel.Function, "post", Route = "feeds/item")] HttpRequest req, | |
| ILogger log) | |
| { | |
| ... | |
| } | |
| } | |
| } |
When you run the app, it shows the two endpoints like below, obviously:
Installing NuGet Package
First of all, install the NuGet package to enable Open API document feature onto the Azure Functions app.
| dotnet add <PROJECT> package Aliencube.AzureFunctions.Extensions.OpenApi |
Installing Boilerplate Codes
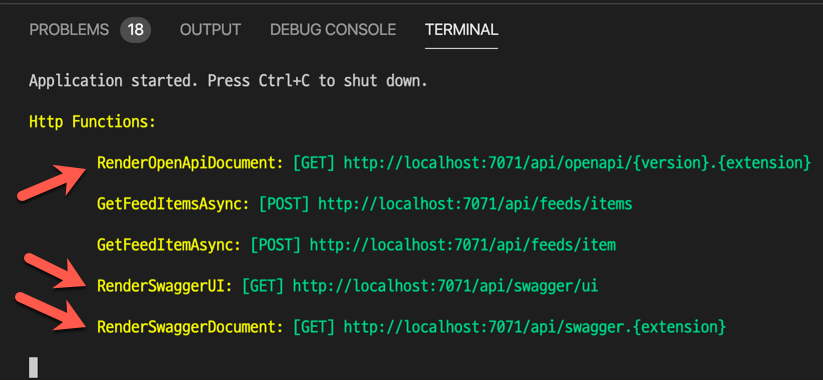
In fact, we don't need to do anything further to write the boilerplate codes any longer. Therefore, simply build the app and run it locally. Then, you'll be able to see the additional three endpoints that represent Open API document and UI.
Pick up the endpoint of http://localhost:7071/api/swagger/ui and run it on your web browser.
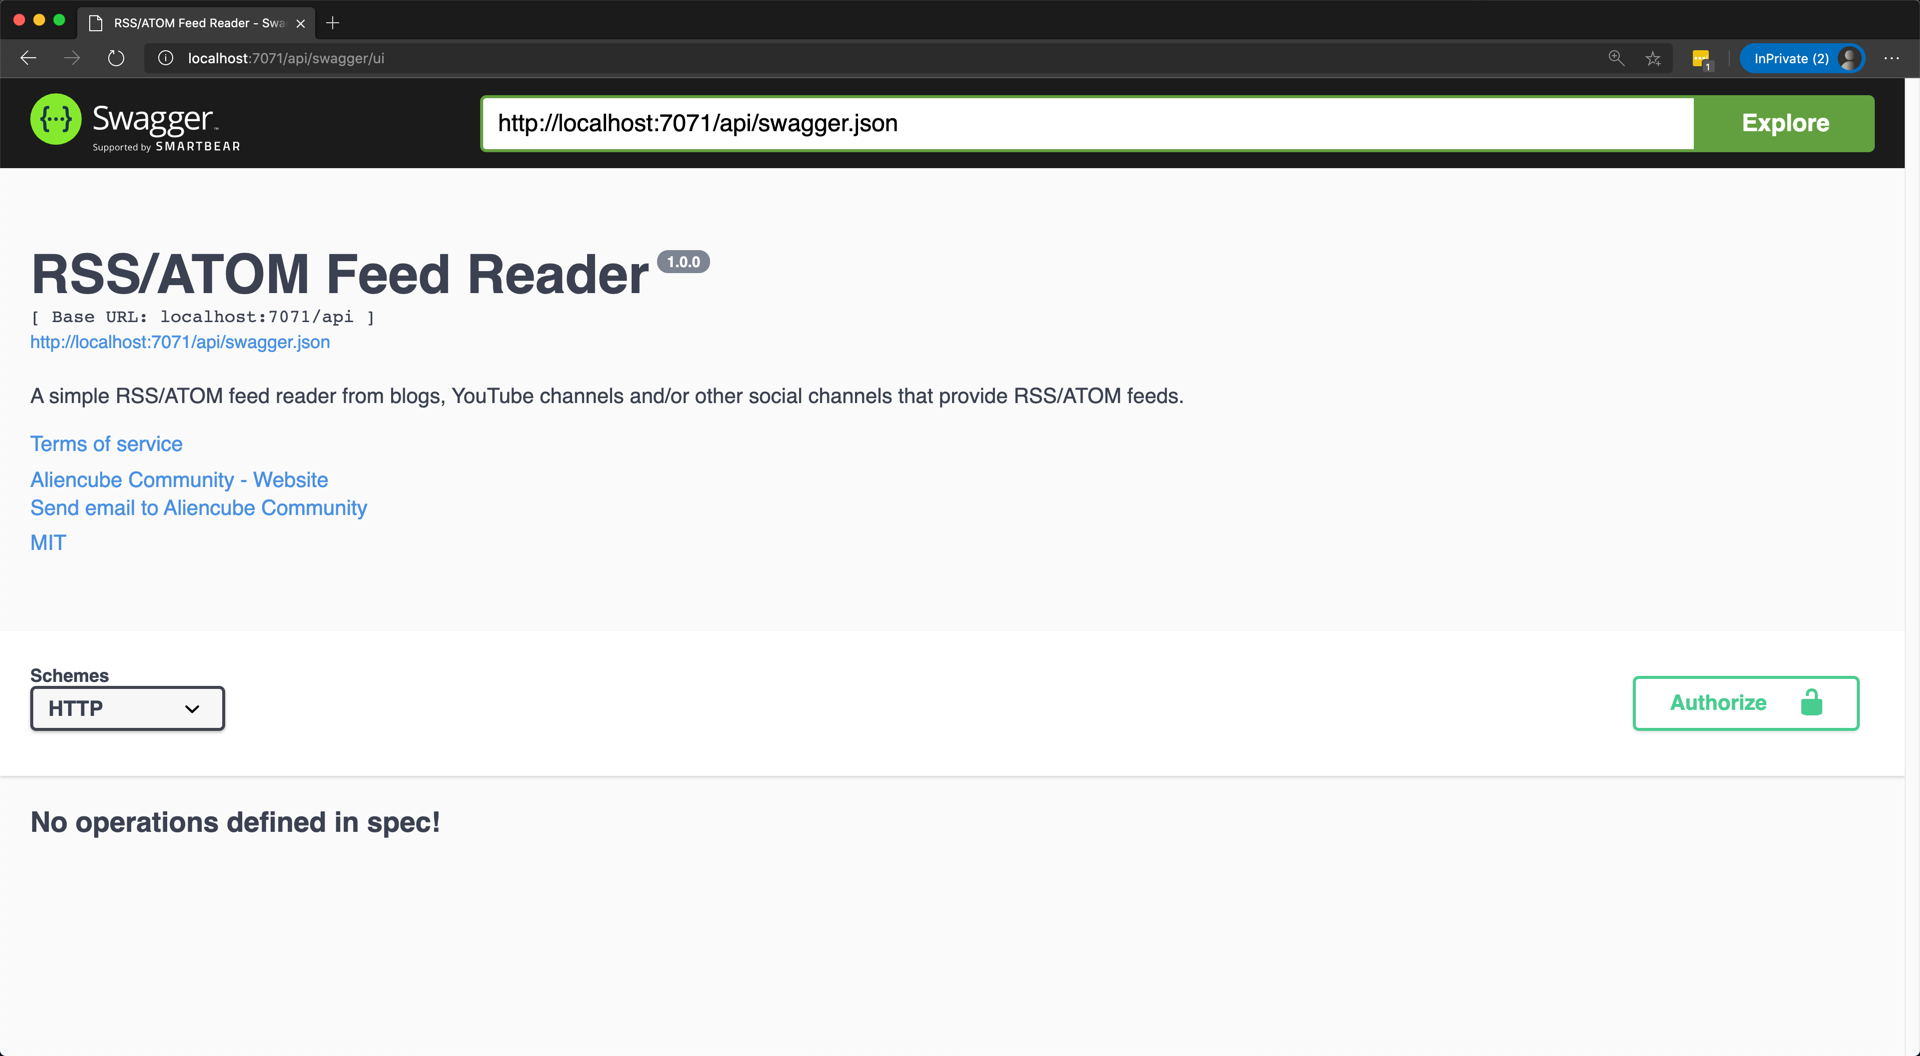
Oops, we've got the Swagger UI page, but no endpoint is showing up, because we haven't let the Swagger know.
Decorating Endpoints for Open API Extension
Use the decorators to let the Swagger know they are endpoints. We use the decorators of OpenApiOperation, OpenApiRequestBody and OpenApiResponseBody(line #2-4, 13-15).
| [FunctionName(nameof(FeedReaderHttpTrigger.GetFeedItemsAsync))] | |
| [OpenApiOperation(operationId: "getFeedItems", tags: new[] { "feedItem" }, Summary = "Gets a list of feed items from the given feed", Description = "This operation returns a list of feed items from the given feed URI.", Visibility = OpenApiVisibilityType.Important)] | |
| [OpenApiRequestBody(contentType: "application/json", bodyType: typeof(FeedReaderRequest), Description = "Feed reader request payload")] | |
| [OpenApiResponseBody(statusCode: HttpStatusCode.OK, contentType: "application/json", bodyType: typeof(List<FeedReaderResponse>), Summary = "List of feed reader response payload")] | |
| public static async Task<IActionResult> GetFeedItemsAsync( | |
| [HttpTrigger(AuthorizationLevel.Function, "post", Route = "feeds/items")] HttpRequest req, | |
| ILogger log) | |
| { | |
| ... | |
| } | |
| [FunctionName(nameof(FeedReaderHttpTrigger.GetFeedItemAsync))] | |
| [OpenApiOperation(operationId: "getFeedItem", tags: new[] { "feedItem" }, Summary = "Gets a single feed item from the given feed", Description = "This operation returns a single feed item from the given feed URI.", Visibility = OpenApiVisibilityType.Important)] | |
| [OpenApiRequestBody(contentType: "application/json", bodyType: typeof(FeedReaderRequest), Description = "Feed reader request payload")] | |
| [OpenApiResponseBody(statusCode: HttpStatusCode.OK, contentType: "application/json", bodyType: typeof(FeedReaderResponse), Summary = "Feed reader response payload")] | |
| public async Task<IActionResult> GetFeedItemAsync( | |
| [HttpTrigger(AuthorizationLevel.Function, "post", Route = "feeds/item")] HttpRequest req, | |
| ILogger log) | |
| { | |
| ... | |
| } |
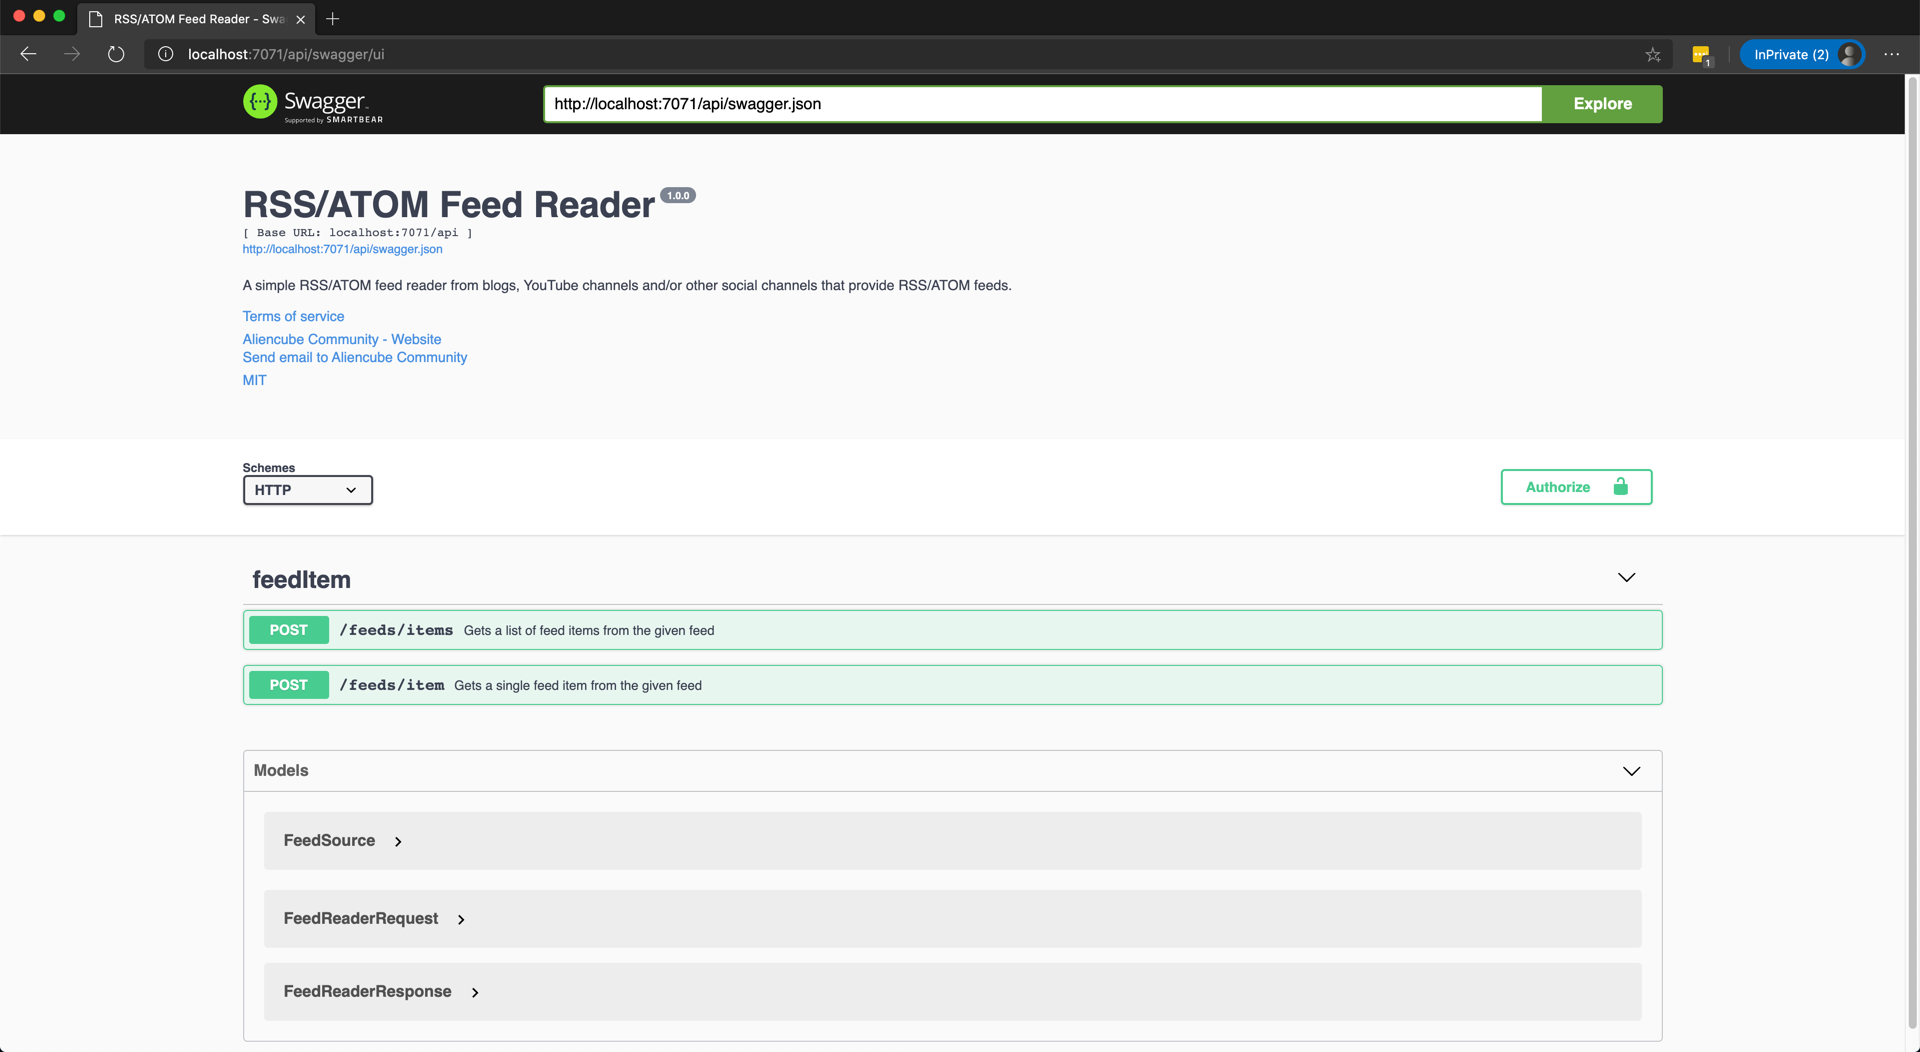
Once completed, build the app again and run it locally. Now you're able to see the Swagger UI with complete endpoints!
So, we've got the Open API integrated Azure Function app. Deploy it to Azure and check out the Swagger UI page on Azure.
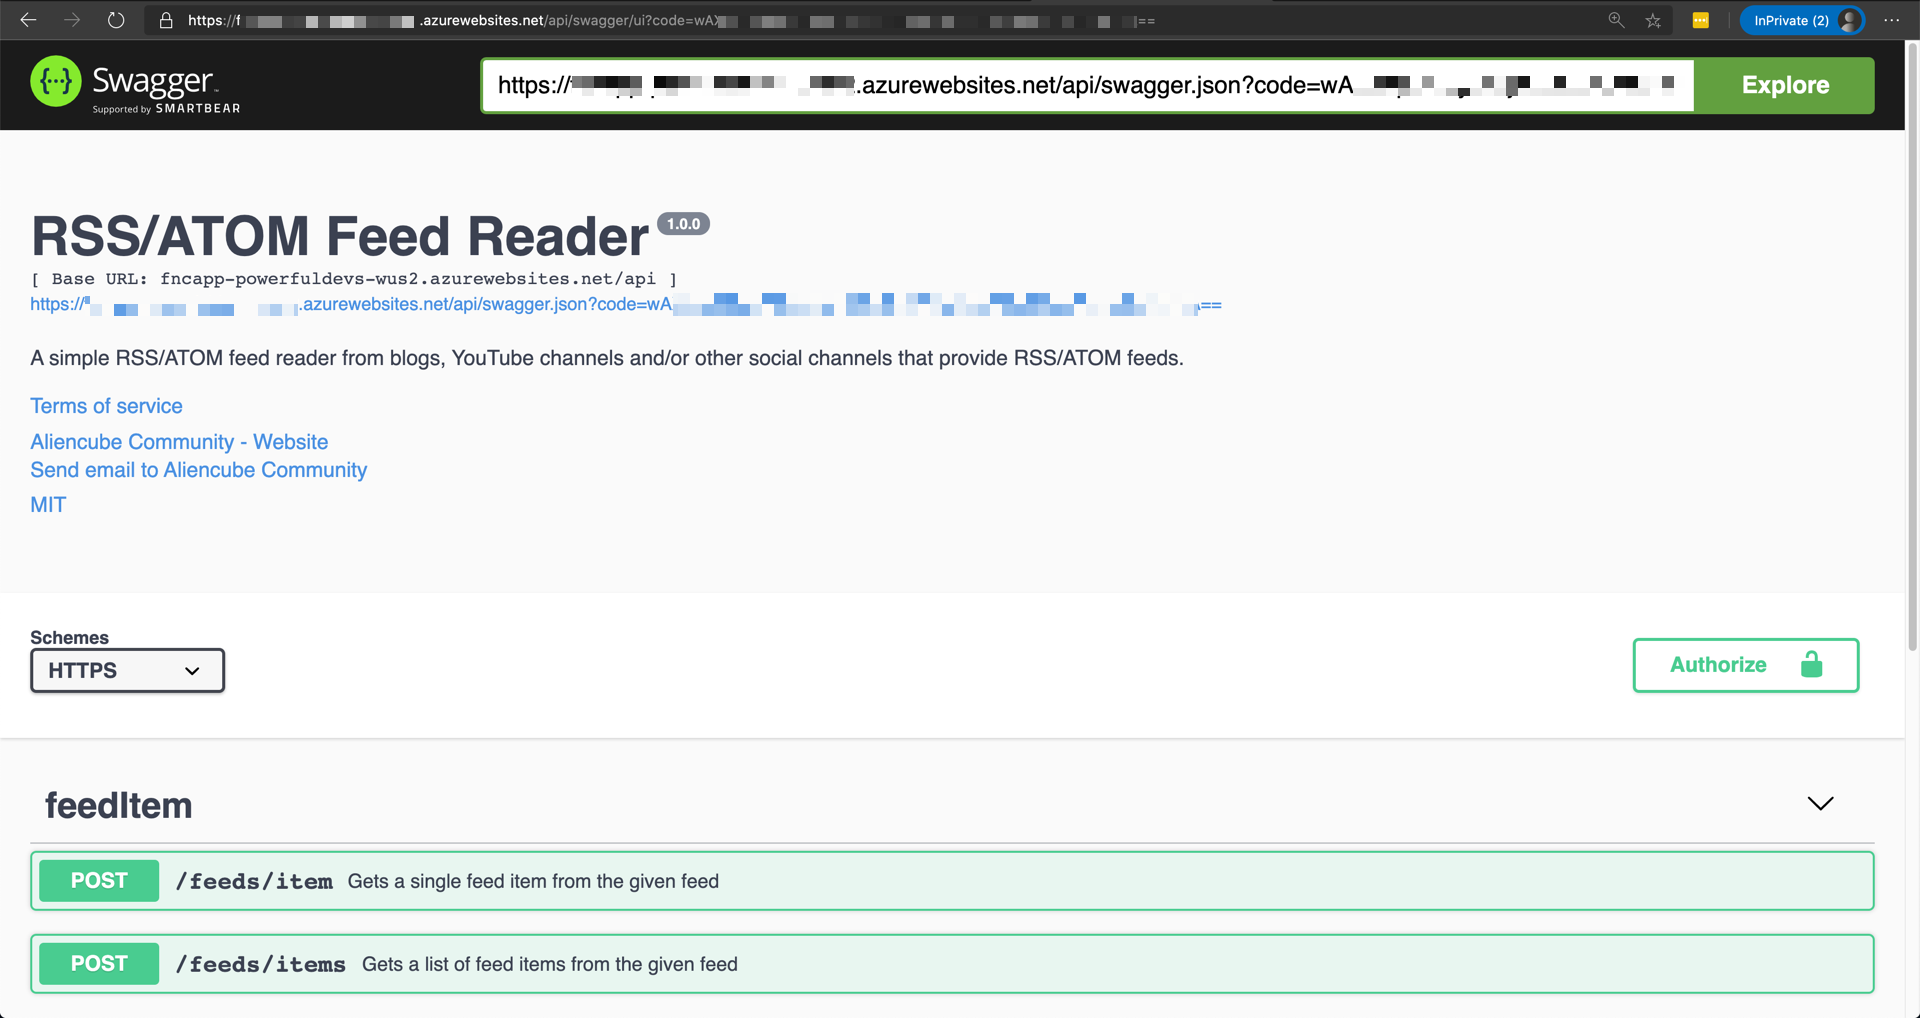
We're good to go for custom connectors! Let's move on.
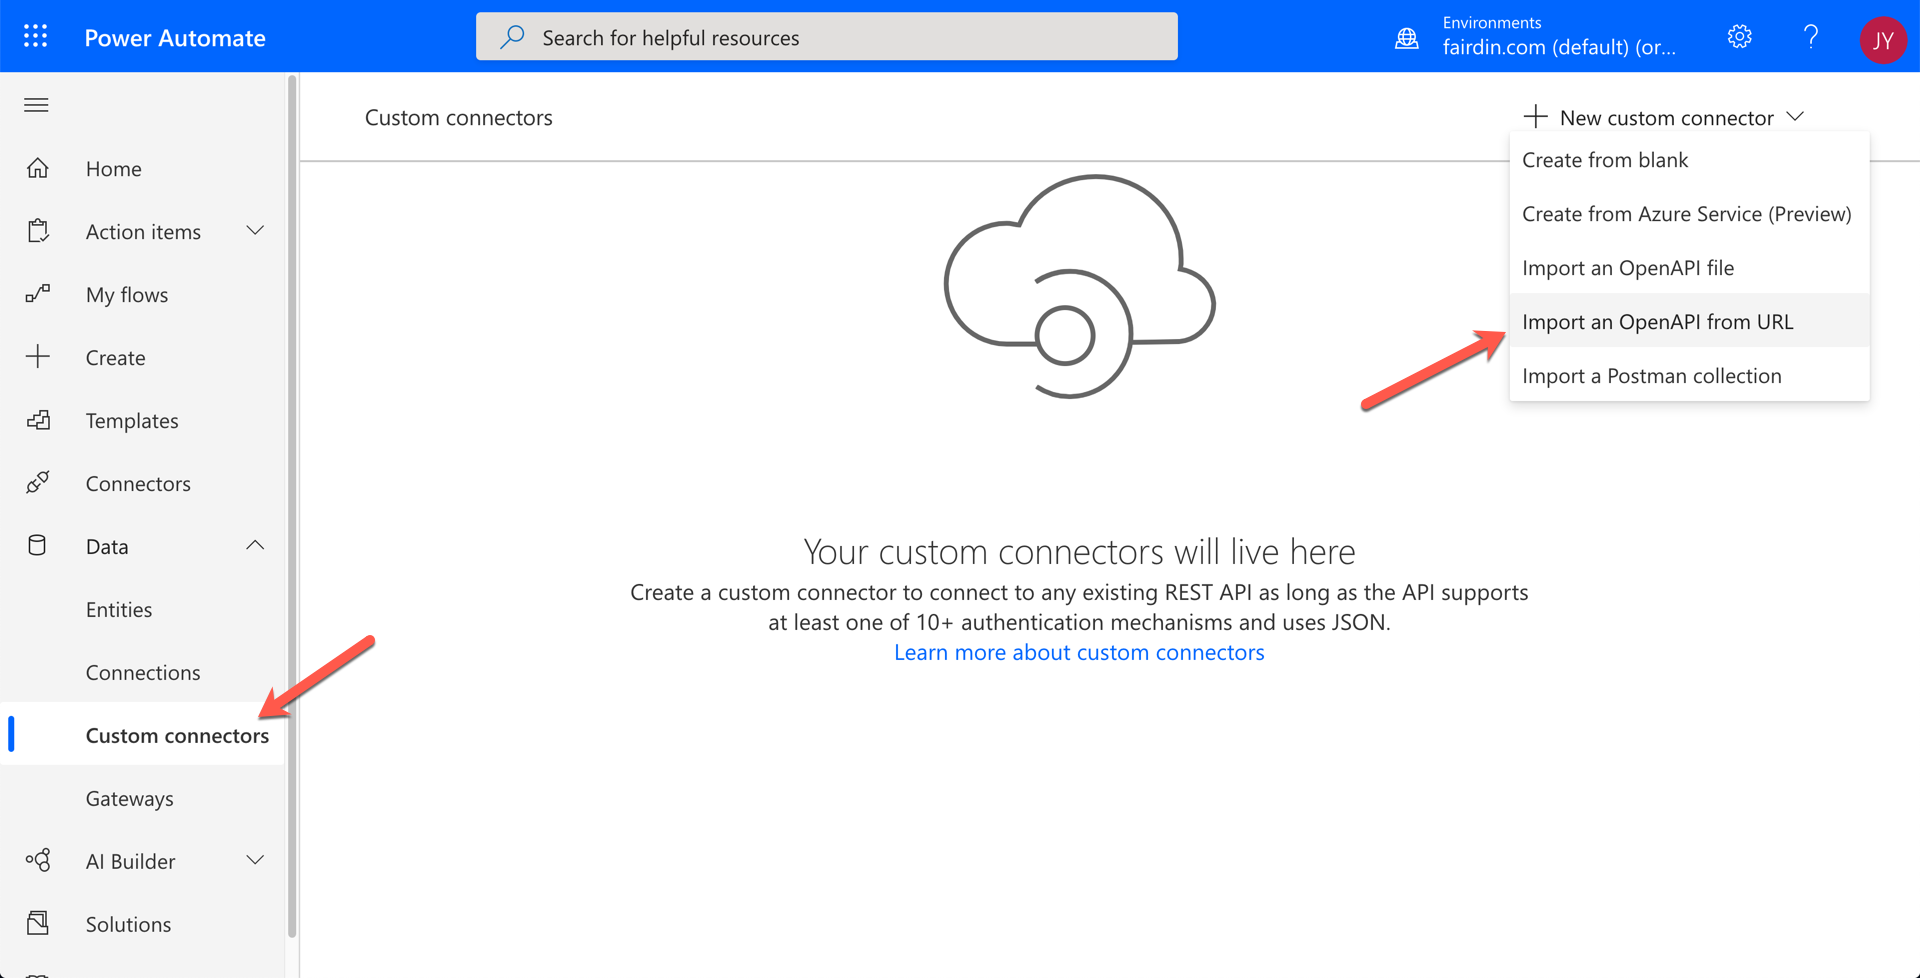
Creating Custom Connector
Once you create a custom connector, it is shared with both Power Automate and Power Apps. Therefore, I'm going to create it on the Power Automate site. First of all, let's use the Open API document URL like below, to create the one:
If you see the error message below, don't panic. It happens sometimes.
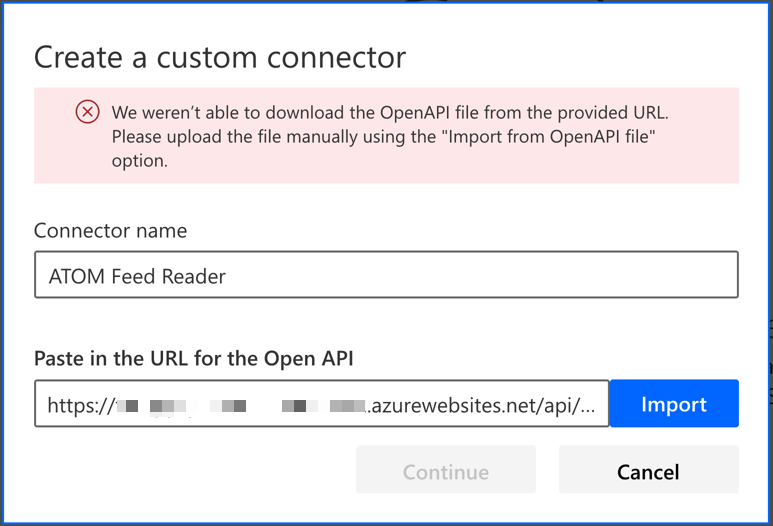
Then, just save the document from the Azure Function app site, and upload it.
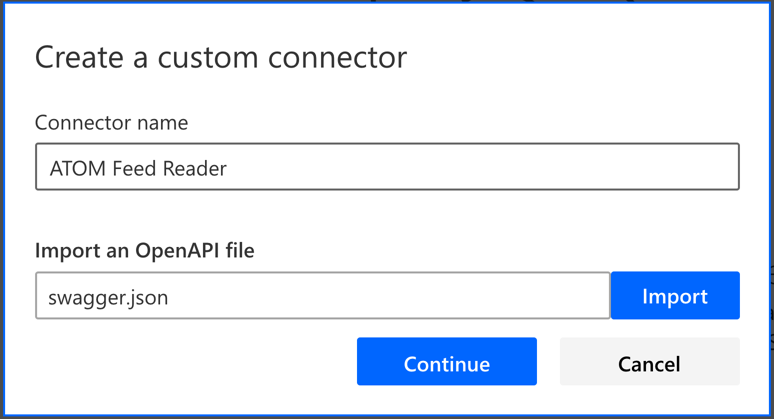
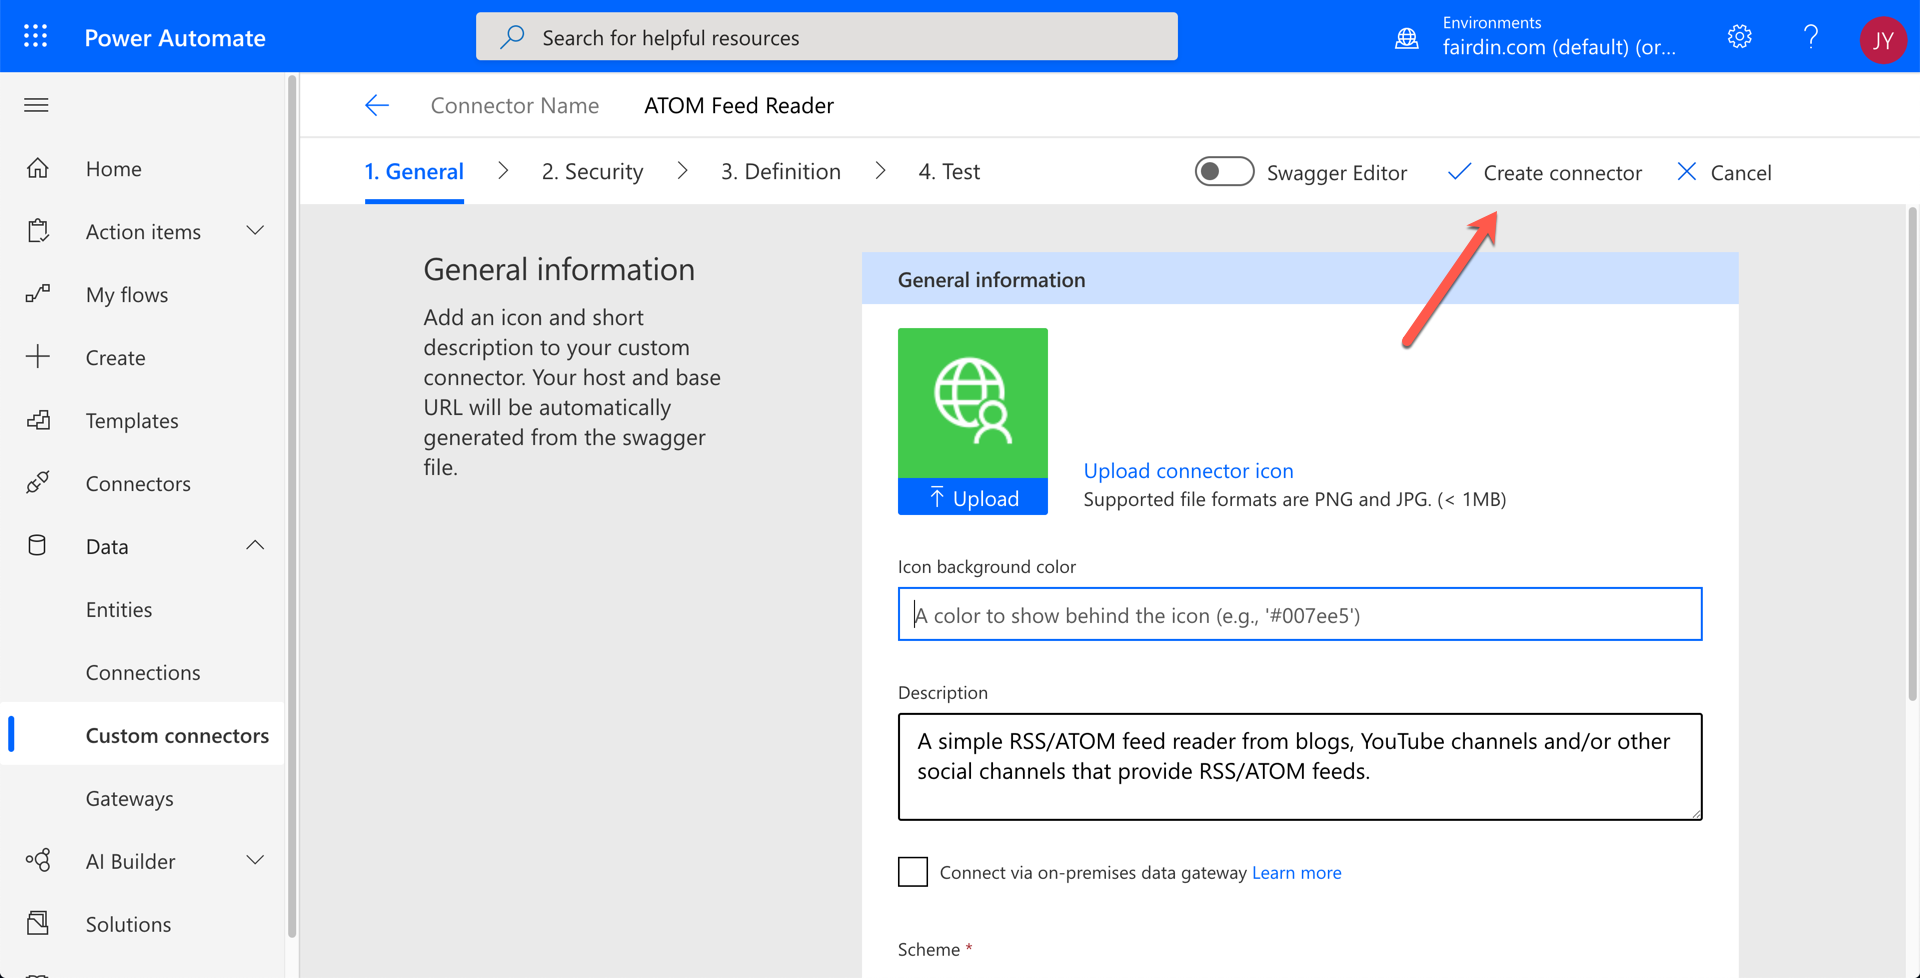
Once you completed uploading, then everything goes smoothly, unless your Swagger document has some weird stuff. However, in most cases, as the extension was designed for the custom connector, it should just work. Click the ✅ Create Connector button to complete.
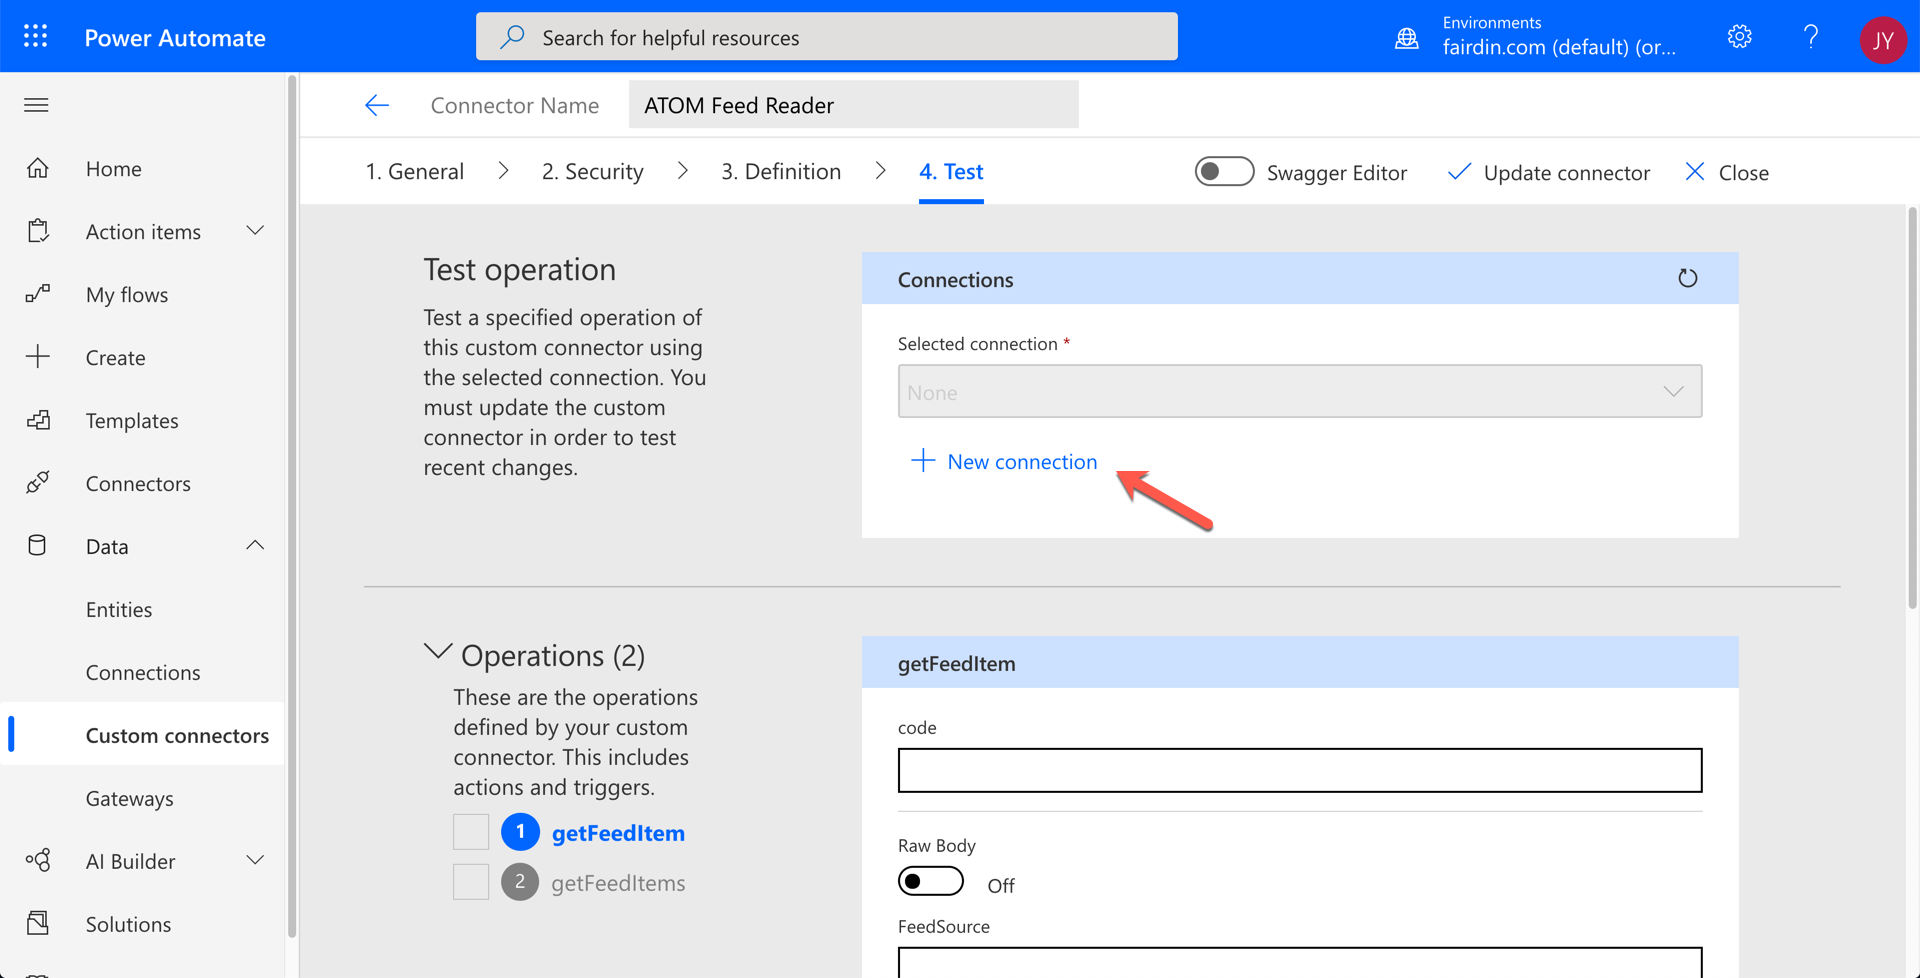
Let's have a test whether the connector works OK or now. Create an API connection on the 4. Test tab.
Make sure the concept that a
Connectoris an interface, and theConnectionto theConnectoris an actual implementation for your app to use.
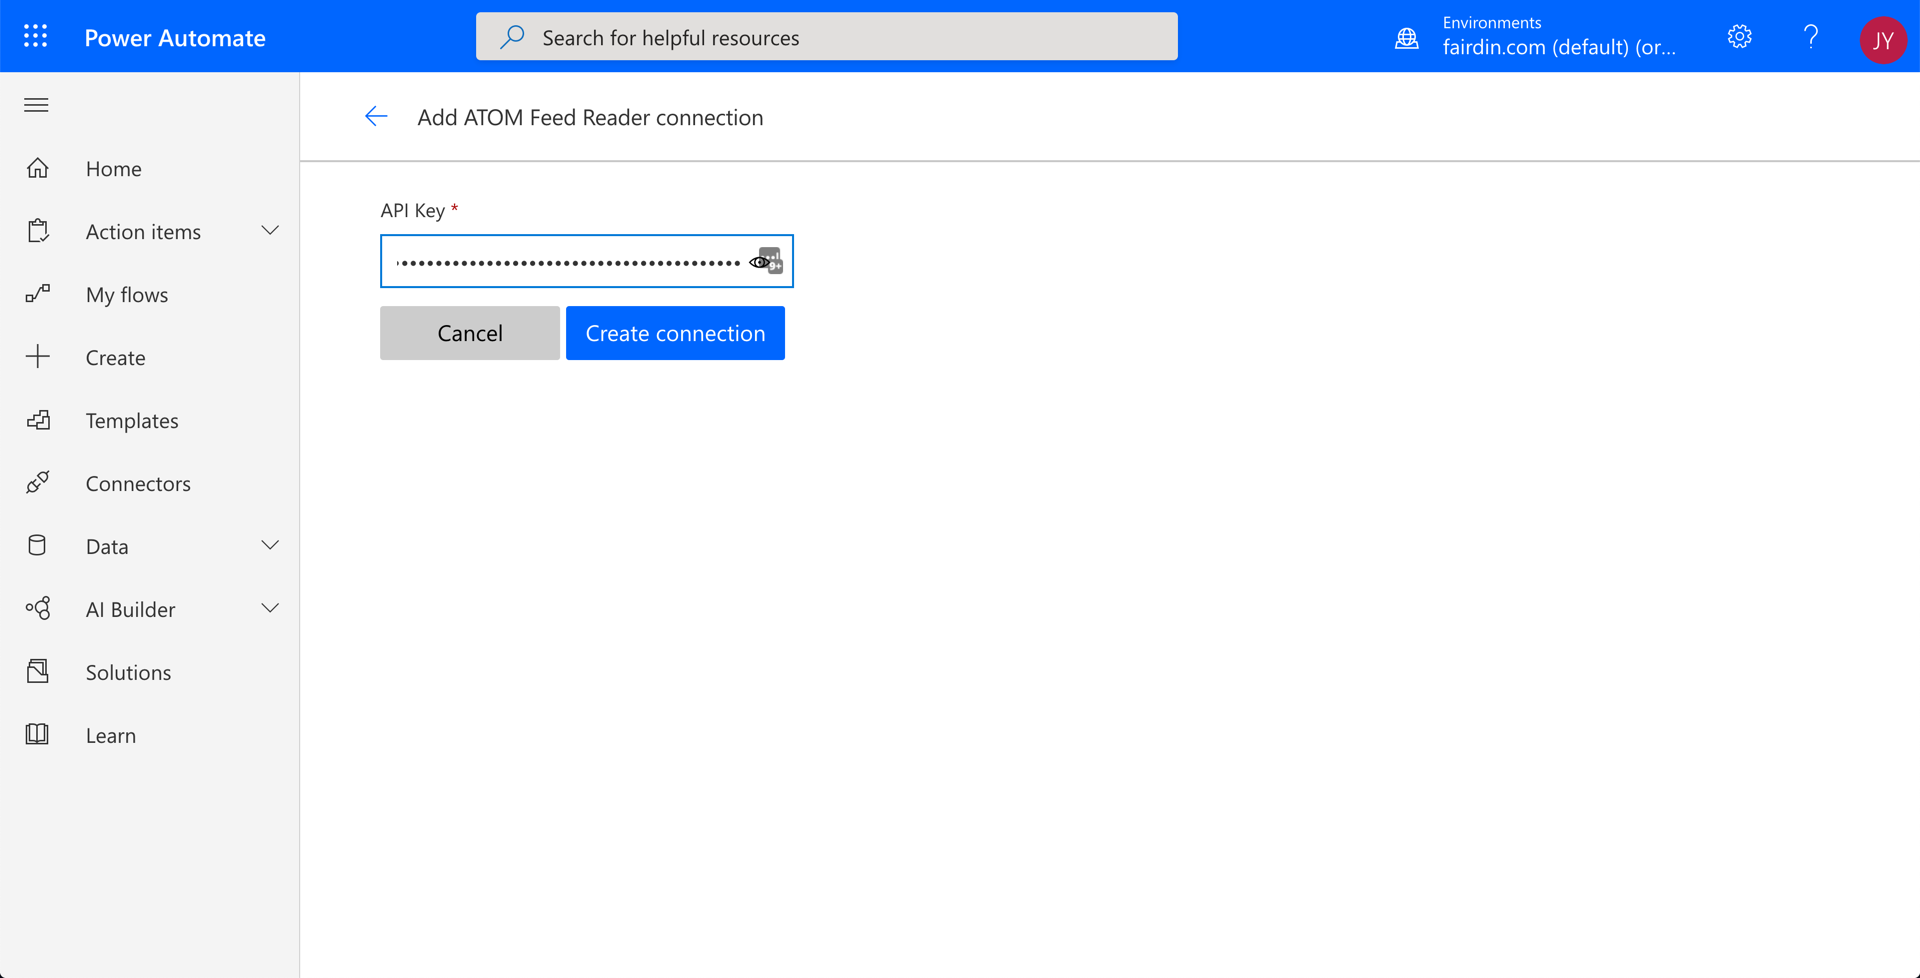
While you're creating the connection, you're asked to put the Azure Functions API key. Enter the key and complete the connection process.
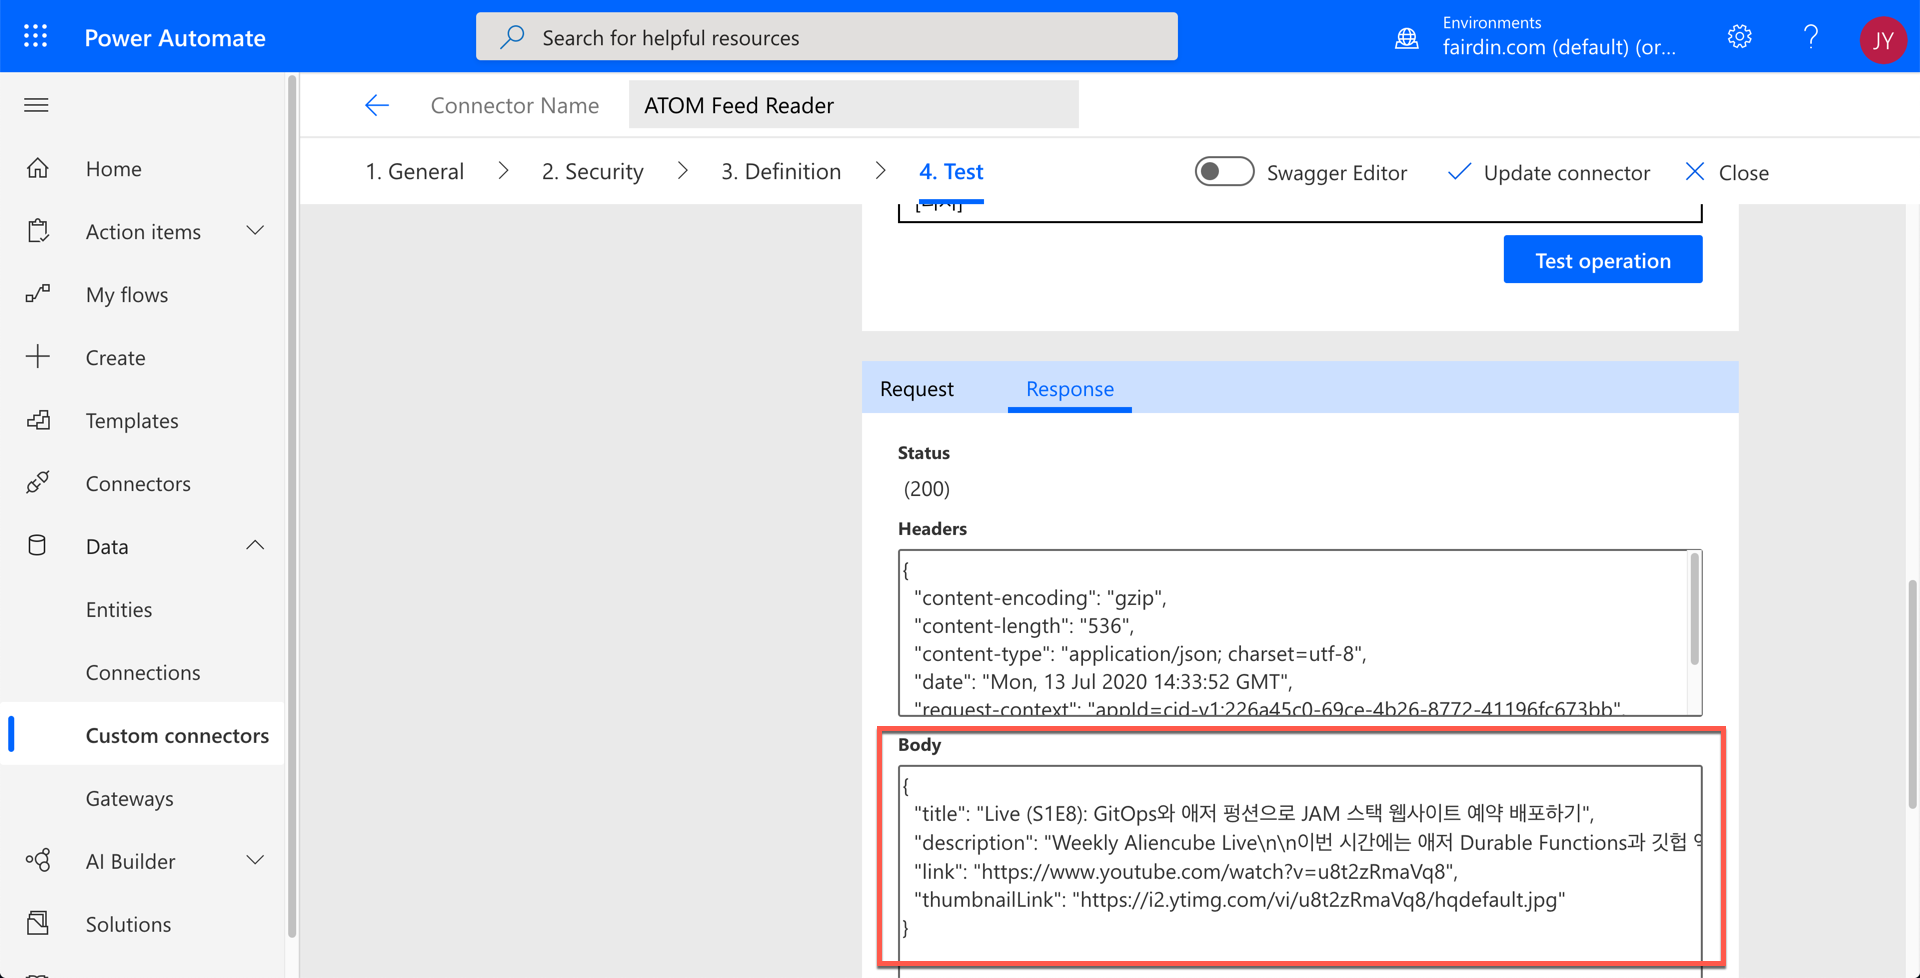
Now, you've got the connection in place. Let's move on for the test. The input fields exactly follow from the Swagger definition. Enter the value to each field and click the Test Operation button.
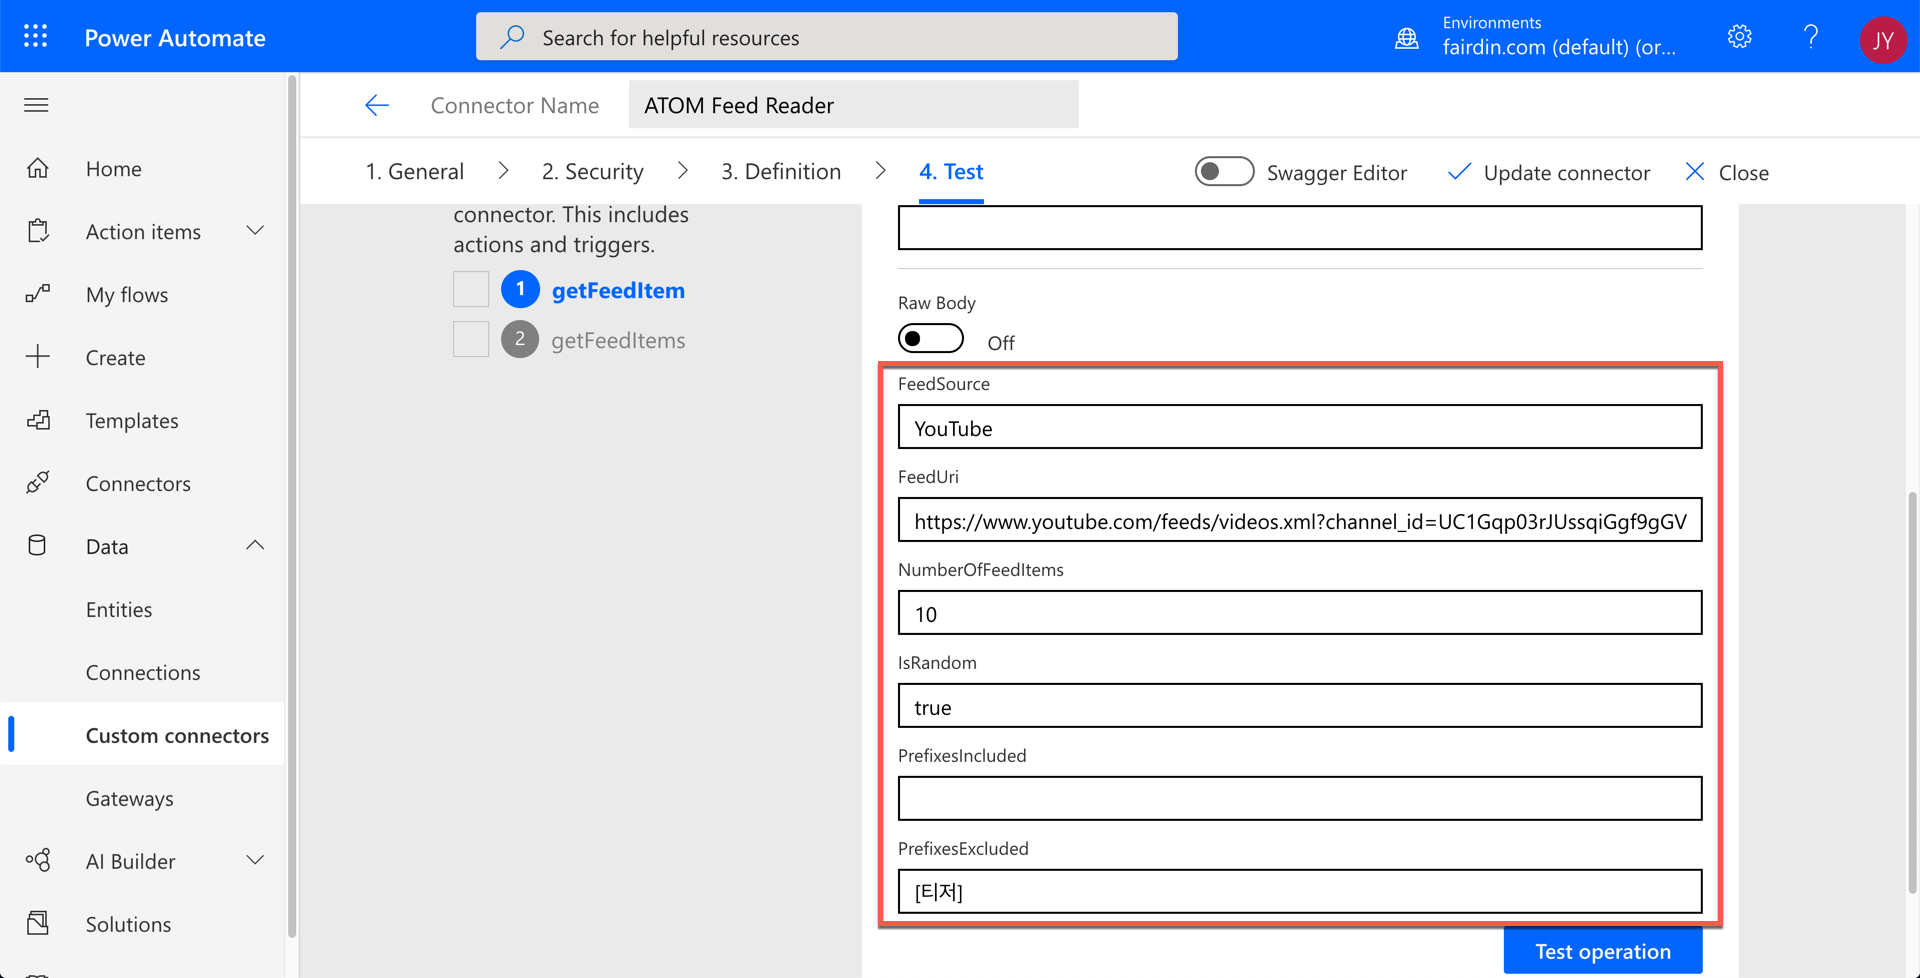
We've got the test passed!
Let's move on to create a Power Automate flow.
Creating Power Automate Flow with Custom Connector
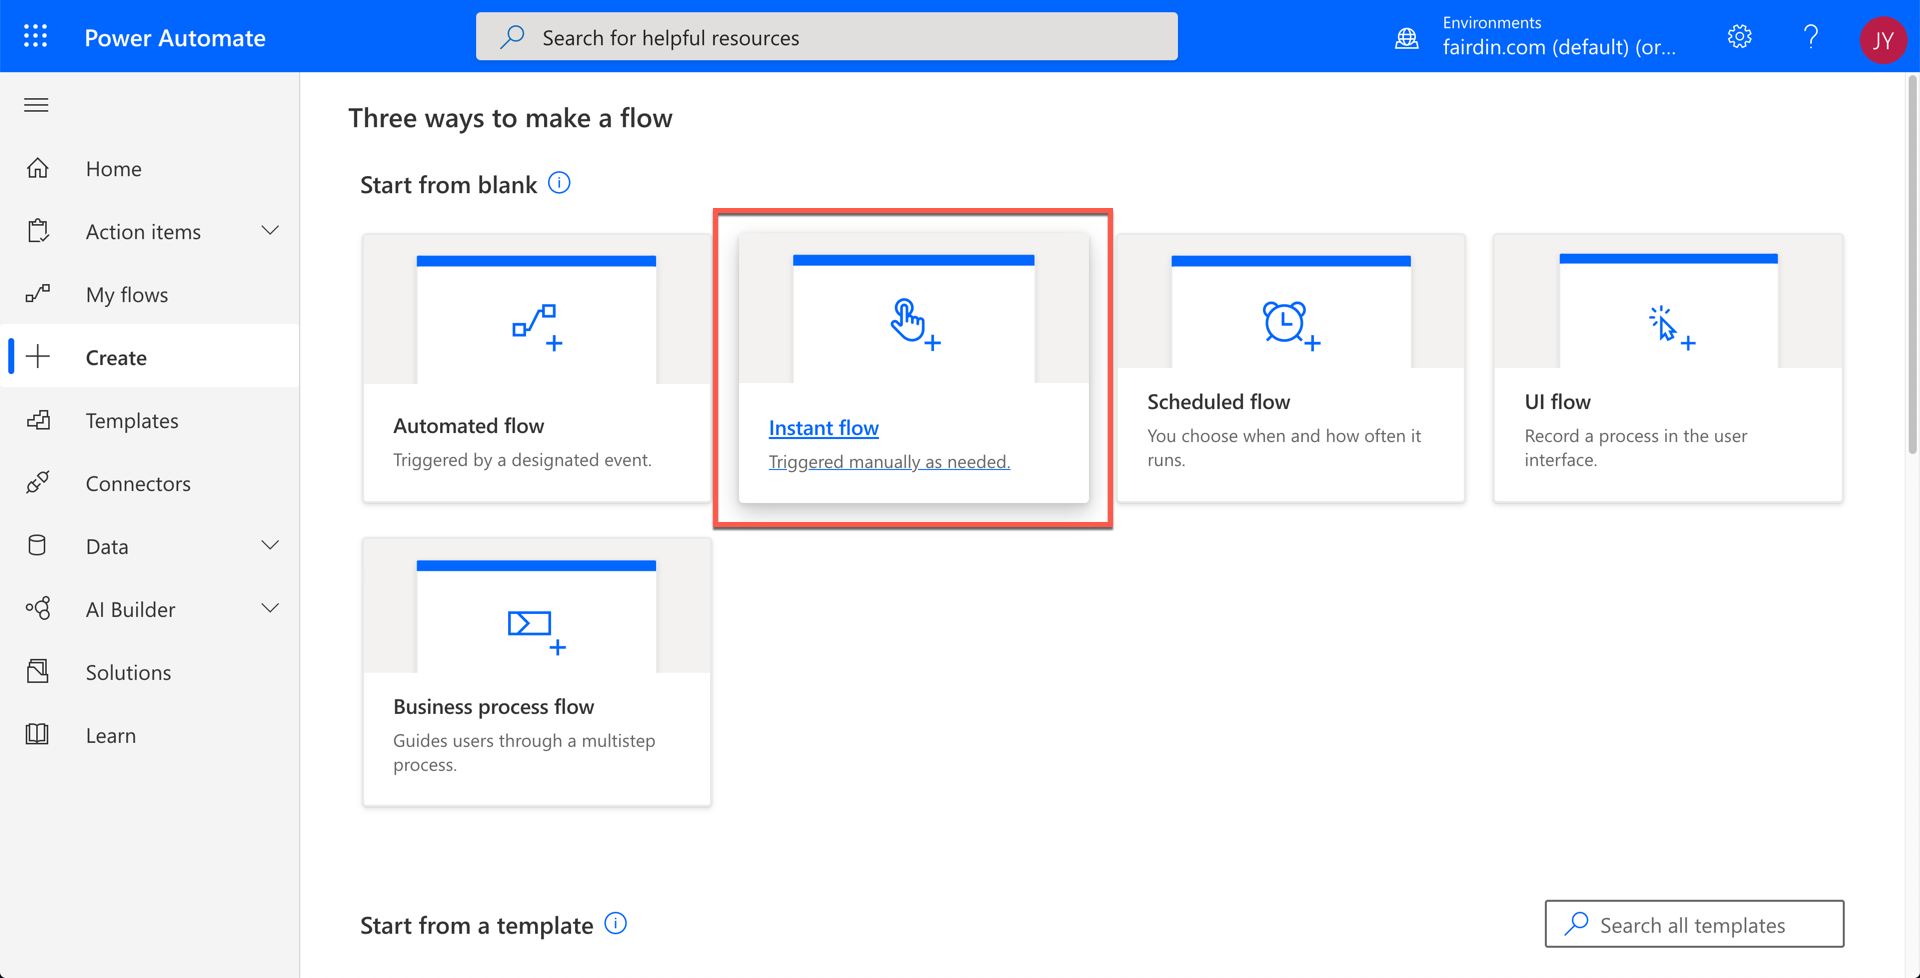
Follow the step, as Power Apps will use the flow we're going to create. Choose Instant Flow.
Then choose Power App as a trigger.

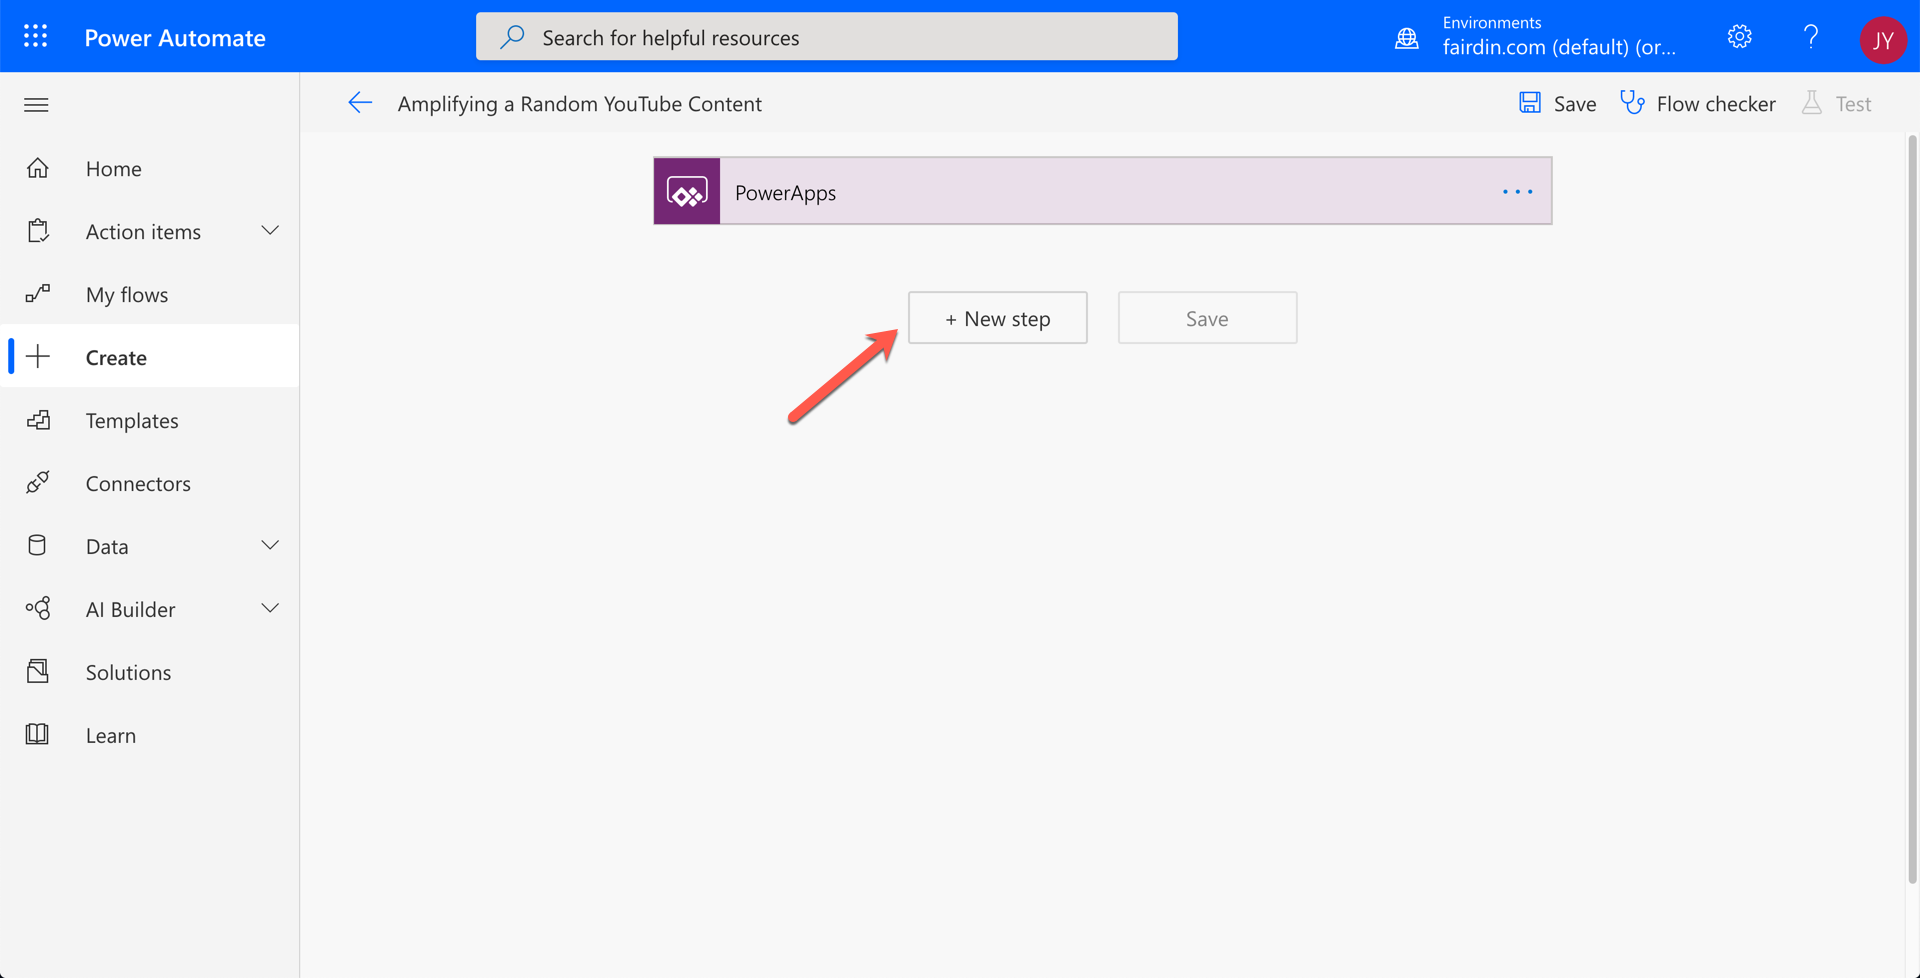
Now, we have the visual designer for weaving the flow. Click the ➕ New Step button.
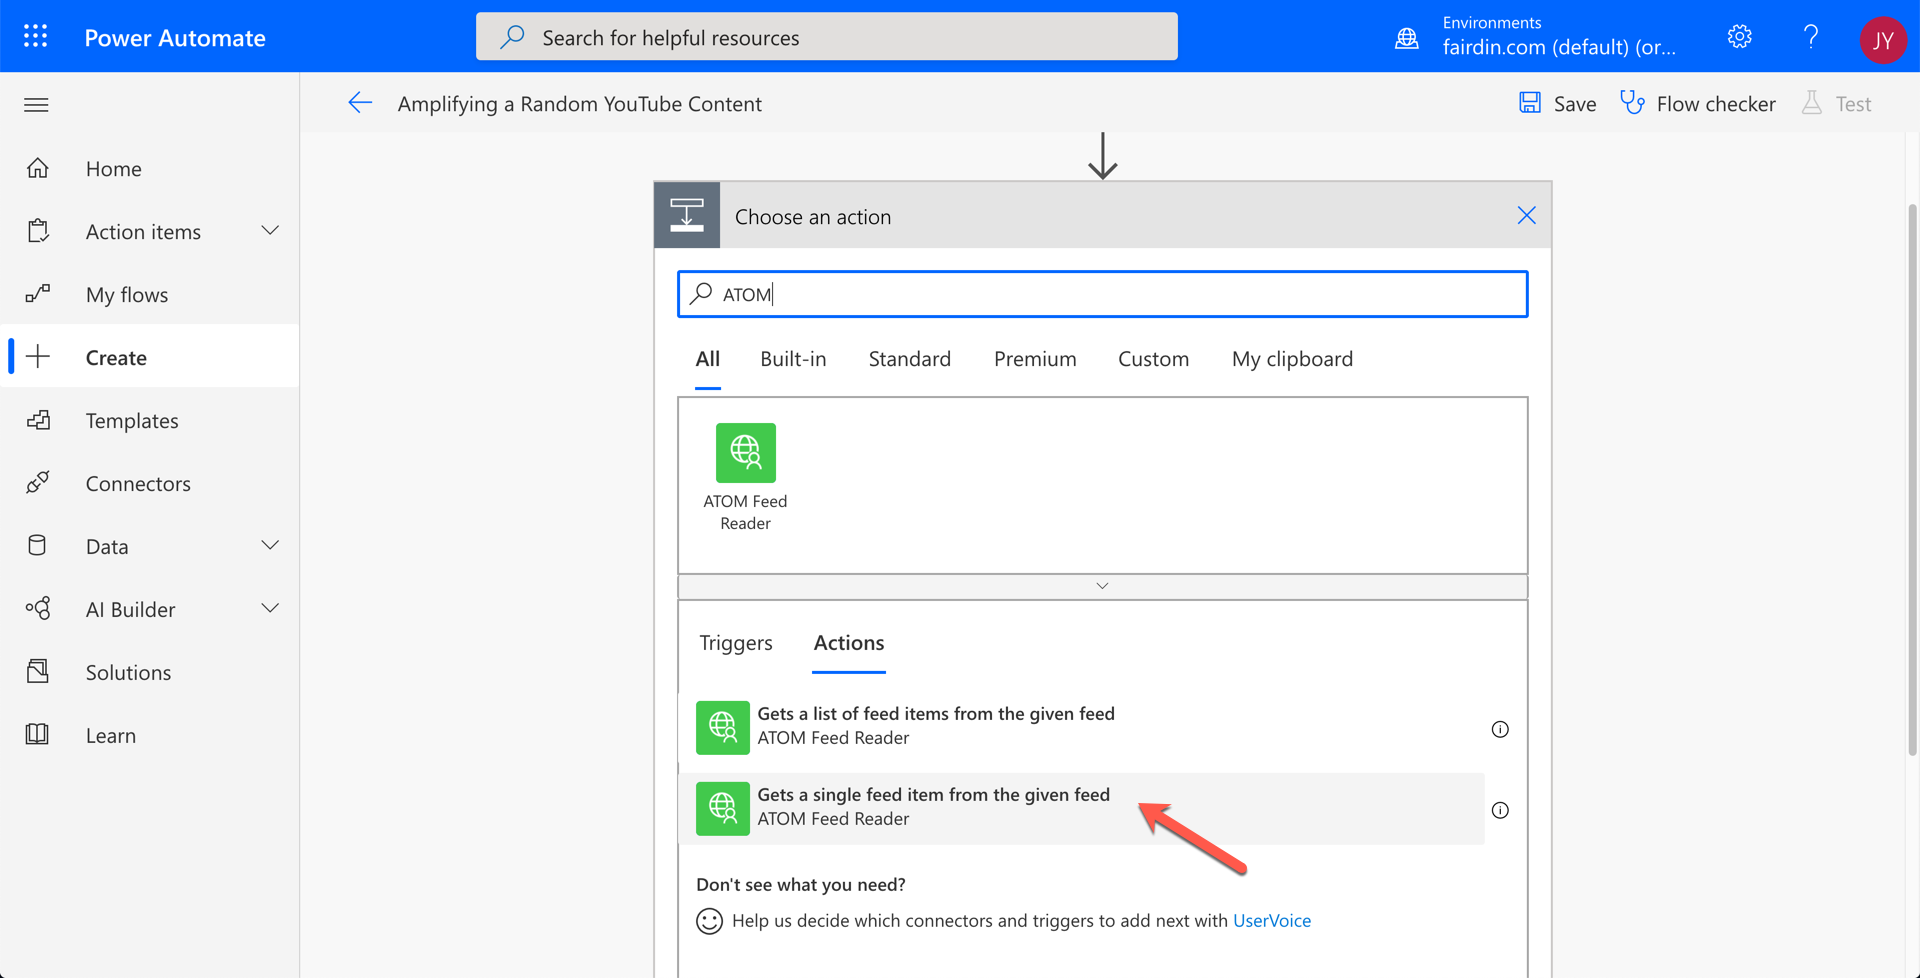
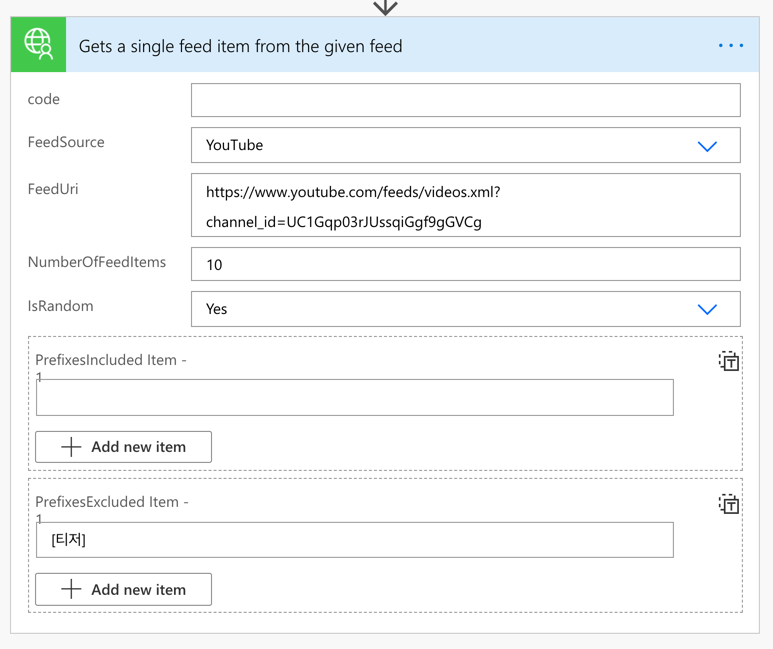
Search up ATOM, and you'll be able to see the custom connector that you just created with two endpoints. Select the action that picks up one sing feed item.
When the action appears, it asks to put the data into the field, which we saw while testing the connector above. Enter the value to each field.
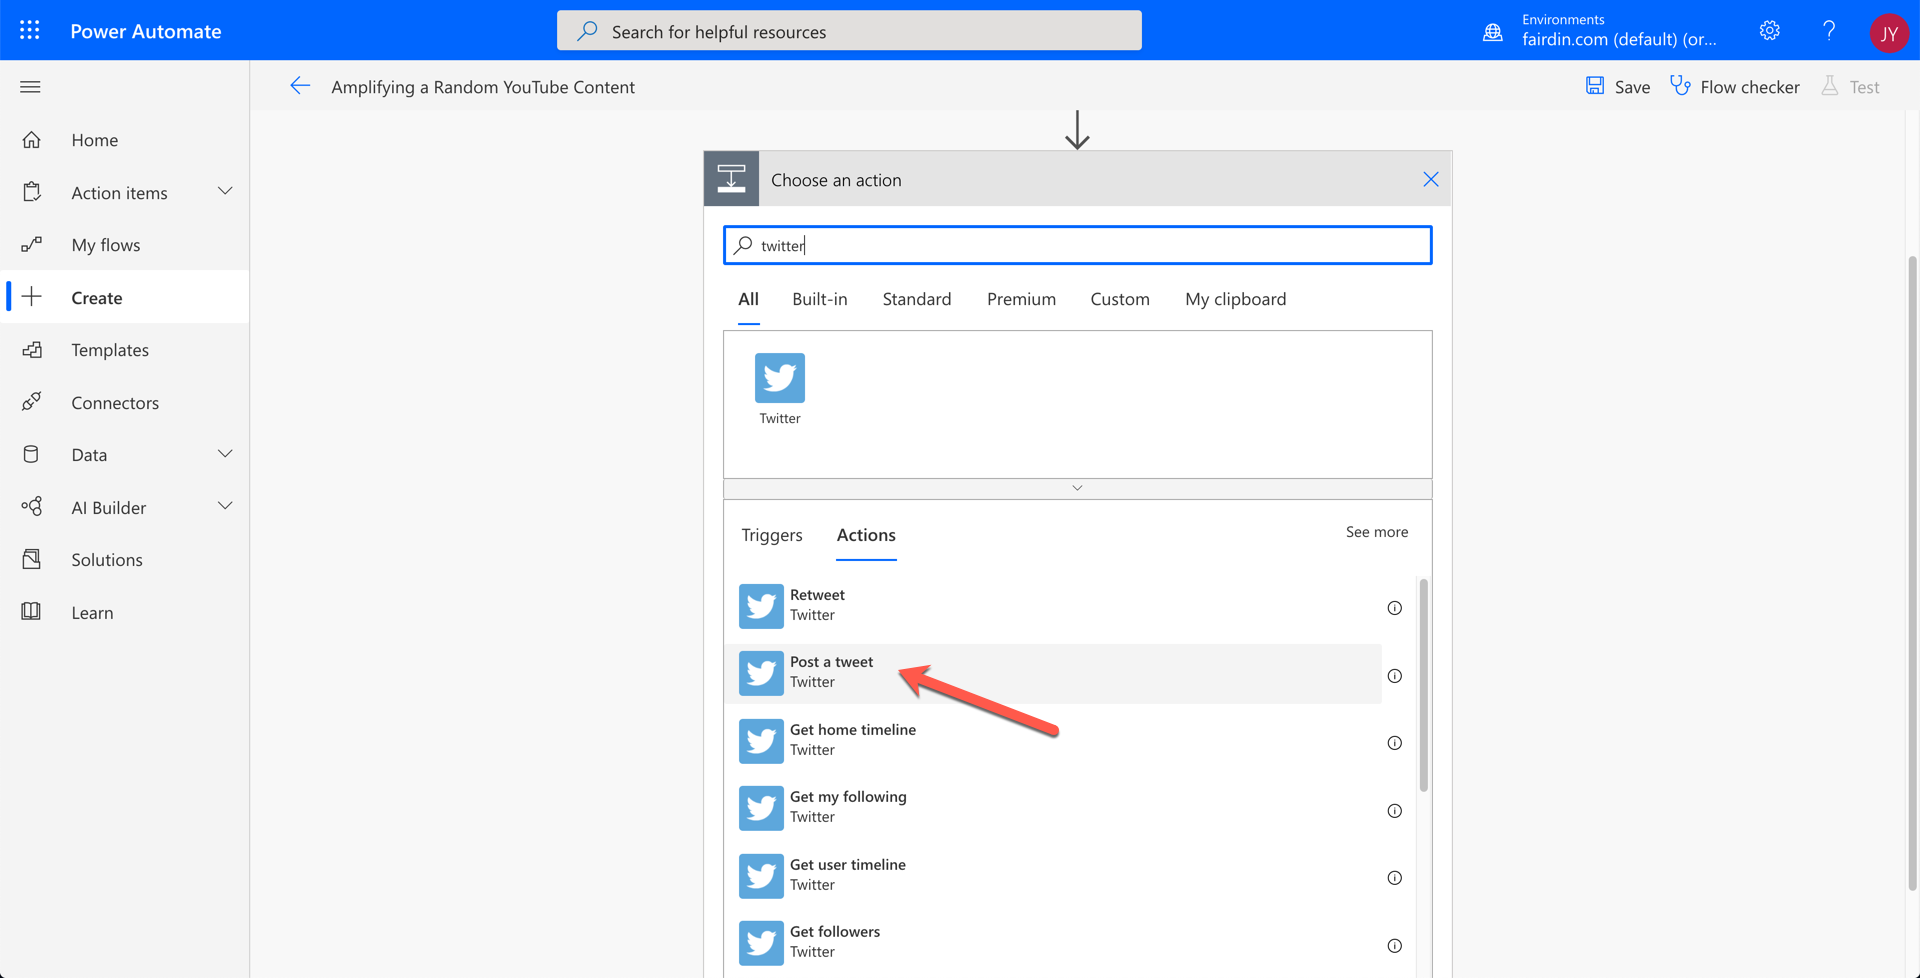
The purpose of this flow is to post a feed item from YouTube to social media. Let's choose the Twitter action.
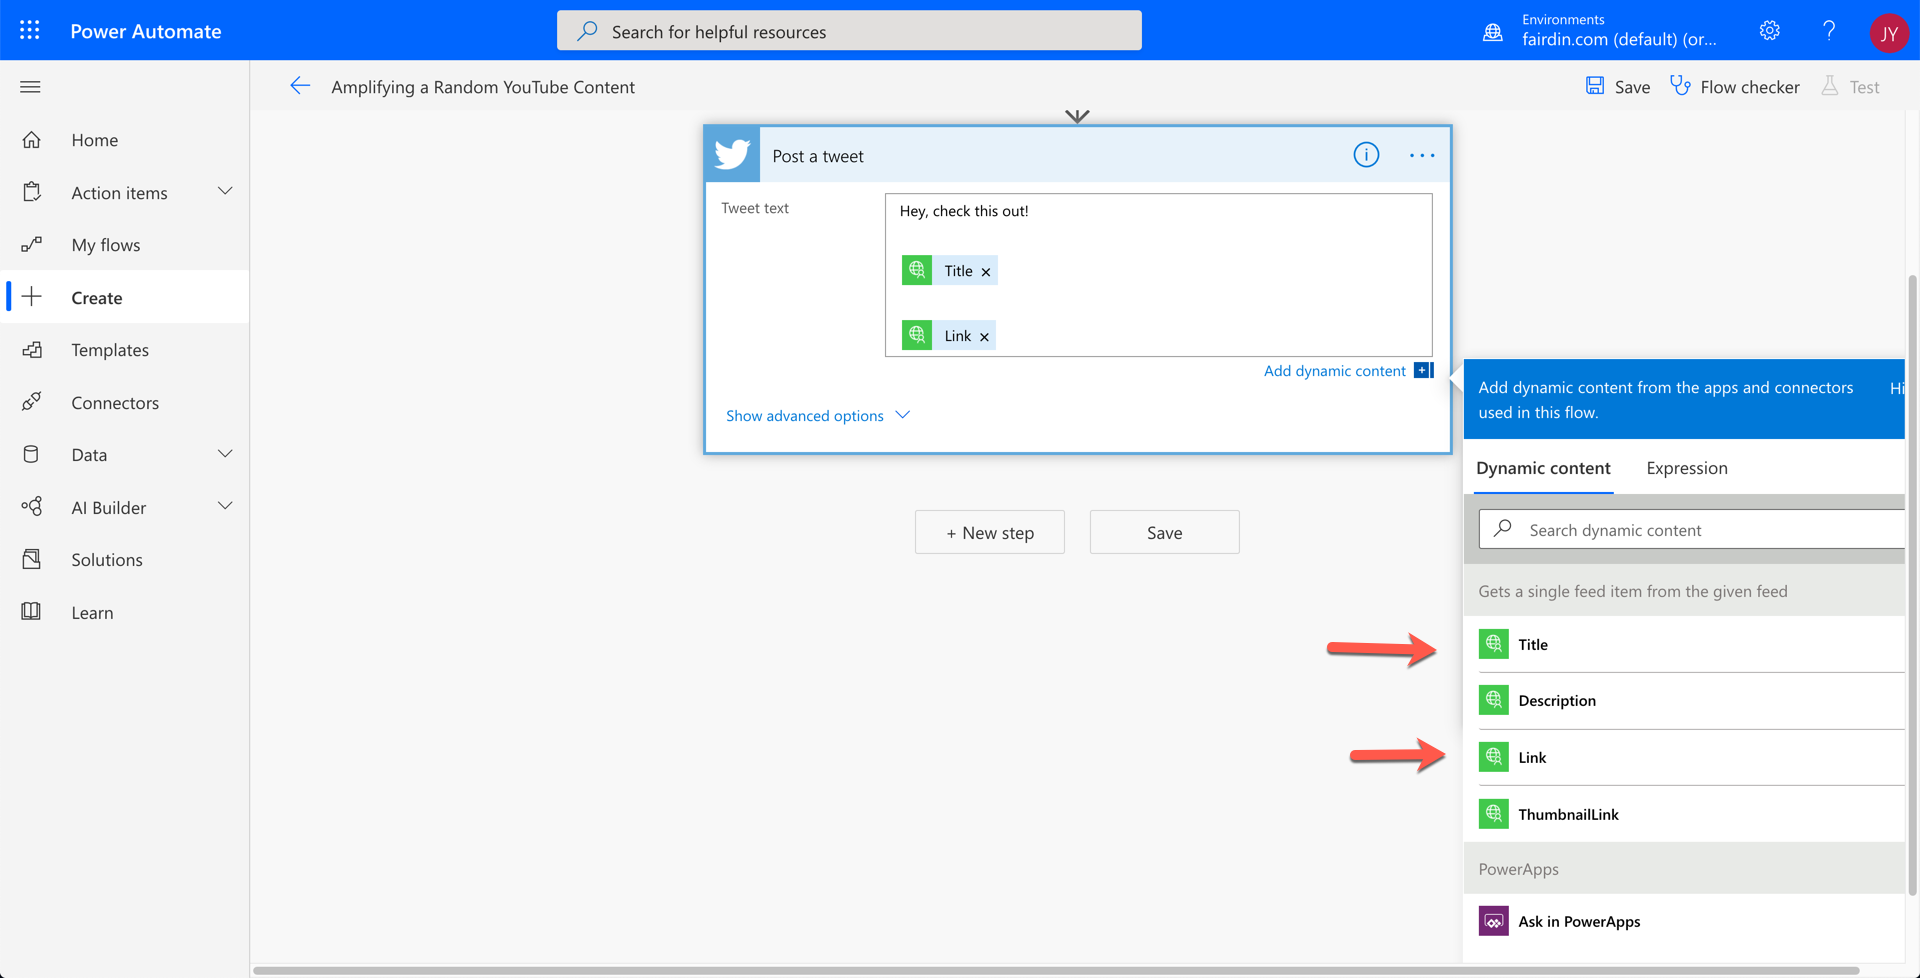
In the body field, enter the data like below, with values populated from the custom connector.
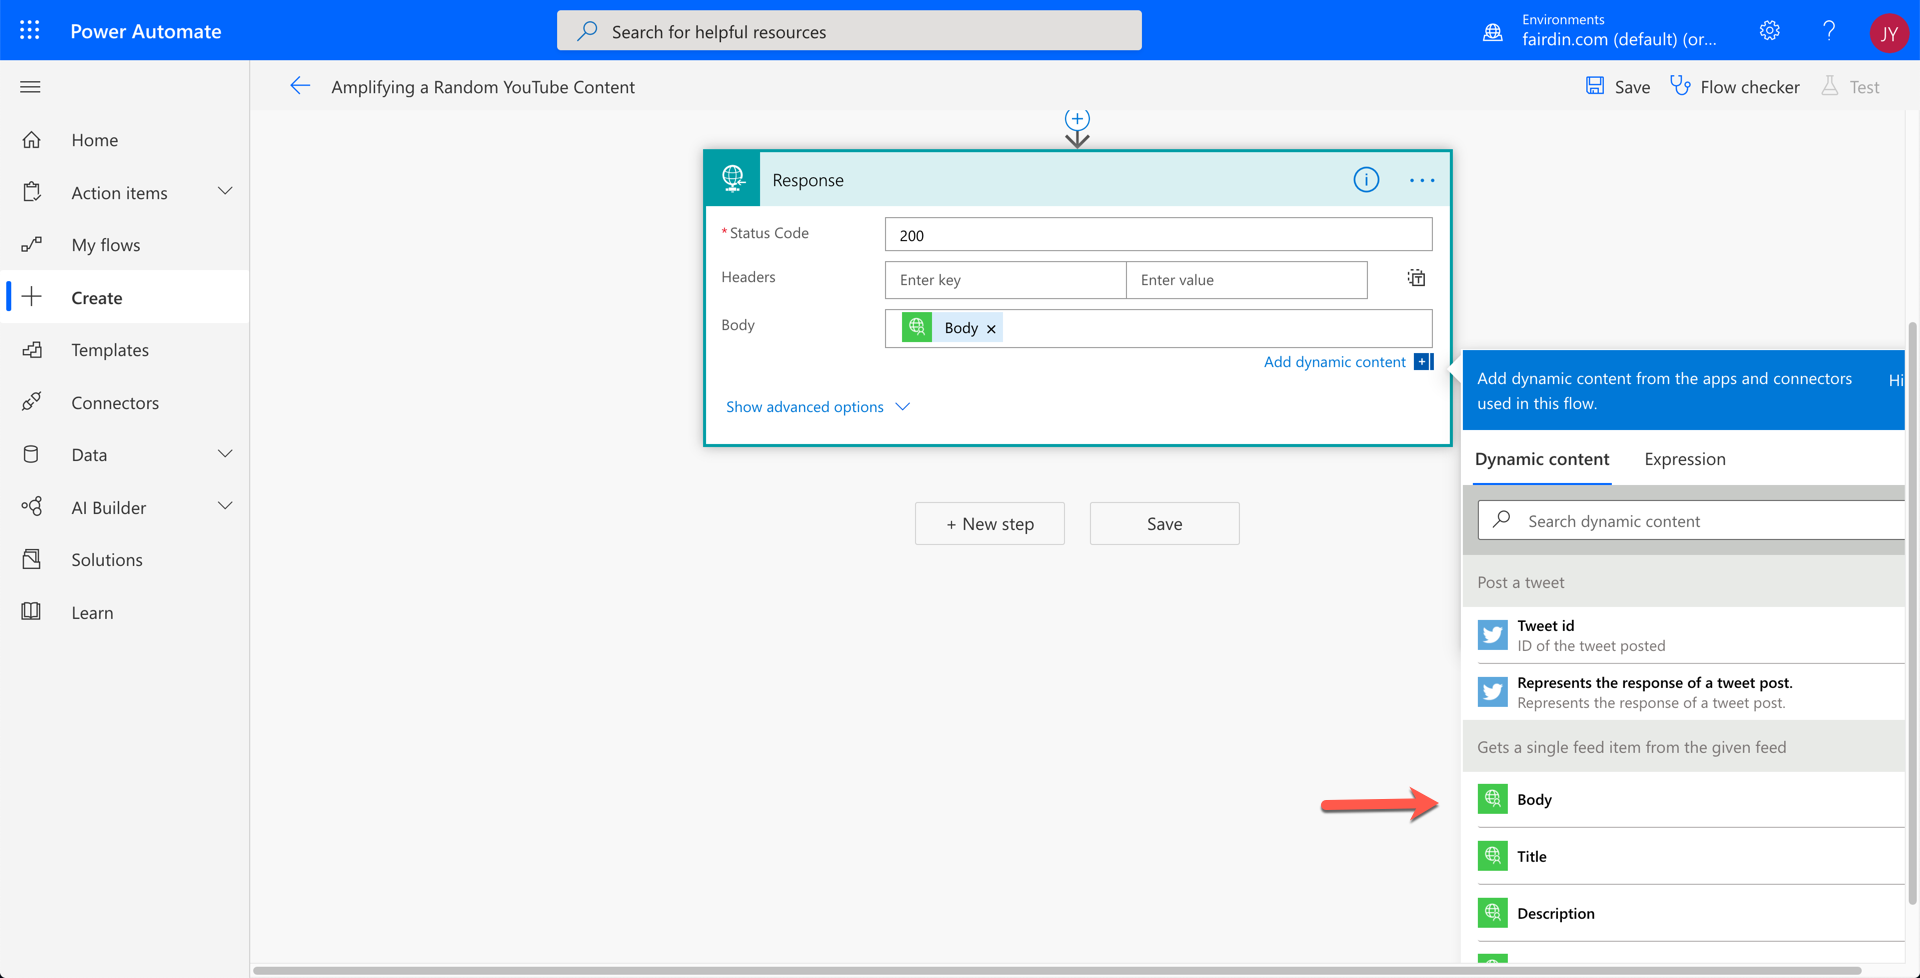
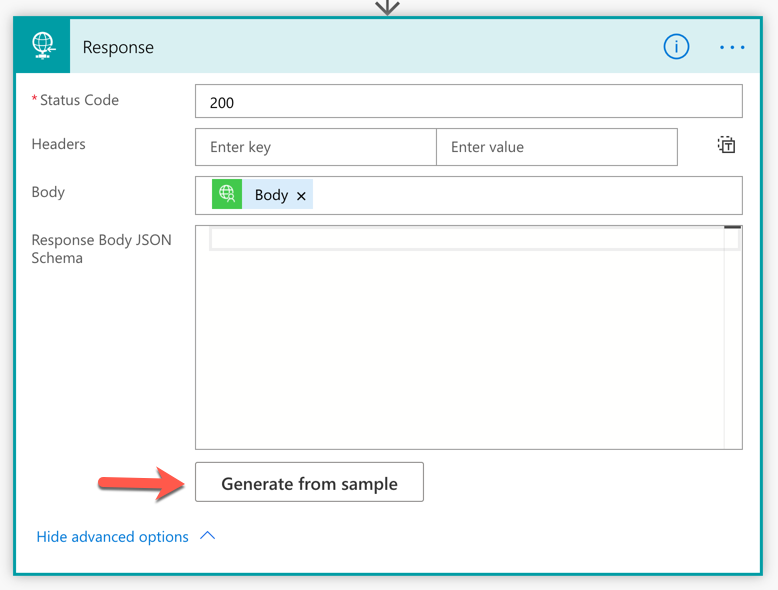
The last action is Response that returns the result to Power Apps.
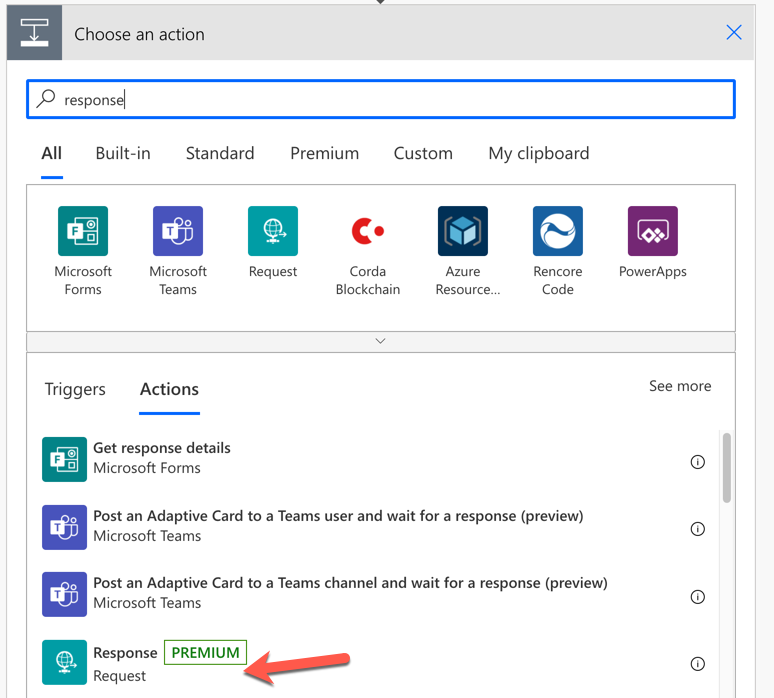
Set the response body with the whole body from the custom connector.
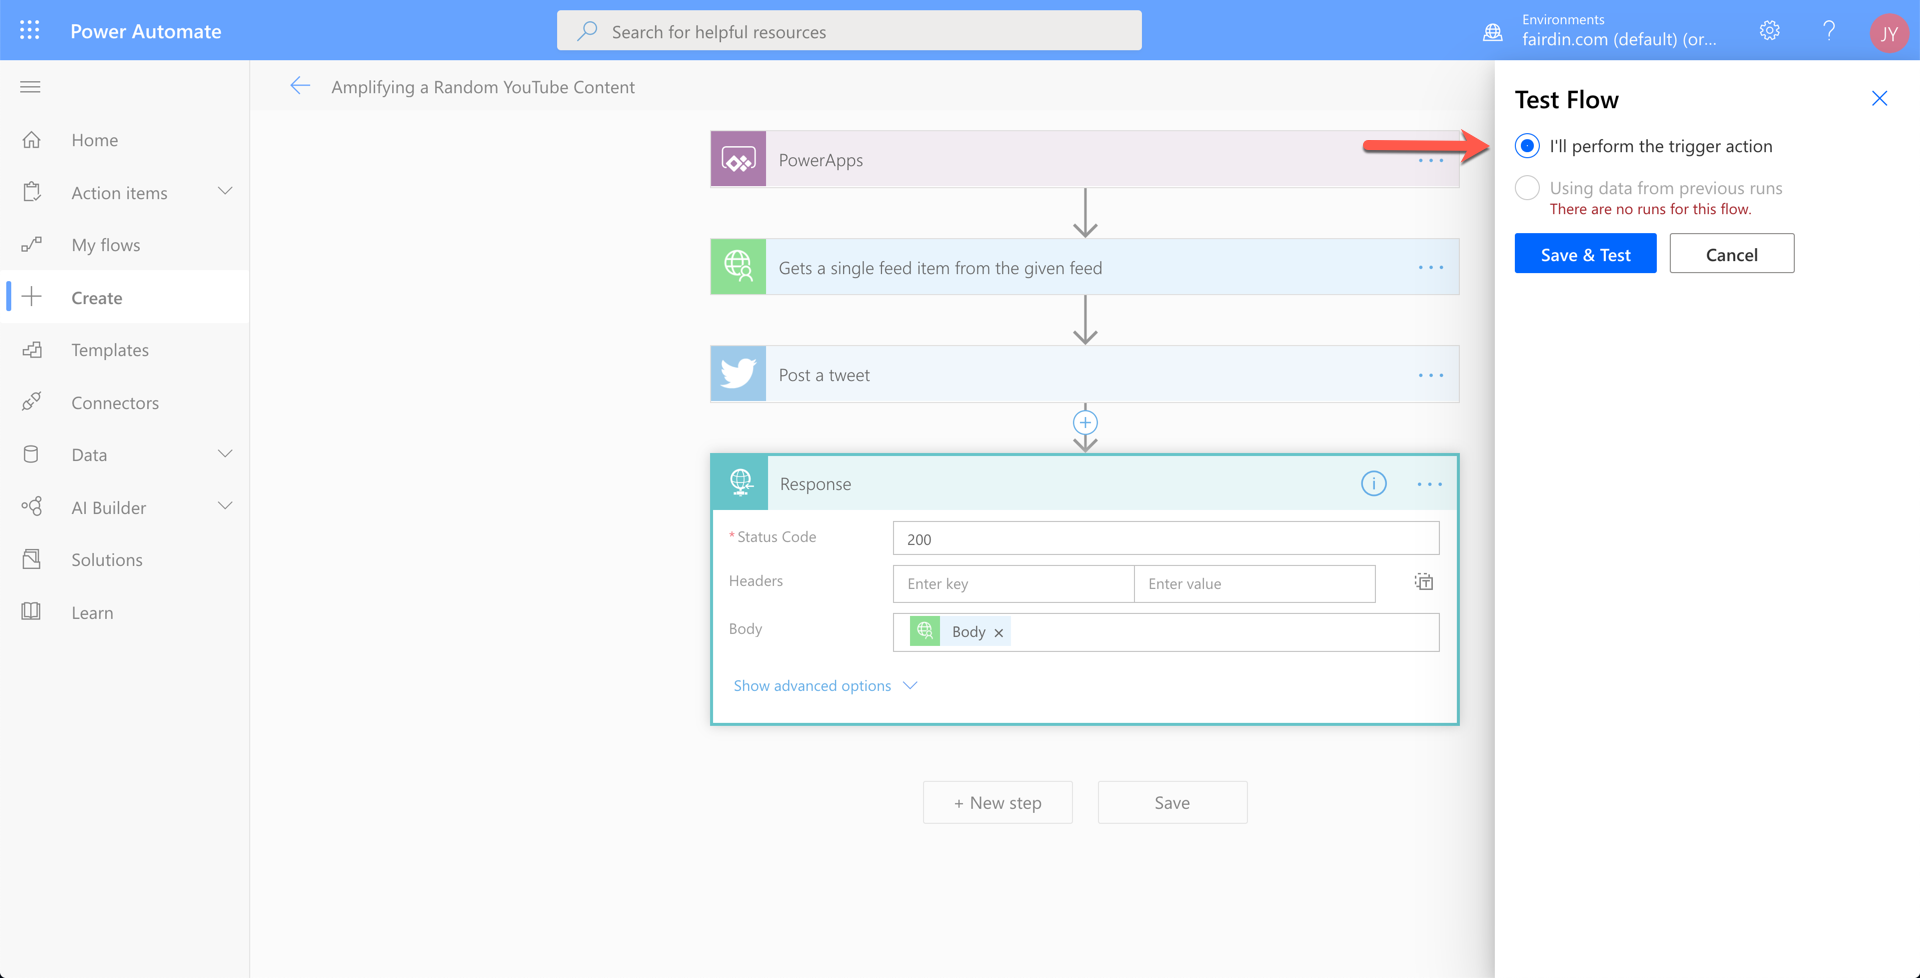
We're getting there! Save the flow and test it. Click the Test button on the upper right corner, choose the option and click the Save & Test button.
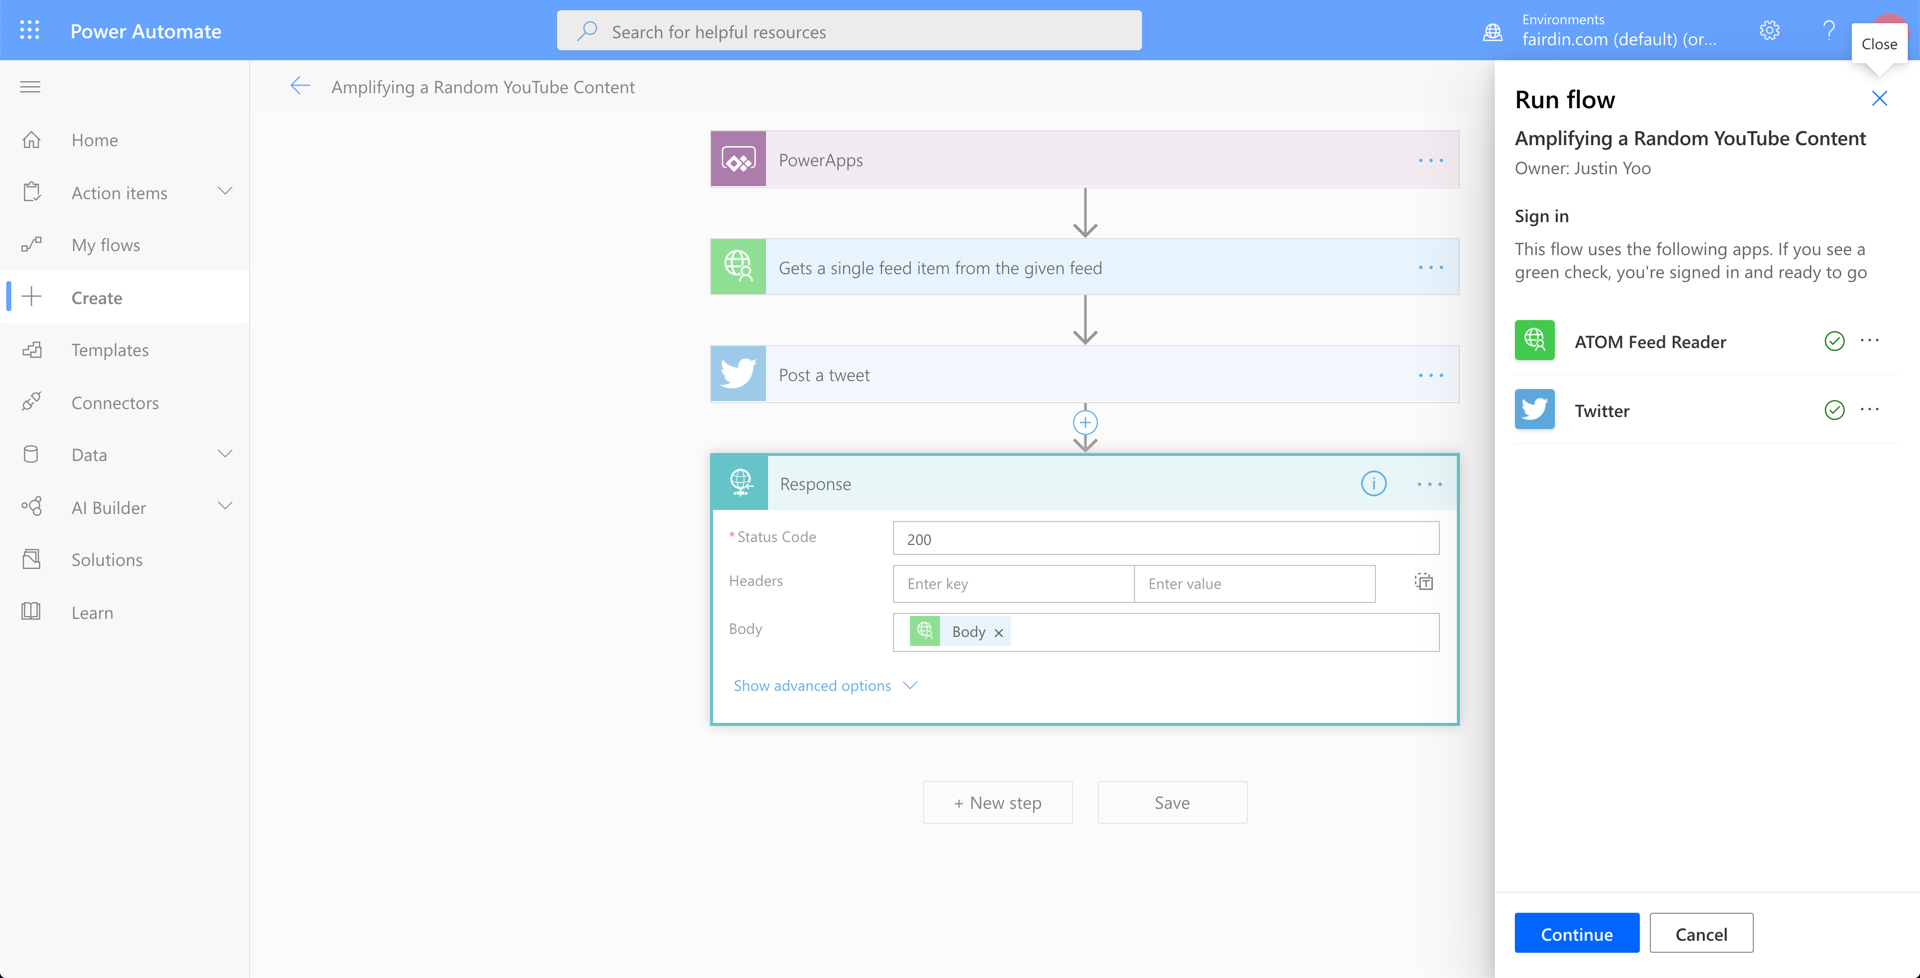
This screen confirms which connection is used. Click the Continue button to proceed.
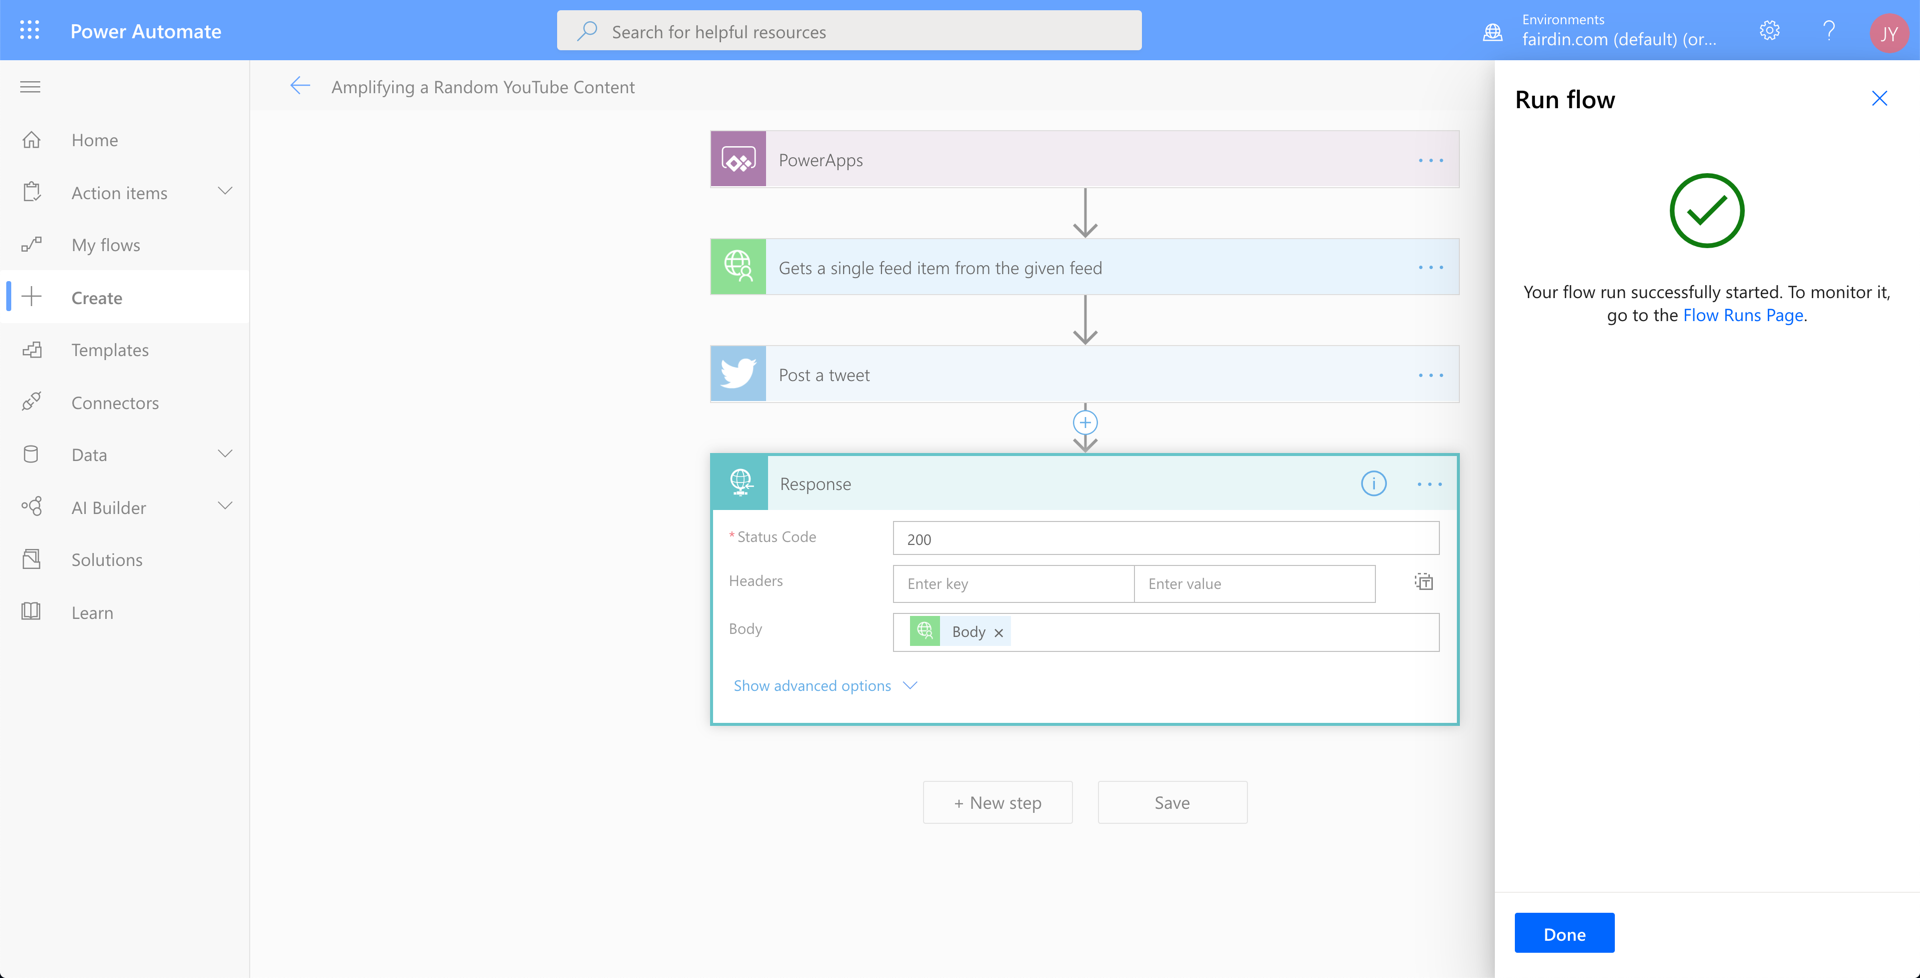
If everything is OK, we'll be able to see the screen below, which indicates success.
Let's have a look at the details of the workflow. Every action has run successfully. Copy the response object to use later.

When you check it on Twitter, it's posted well. Don't get bothered with the Twitter handle. It's a fictitious company called fairdin.com.

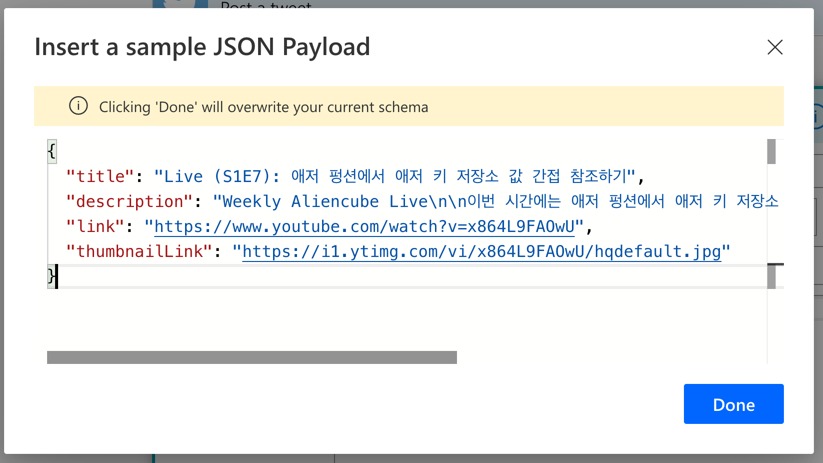
As the final step on the flow, we need to ensure that Power App can clearly understand the response payload structure. We copied the response payload above. With this payload, create the JSON schema. Click the Generate from Sample button.
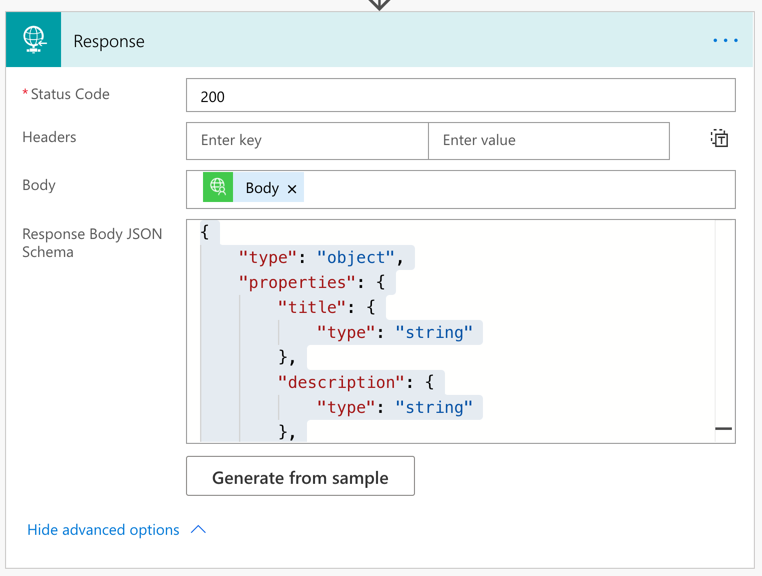
Paste the JSON response payload and click Done.
Now, we got the JSON schema for the response payload.
Save it, and we're done now! Let's move onto Power Apps.
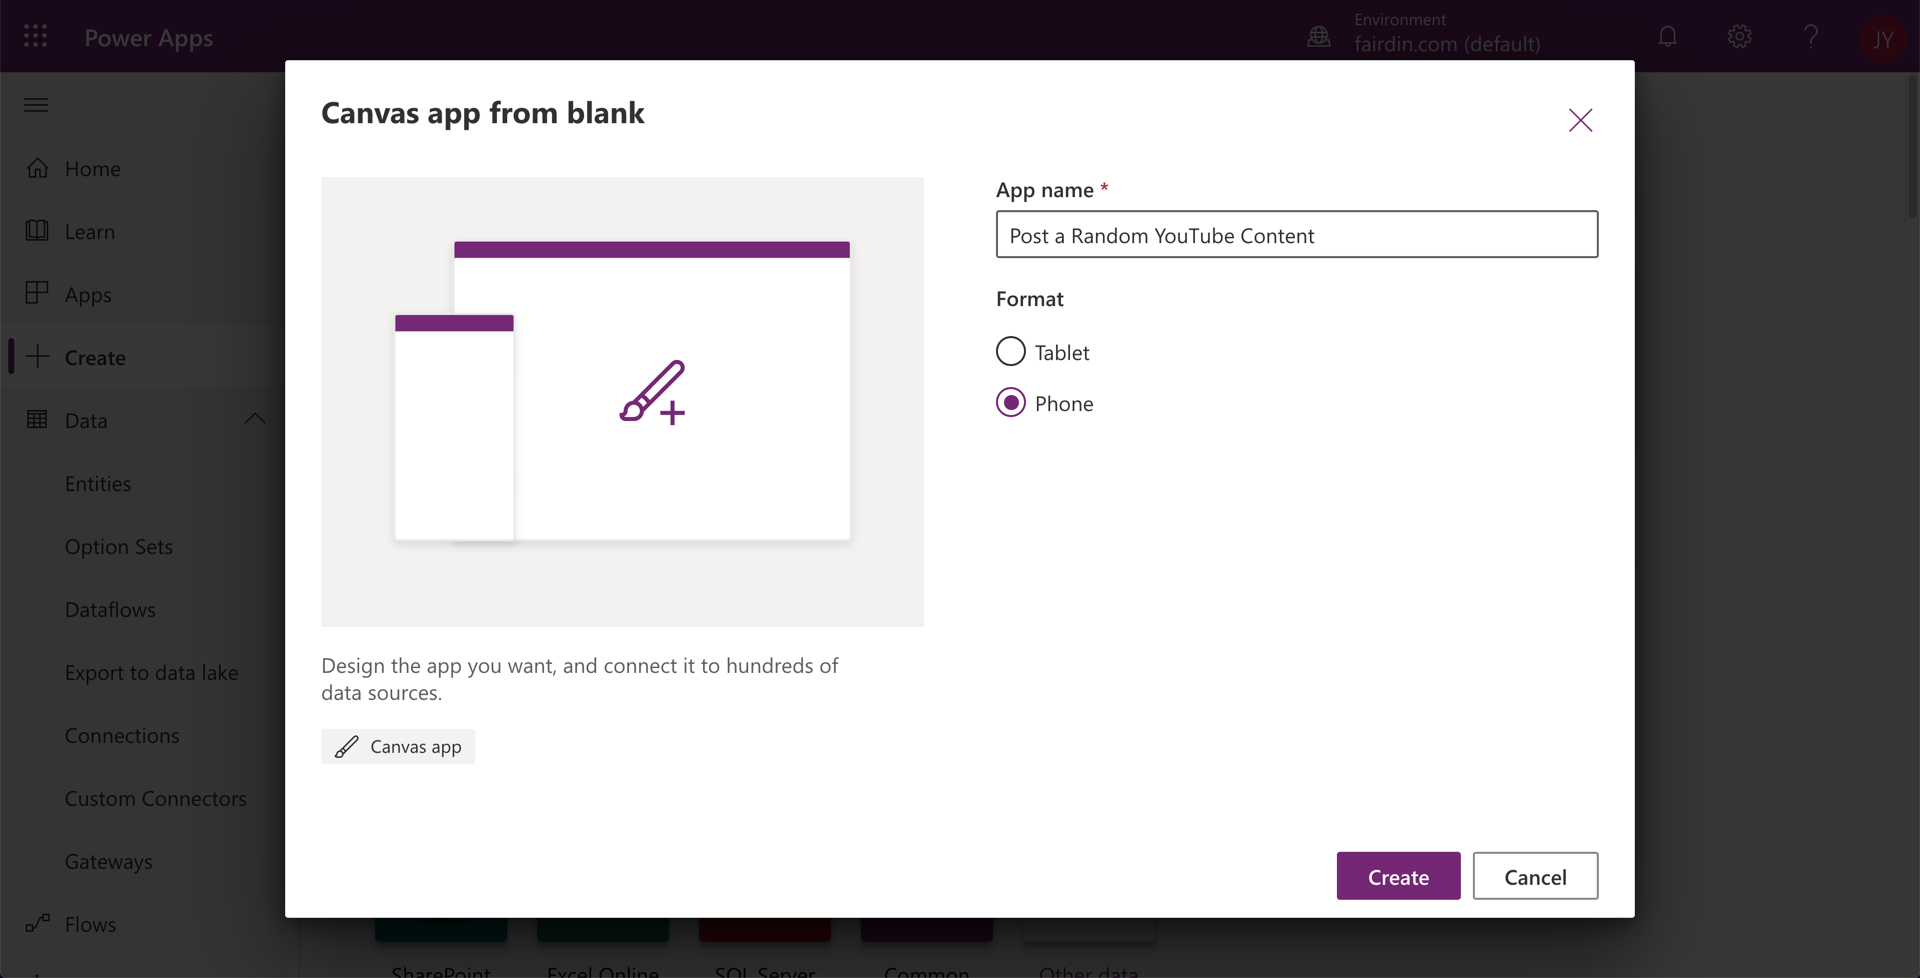
Connecting Power Automate to Power Apps
We're going to connect the Power Automate flow to the Power App we're creating. Have the new app canvas.
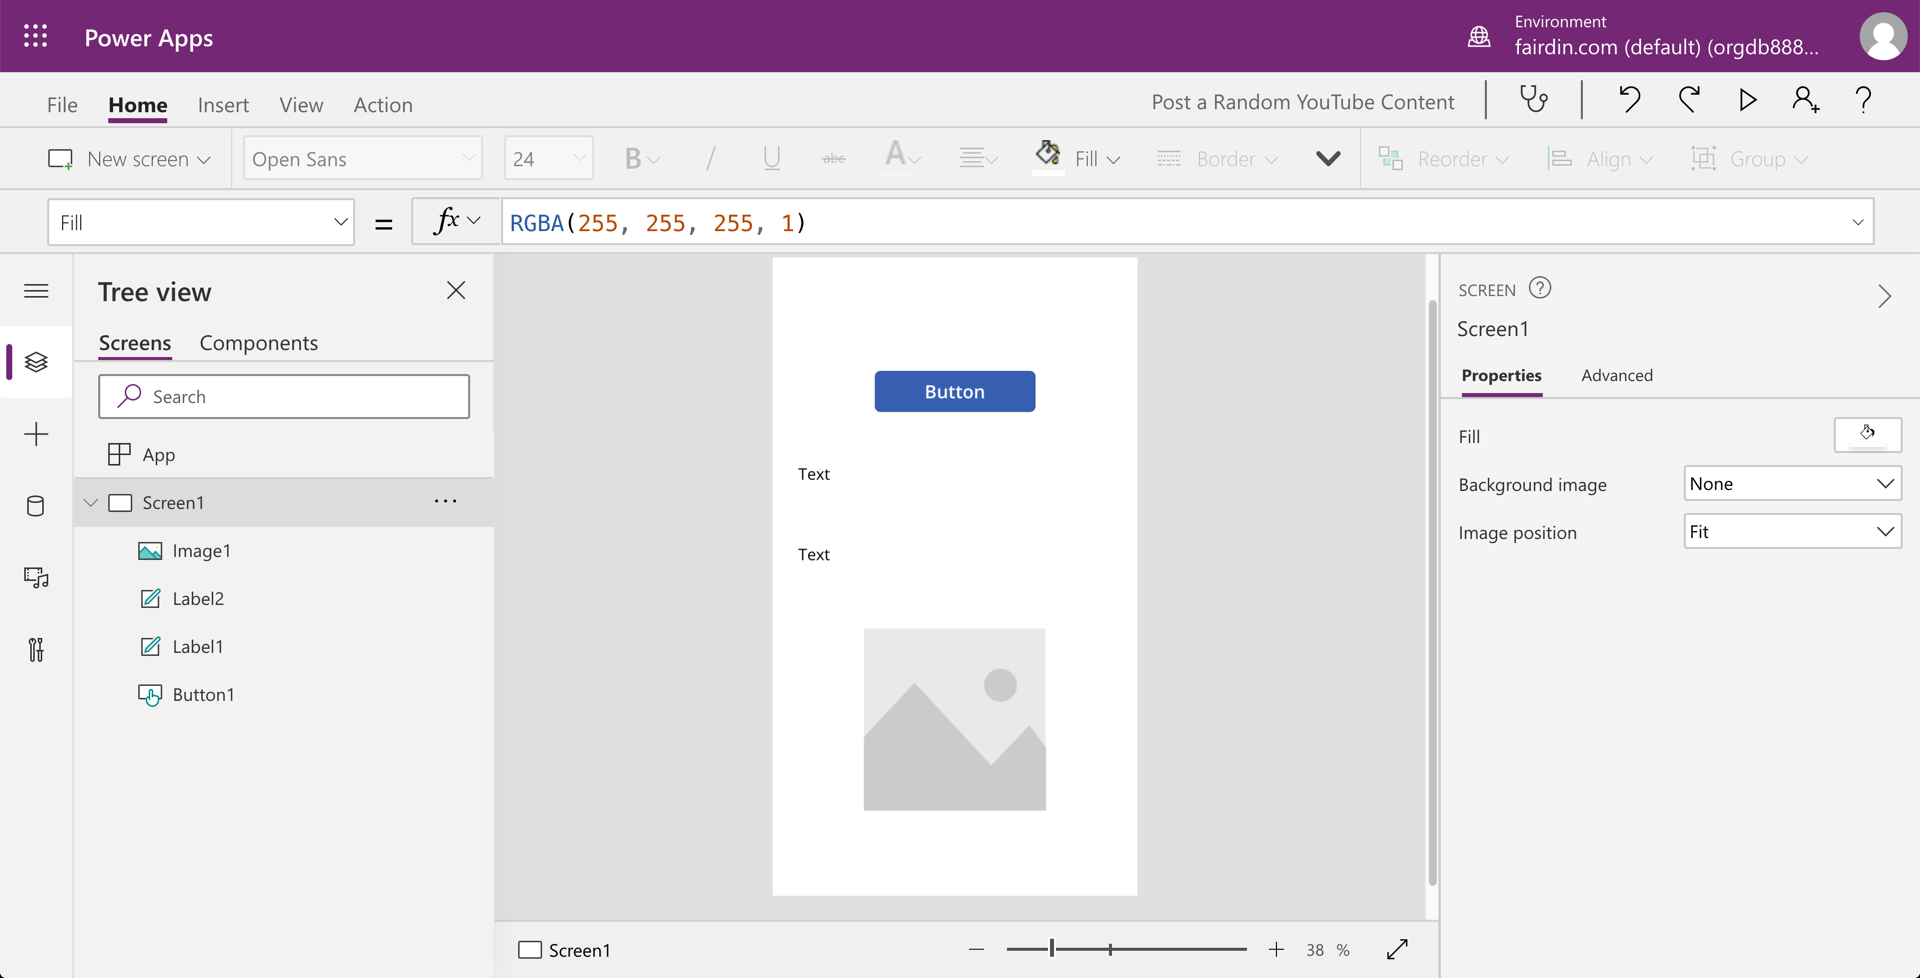
Put one button control, two label controls and one image control onto the canvas.
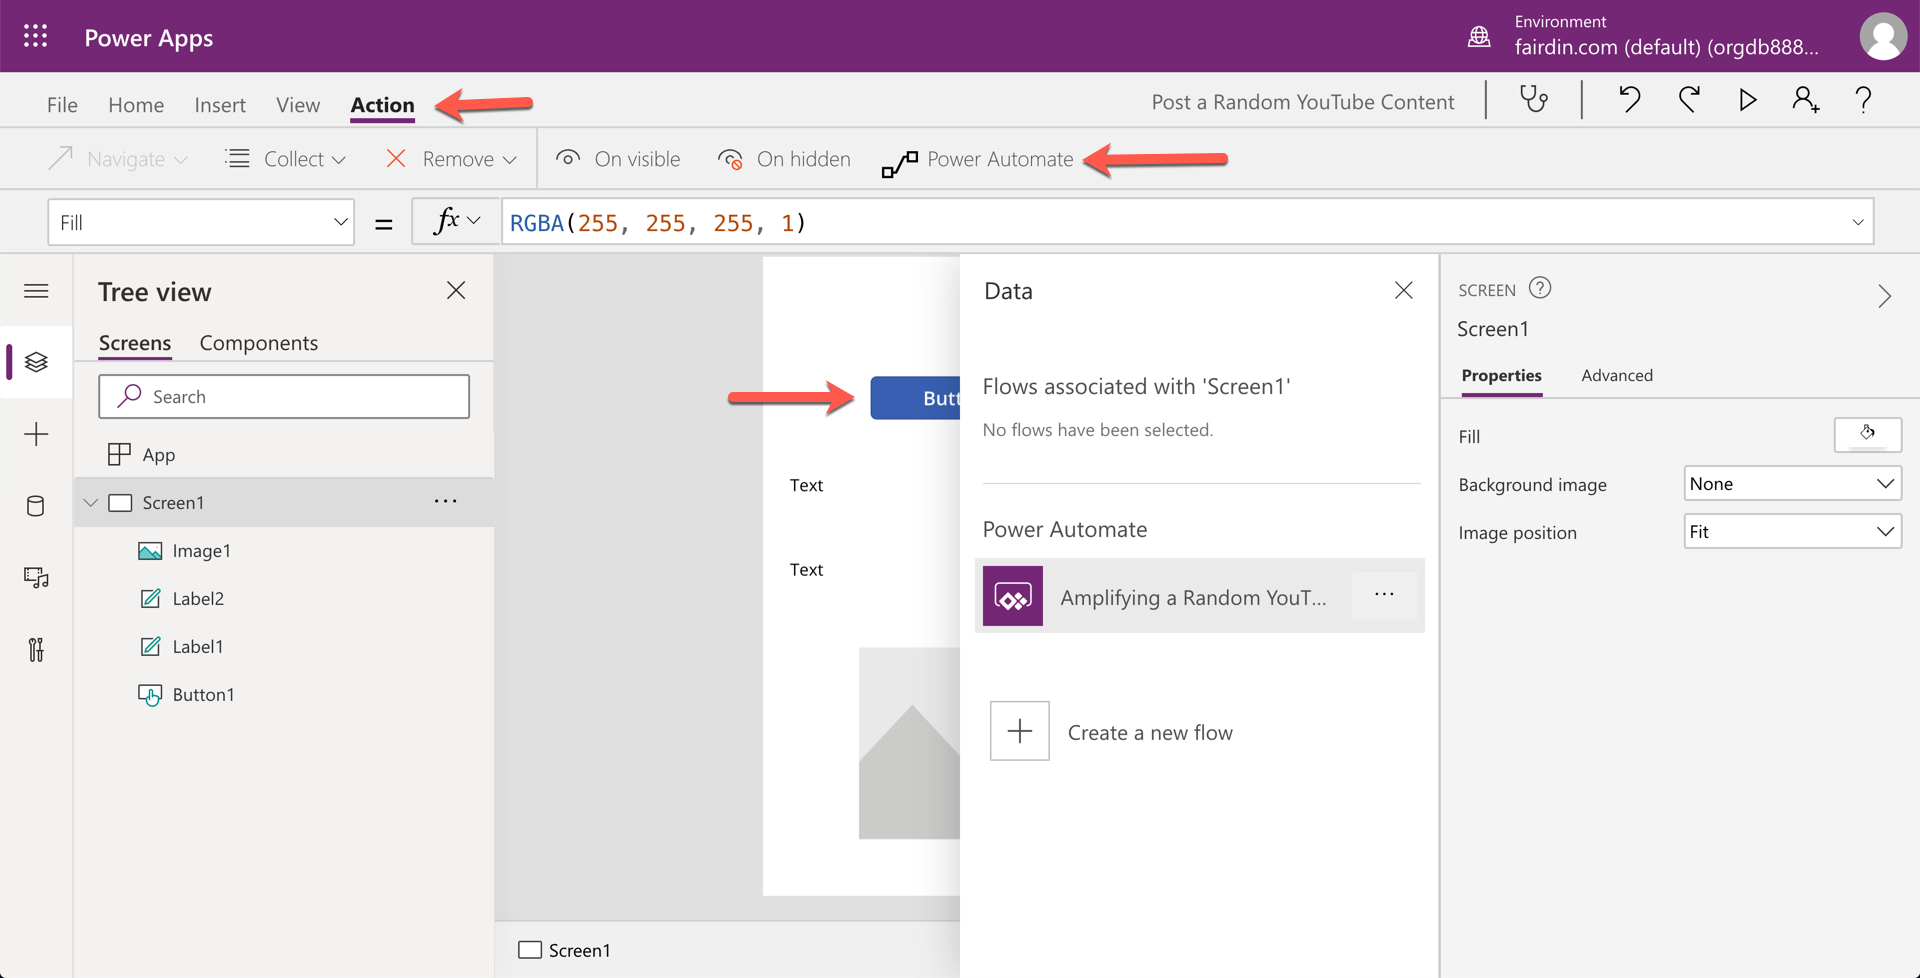
We expect that, when you tap the button, it triggers the Power Automate flow. Click the button control, select the Action tab at the menu bar at the top. Choose Power Automate and select the Power Automate flow that we just created.
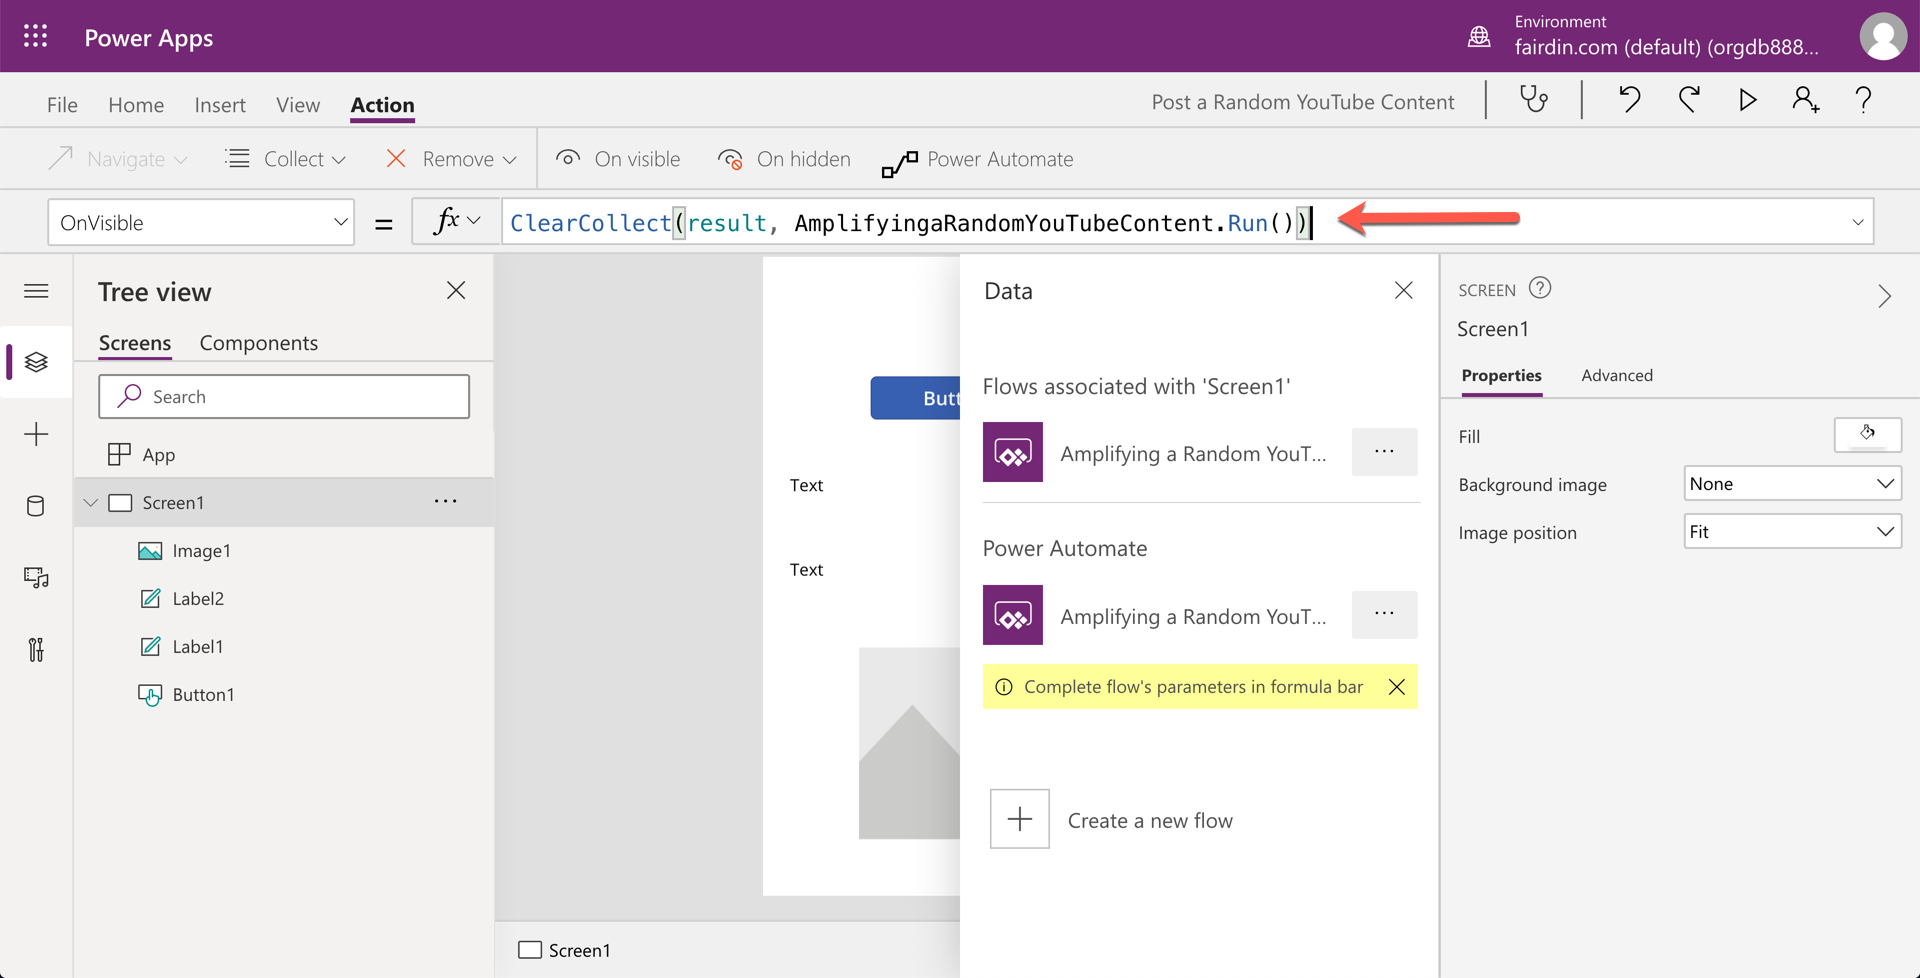
As soon as the Power Automate flow is connected to the Power App, it asks to completes the function. Enter ClearCollect(result, AmplifyingaRandomYouTubeContent.Run()). It means that the button runs the Power Automate, represented by the AmplifyingaRandomYouTubeContent() function, gets the response and saves it to the result collection.
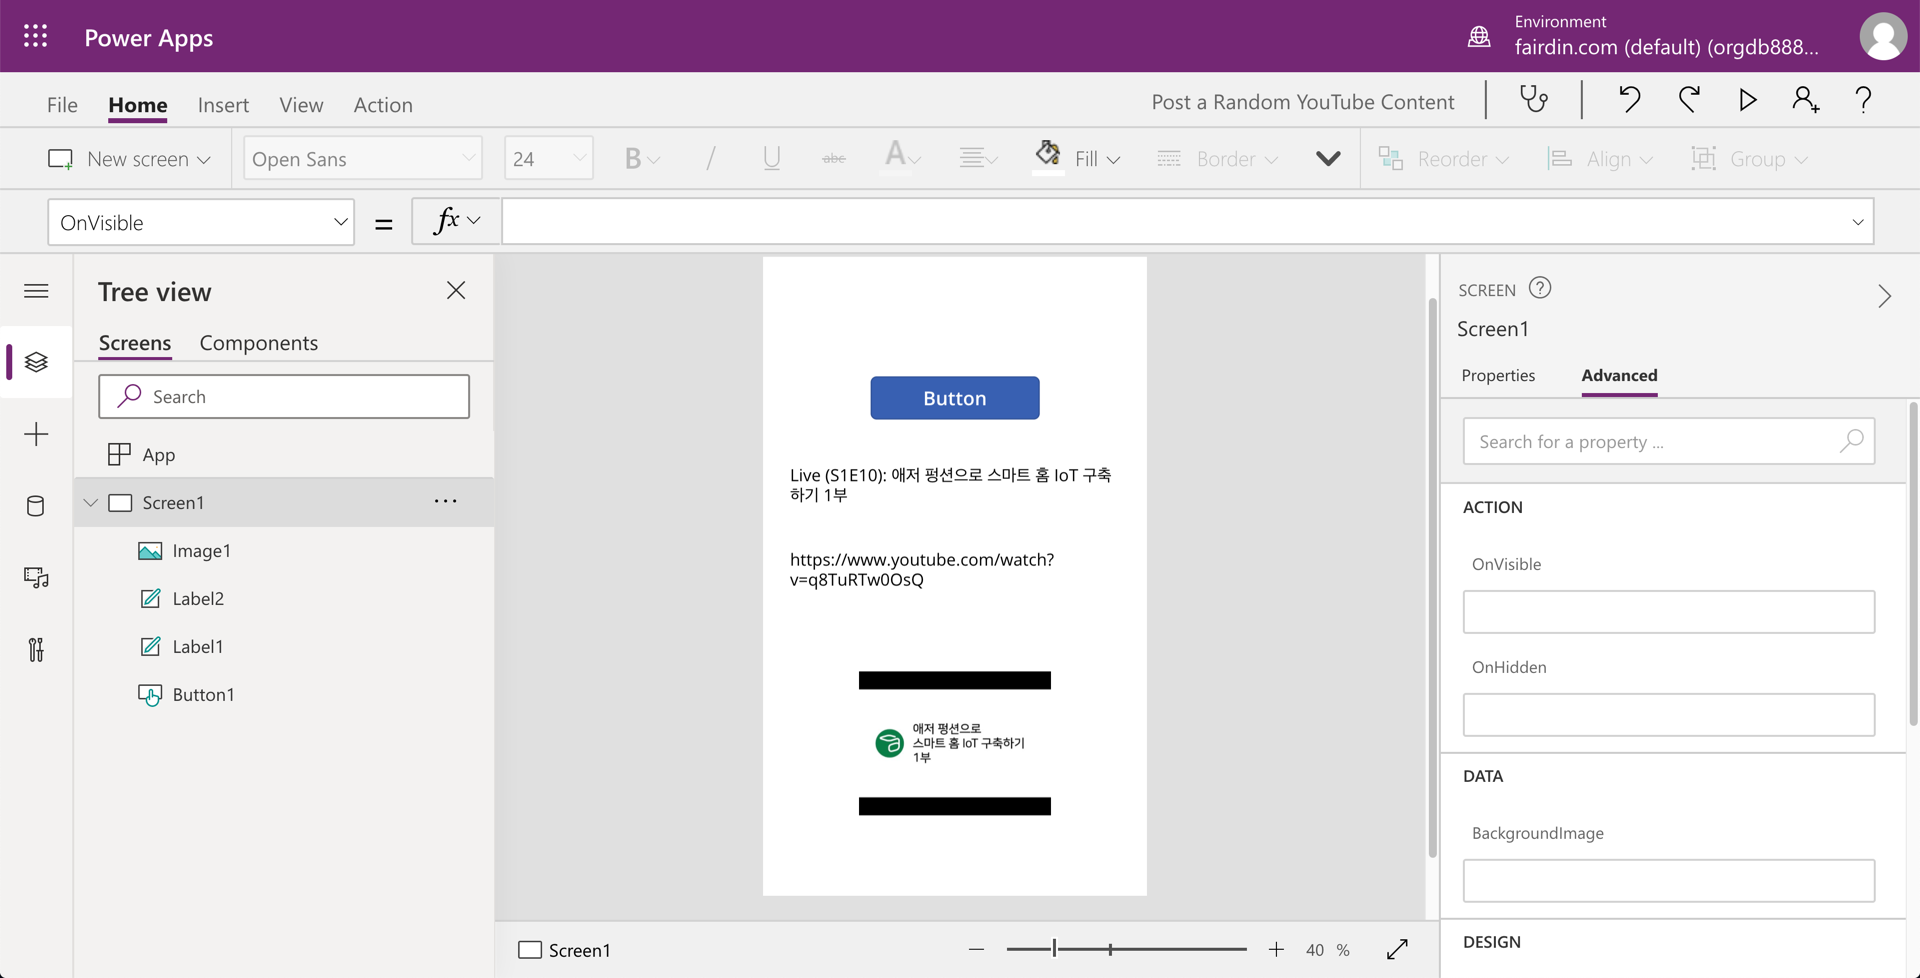
Now, update the rest controls to display the Power Automate execution result. Apply the formula to each control:
- Upper label control:
First(result).title - Lower label control:
First(result).link - Image control:
First(result).thumbnailLink
Then run the Power App, and you'll be able to see the result!
And Twitter has the same result posted!
So far, we have done:
- Implementing Open API extension on your Azure Functions app so that it generates the Swagger document on-the-fly,
- Building a custom connector for Power Automate with this Swagger document
- Integrating the custom connector to Power Automate, and
- Connecting the Power Automate flow to Power Apps.
By implementing a simple extension to Azure Functions, it significantly increases its extendability and discoverability. Let's leverage this for your Power Platform app building.