It's a common practice using node.js for front-end app development. In the Windows dev environment, the same exercise applies. If you use Windows Subsystem for Linux (WSL), you can make use of the Linux environment for it. But what if you want to keep your dev environment on Windows 11? One of the most infamous errors you might be able to see is related to the node-gyp package. Throughout this post, I'm going to discuss how to fix the node-gyp error on Windows 11.
node-gyp Package Dependencies
The node-gyp package is a part of npm, which is automatically installed while installing node.js. Therefore, you should be aware of your node.js and npm versions to get the issue sorted out. The latest LTS version of node.js at the time of this writing is 16.13.0 and npm of 8.1.0.

In general, if there's a project on GitHub you are collaborating on, what could be the process to build an app?
- Clone the repository to your local dev environment,
- Run the
npm installcommand to download node modules, and - Run the
npm run <command>command to run the application
I know the steps identified above are exactly the same but similar. Depending on your case, you might use the node-gyp package, which you are likely to meet the errors below.
Python
It doesn't matter whether you are developing Python apps or not. The node-gyp package has a direct dependency on Python, and you have to install it beforehand.
You might see the error message like below while running the command, npm install.
NOTE: The default version of
node-gypis8.2.0, which comes with node.js (LTS)14.13.0, as the screenshot says.

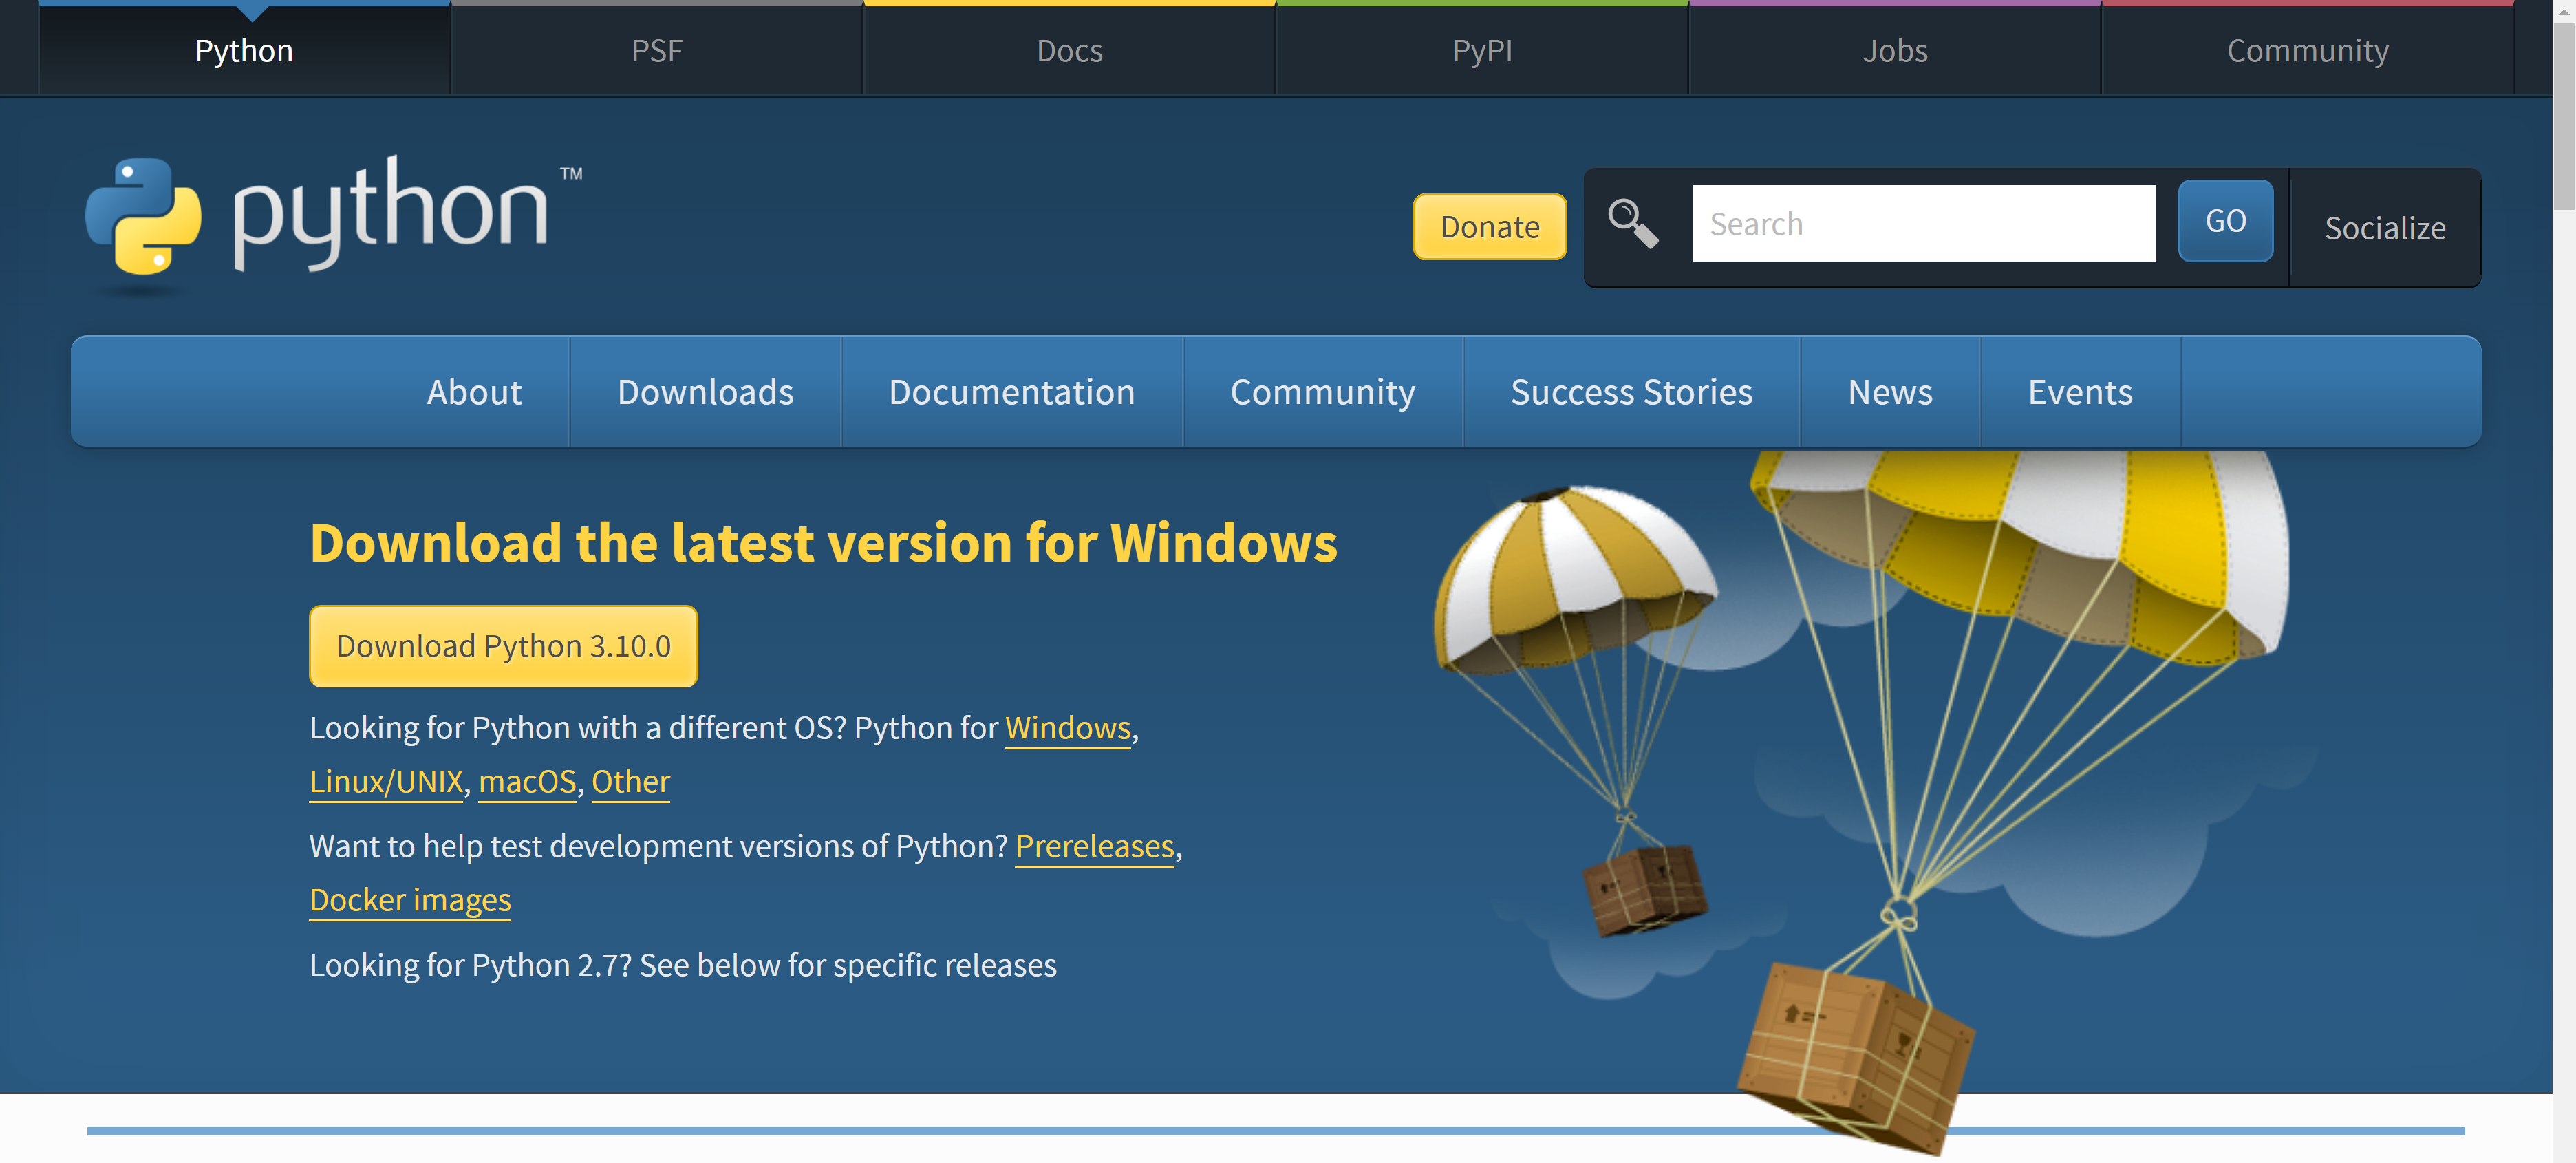
It's because Python is not installed on your machine. The solution is straightforward – install Python. Go to the Python website, download the latest version and install it. The newest version of Python at the time of this writing is 3.10.0.
Once installed, run the following command to check whether Python is correctly installed or not.

Visual Studio 2019 Build Tools
Run the npm install command again. Then, you'll see the following error.

The node-gyp package also depends on the C++ compiler, and your dev environment doesn't have it yet. Therefore, you can install Visual Studio or Standalone Build Tools. In this section, let's use the Standalone Build Tools for now. While installing, choose the "Desktop development with C++" workload option.
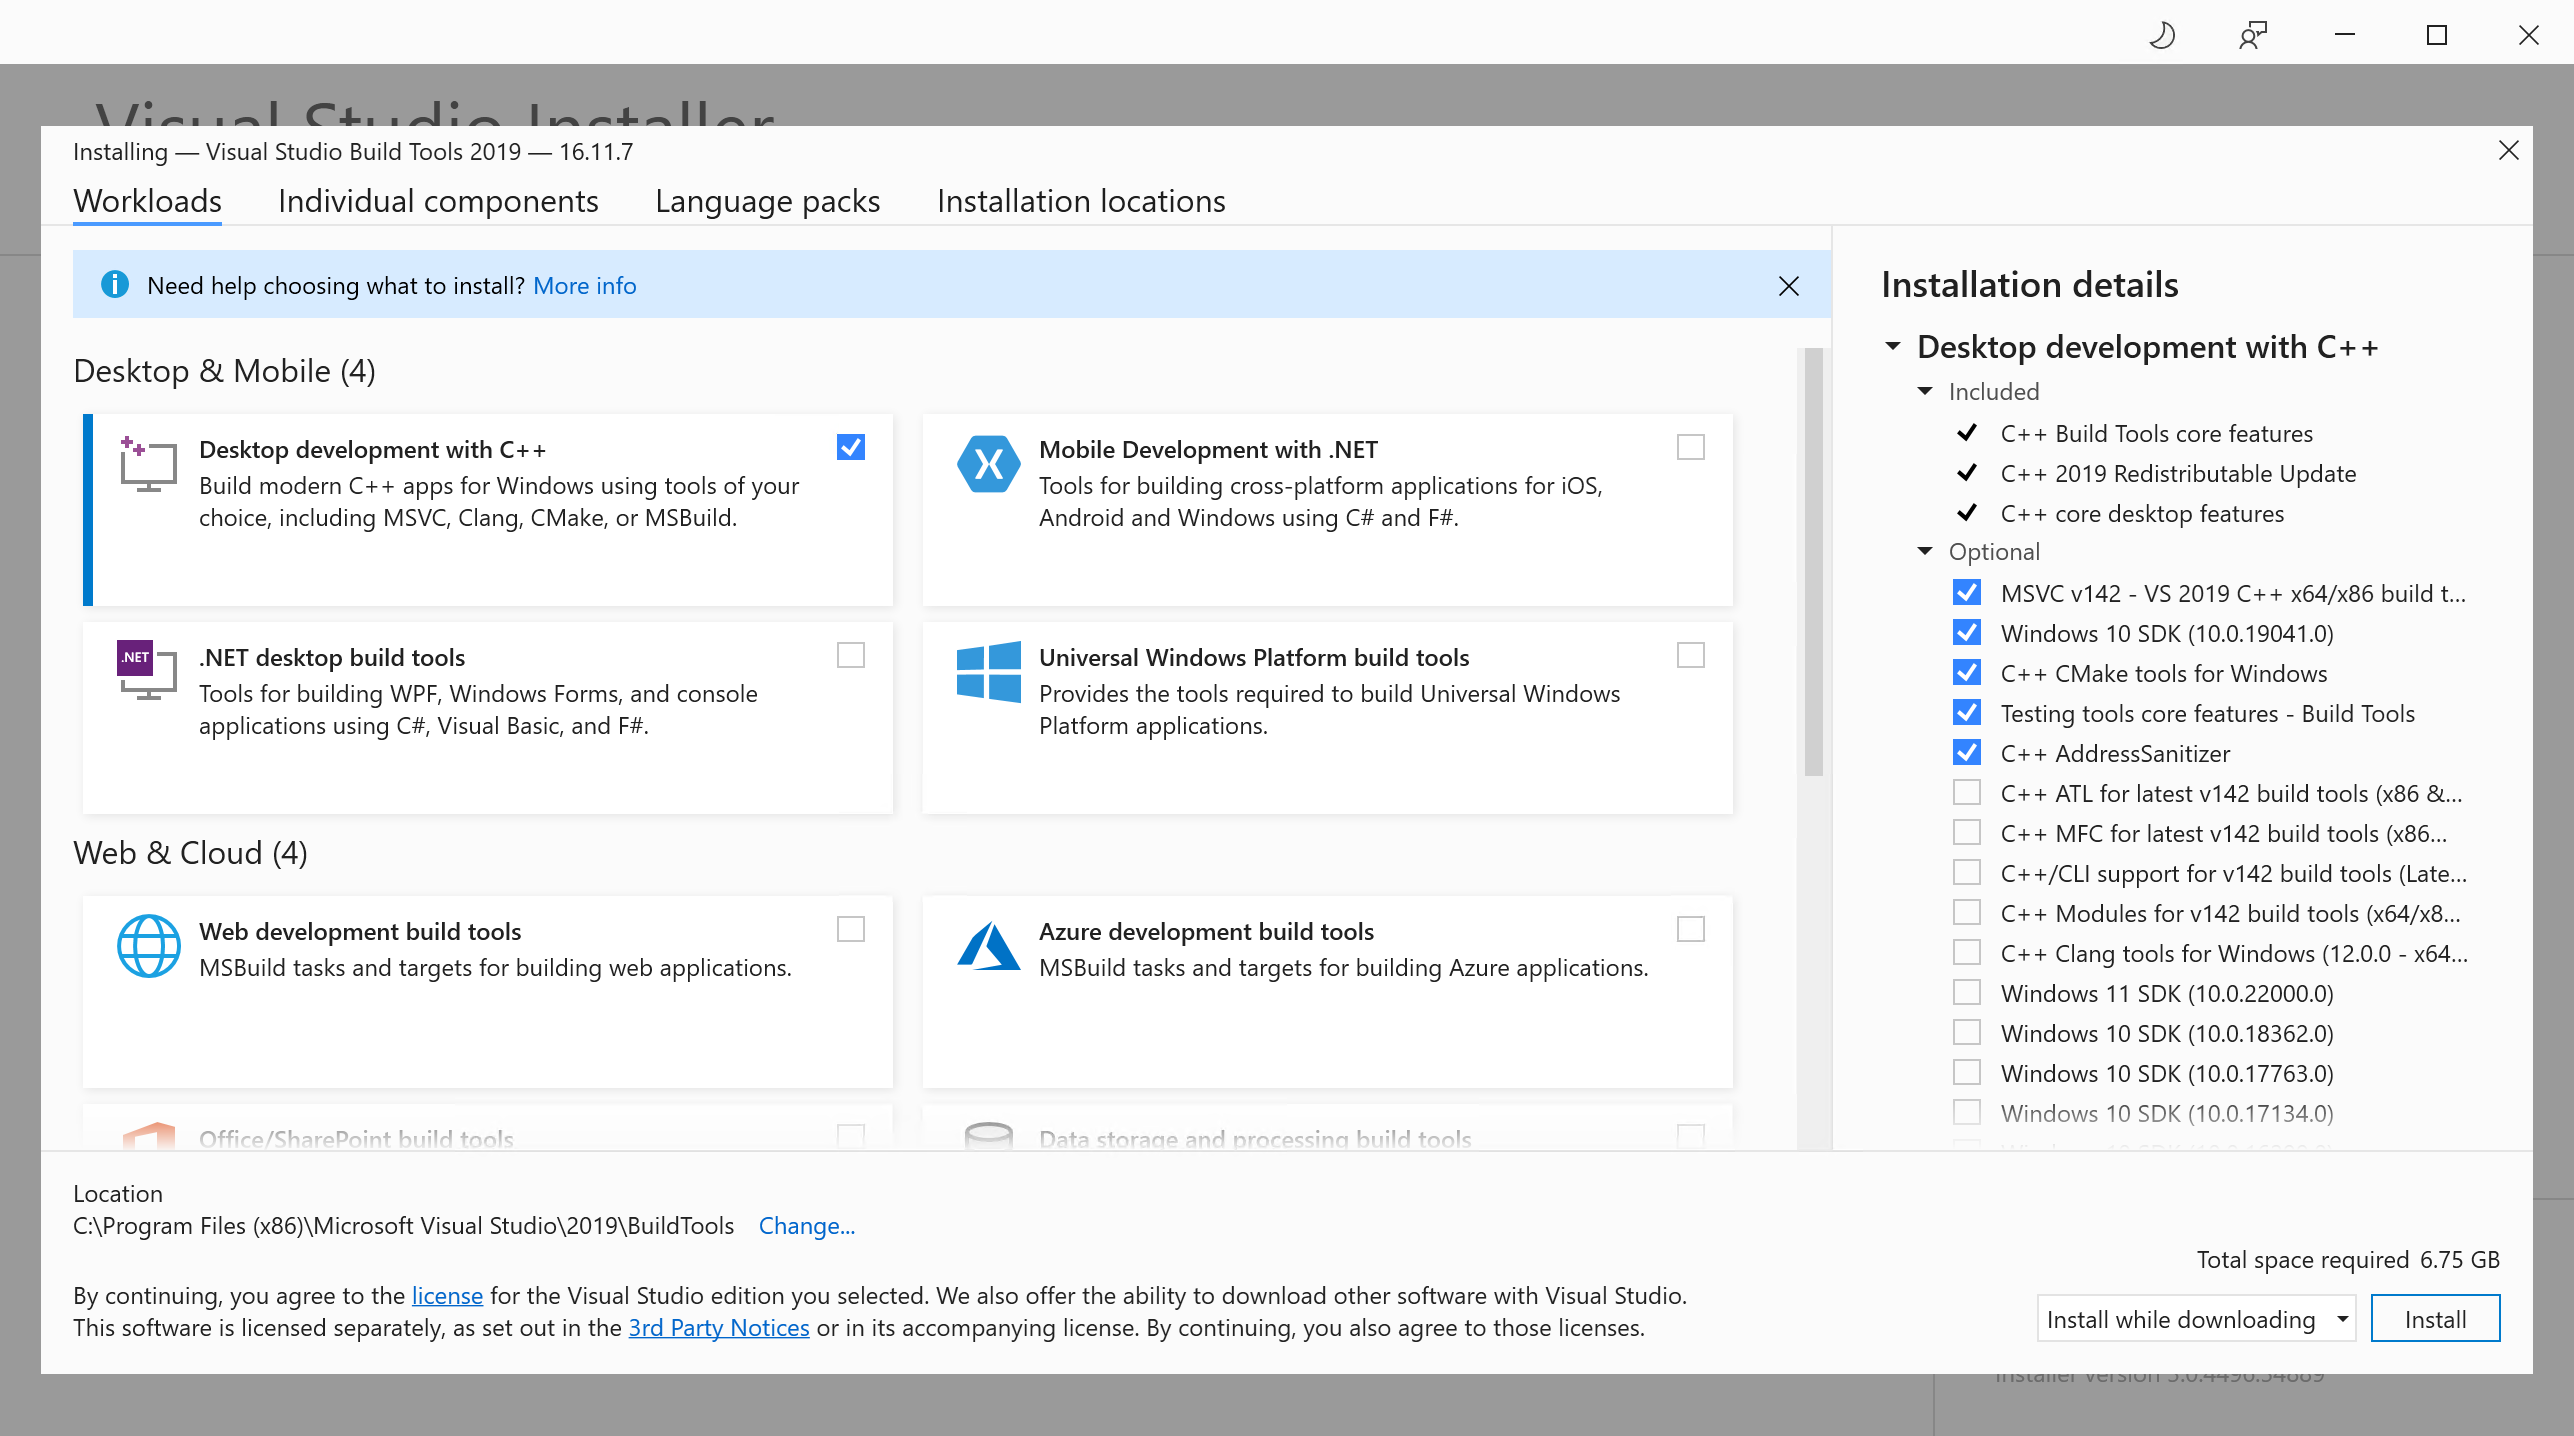
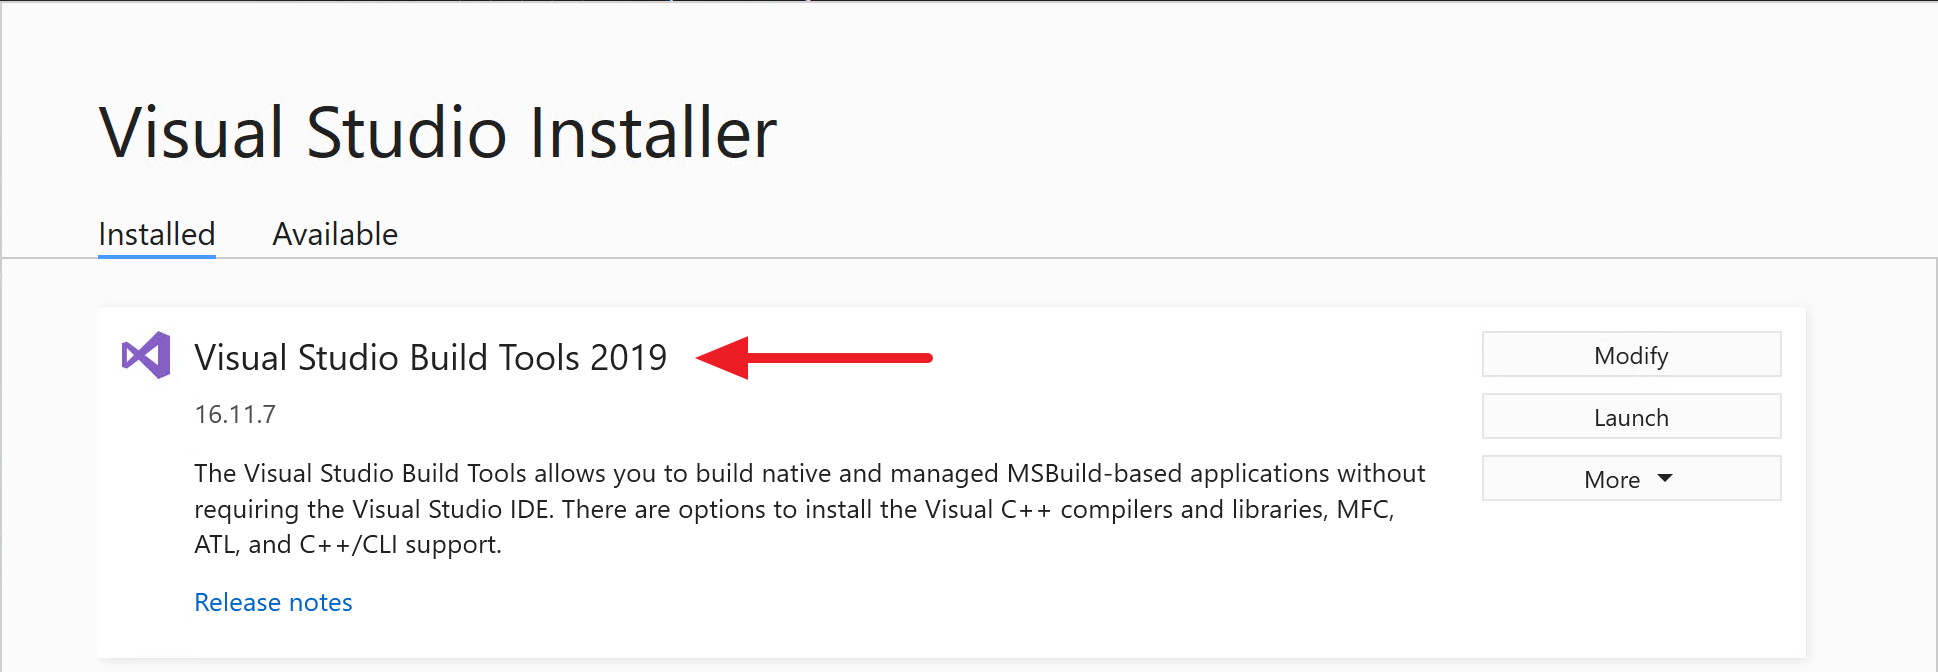
Since the download link currently offers the Visual Studio 2019 version at the time of this writing, you will be able to see the following screen after the installation.
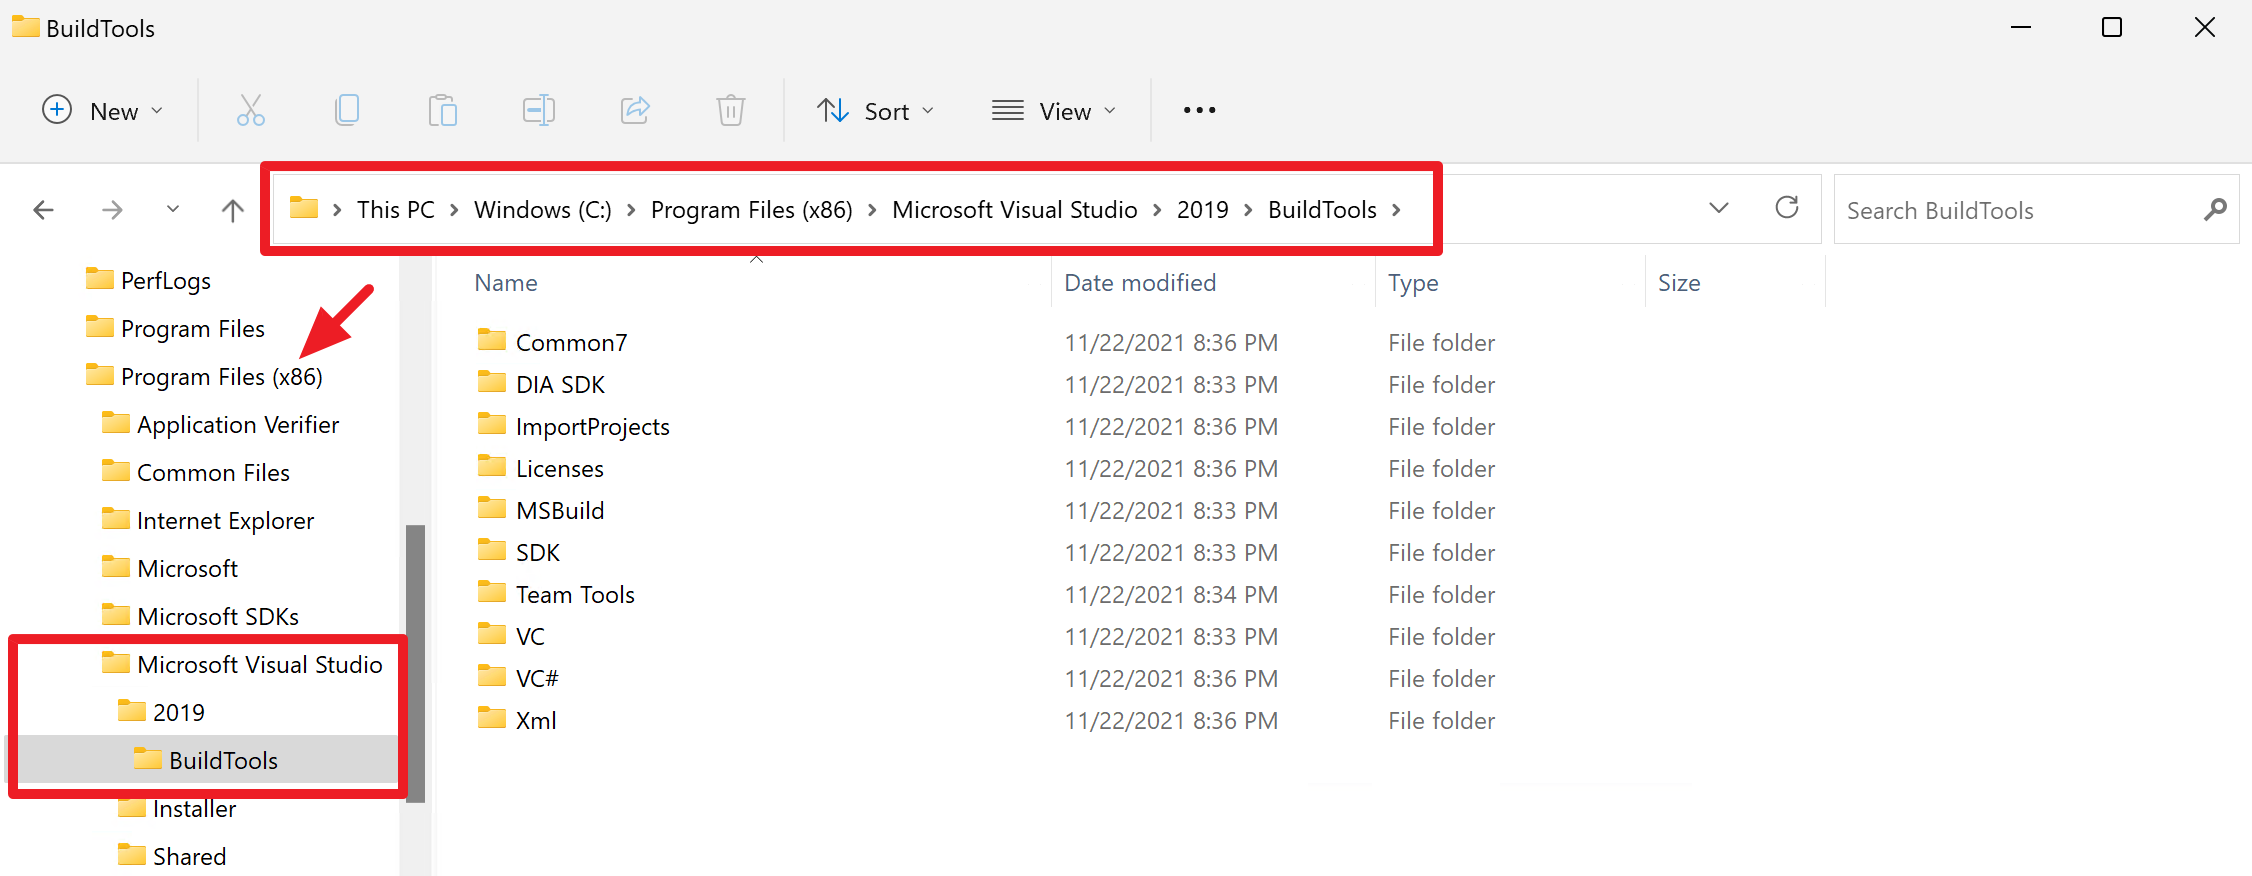
The installed path is the following:
C:\Program Files (x86)\Microsoft Visual Studio\2019\BuildTools
Run the npm install command again. Then you'll get all the node modules installed with no error. However, if you still see the error like above, you should let npm know the version of Visual Studio like:
npm config set msvs_version 2019Then, everything will go alright with the npm install command.
NOTE: Depending on the timing, the Standalone Build Tools download link offers you the latest version of Build Tools. Therefore, you might not download Visual Studio 2019 version but the later version. If you download the later version than Visual Studio 2019, try the following section.
Visual Studio 2022 Build Tools
Recently, Visual Studio 2022 was released, and the Build Tool has also been upgraded to 2022. This page gives you the latest release of Build Tools. Choose the "Desktop development with C++" workload option, like before.
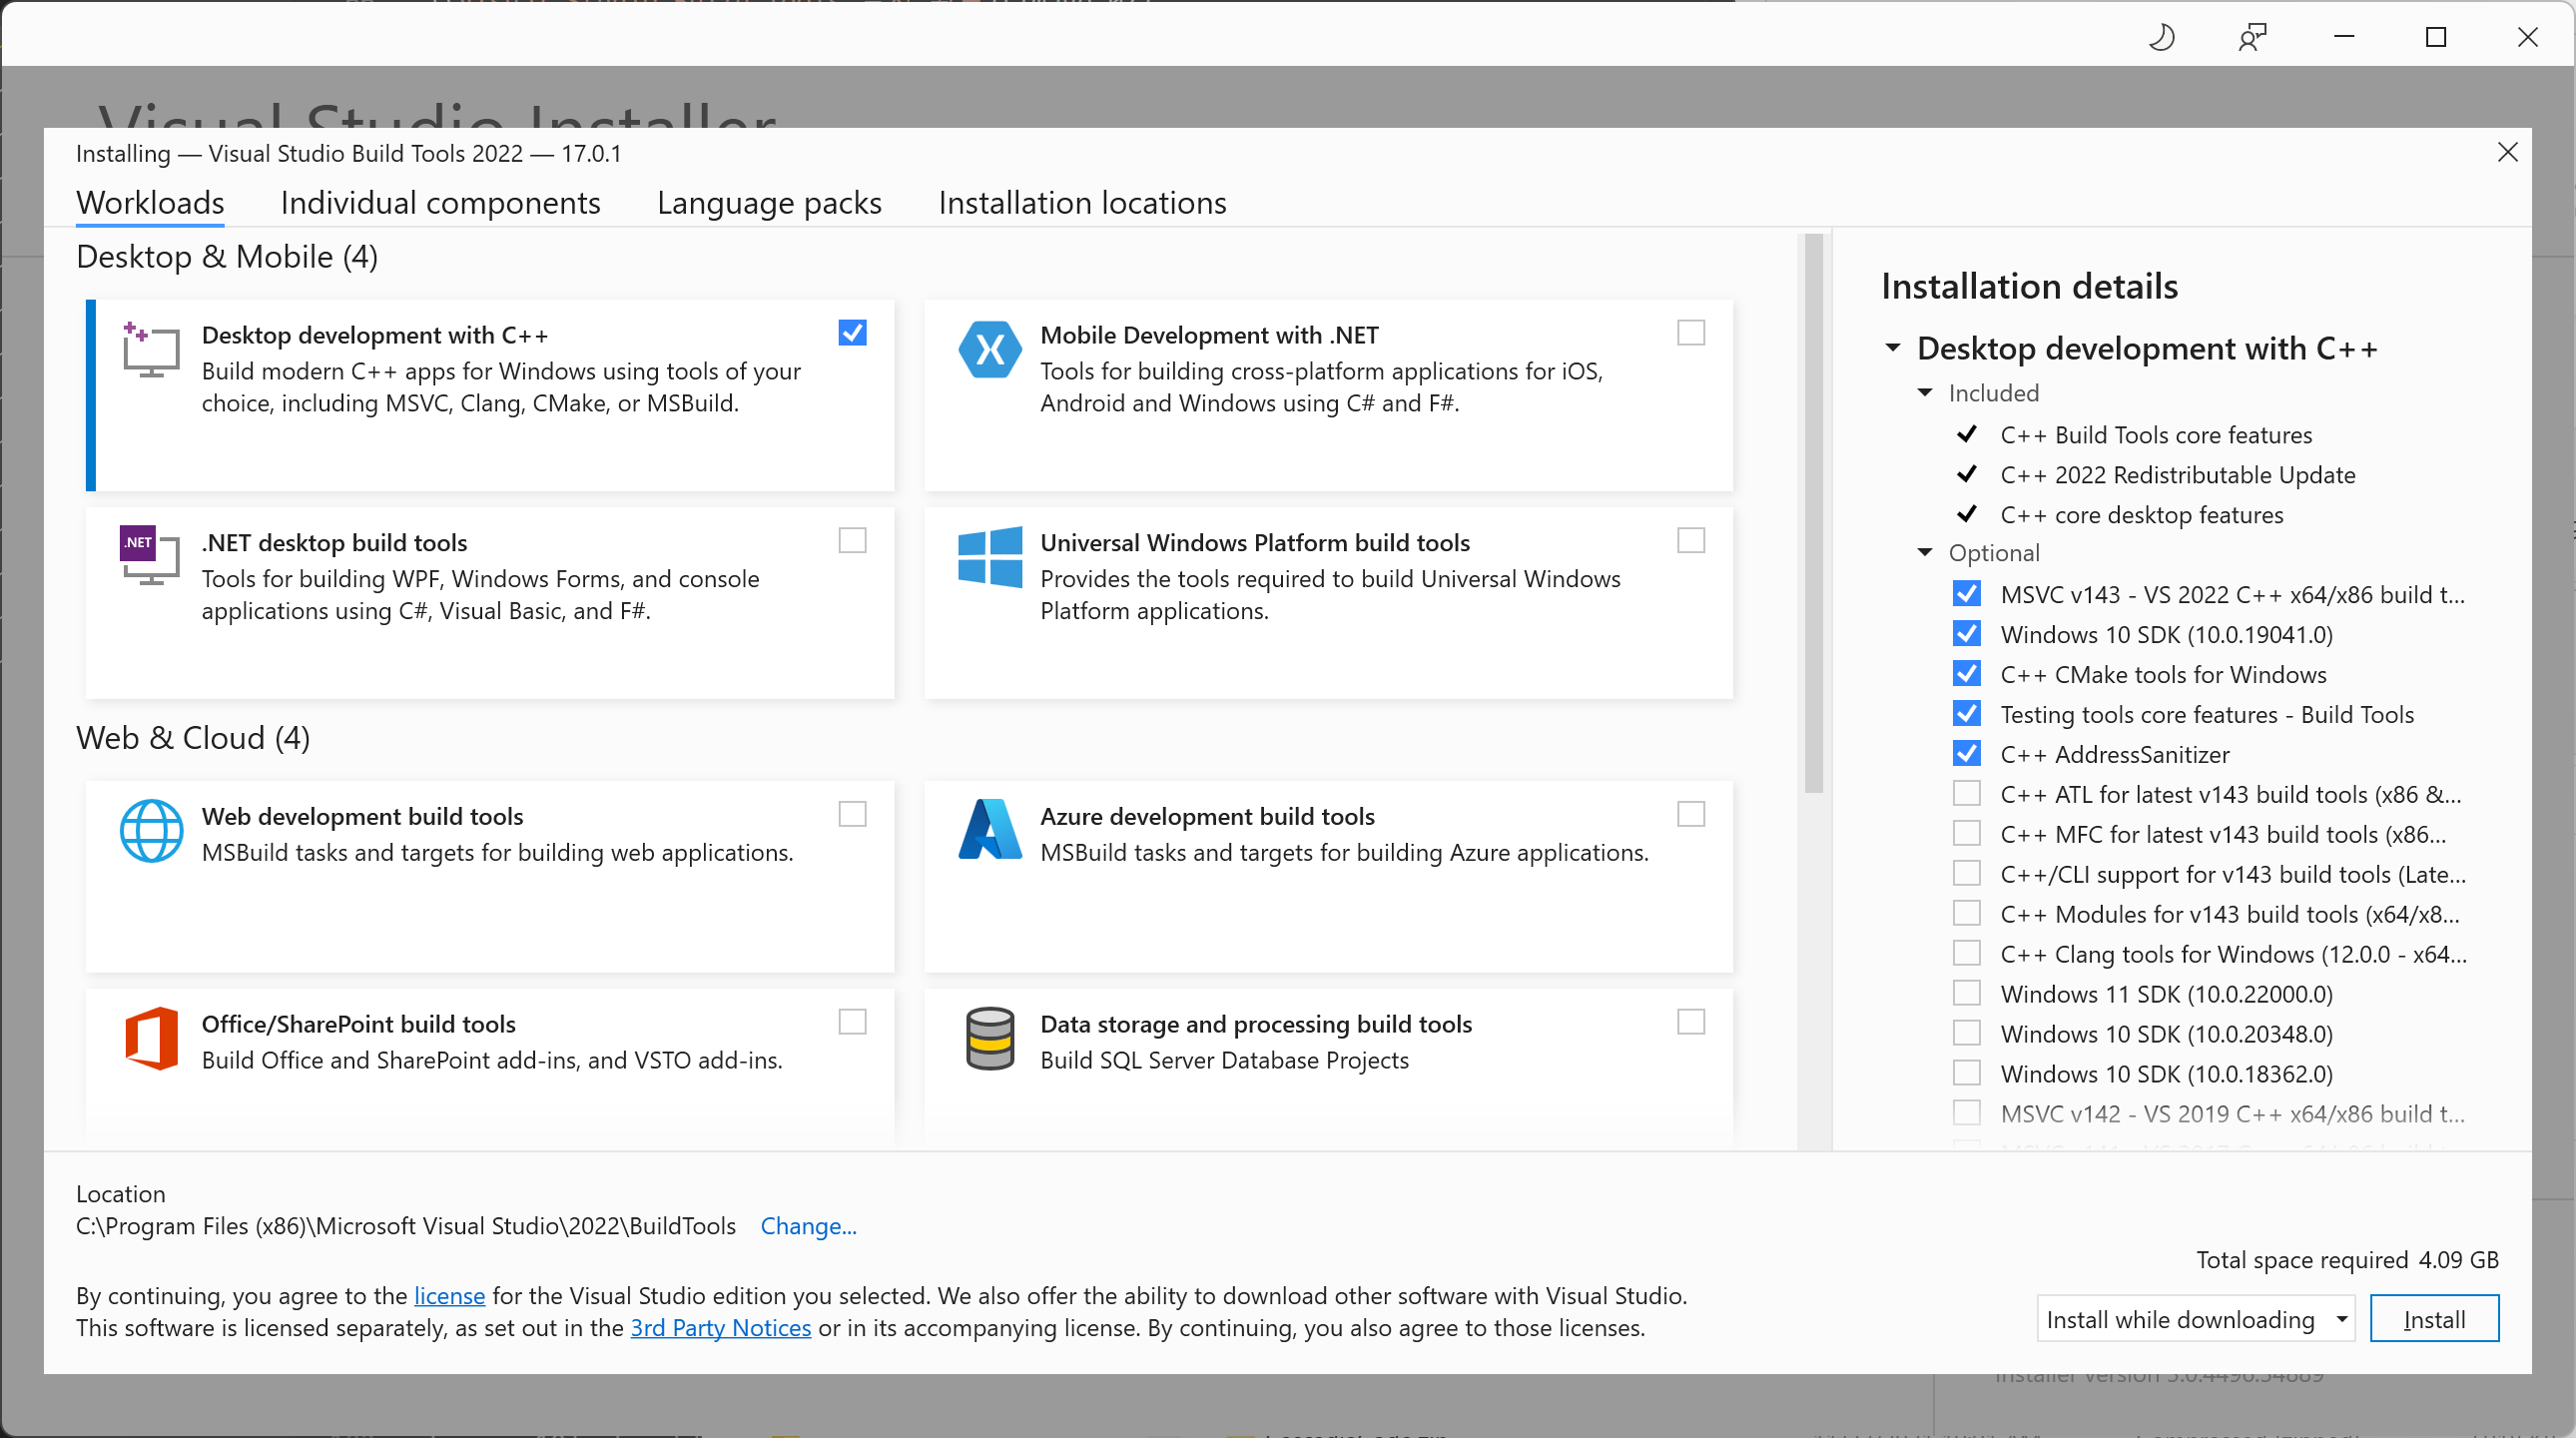
The installed location looks like this:
C:\Program Files (x86)\Microsoft Visual Studio\2022\BuildTools
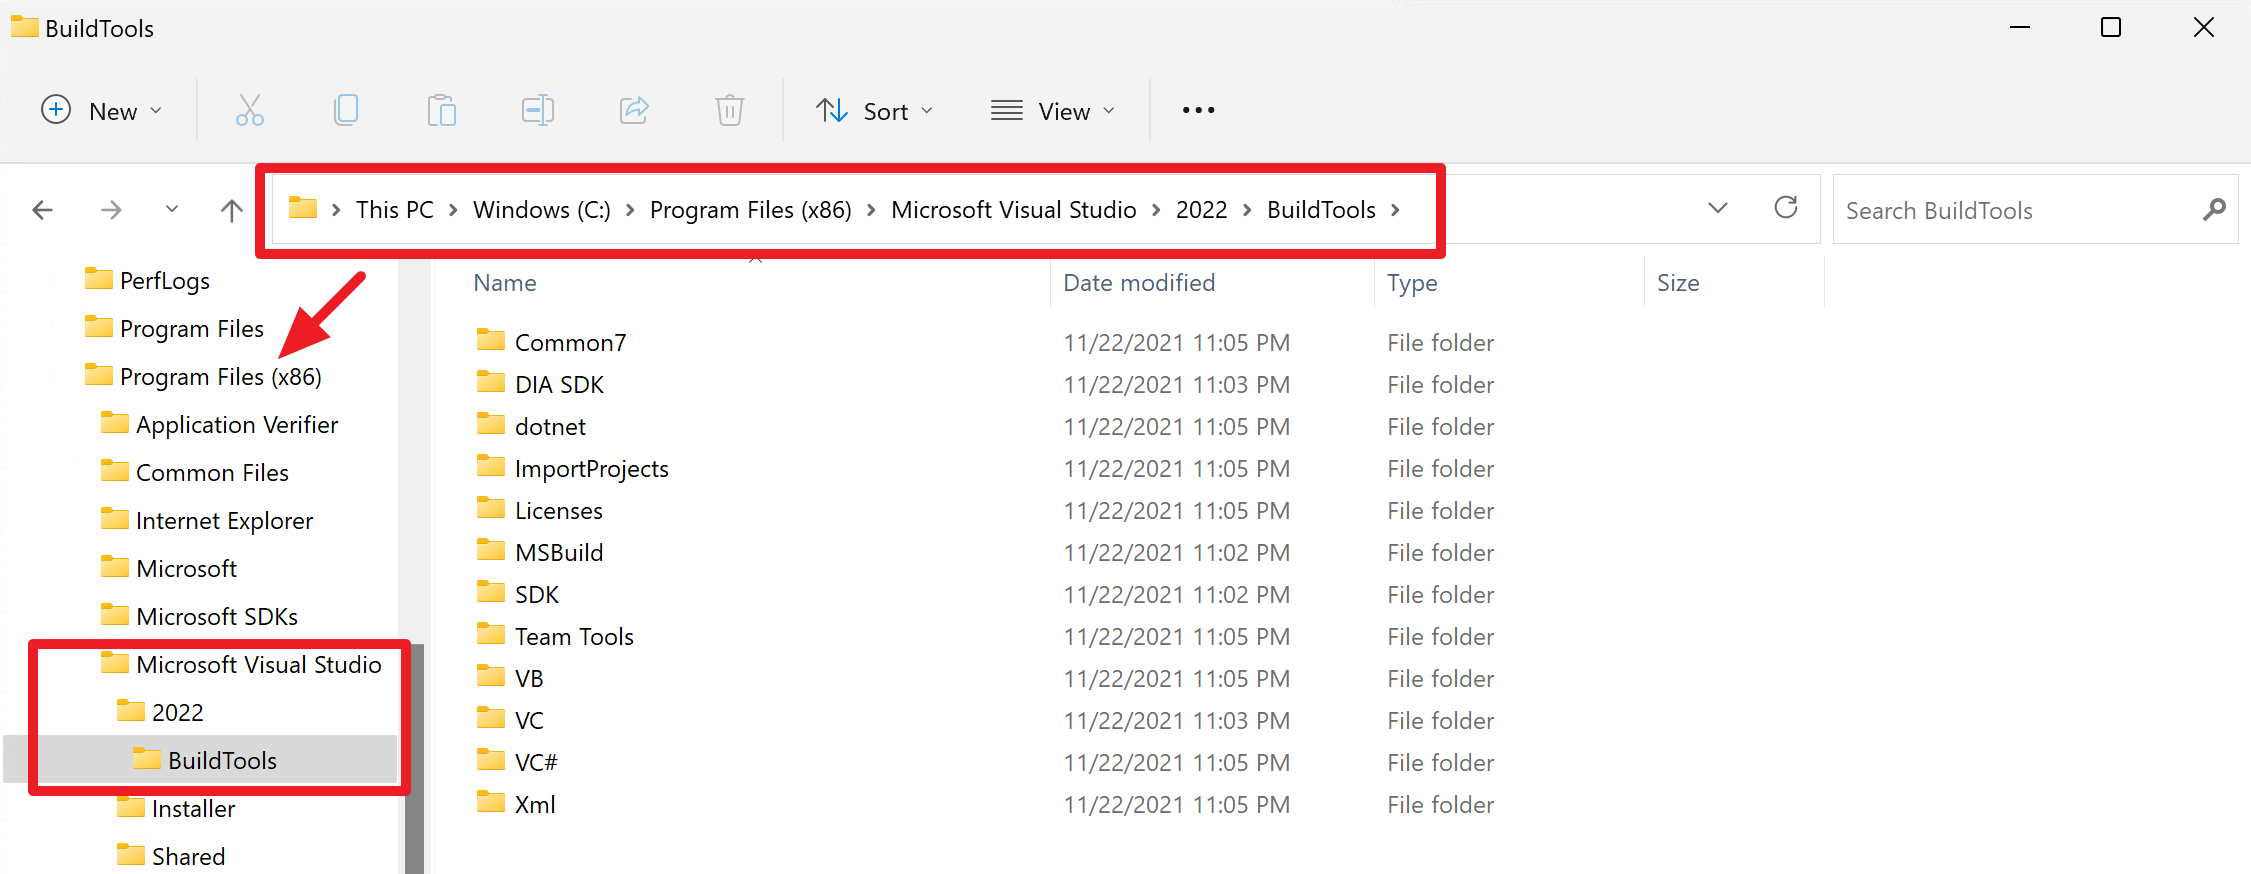
But the node-gyp version that comes with node.js 14.13.0 doesn't support Visual Studio 2022. Therefore, you should update the npm version by running the following command:
npm install -g npmOnce updated, the npm version is changed from 8.1.0 to 8.1.4.

In addition to that, the node-gyp package also has been updated from 8.2.0 to 8.4.0.

Now, run the npm install command again, and it will properly install all the node modules. You can also override the Visual Studio version like:
npm config set msvs_version 2022Visual Studio 2022
In the previous two cases, you don't need to install Visual Studio but the Build Tools workload. This time, let's use Visual Studio 2022 itself. Visual Studio 2022 has a different installed location because it's now running on the x64 mode natively.
C:\Program Files\Microsoft Visual Studio\2022\Community
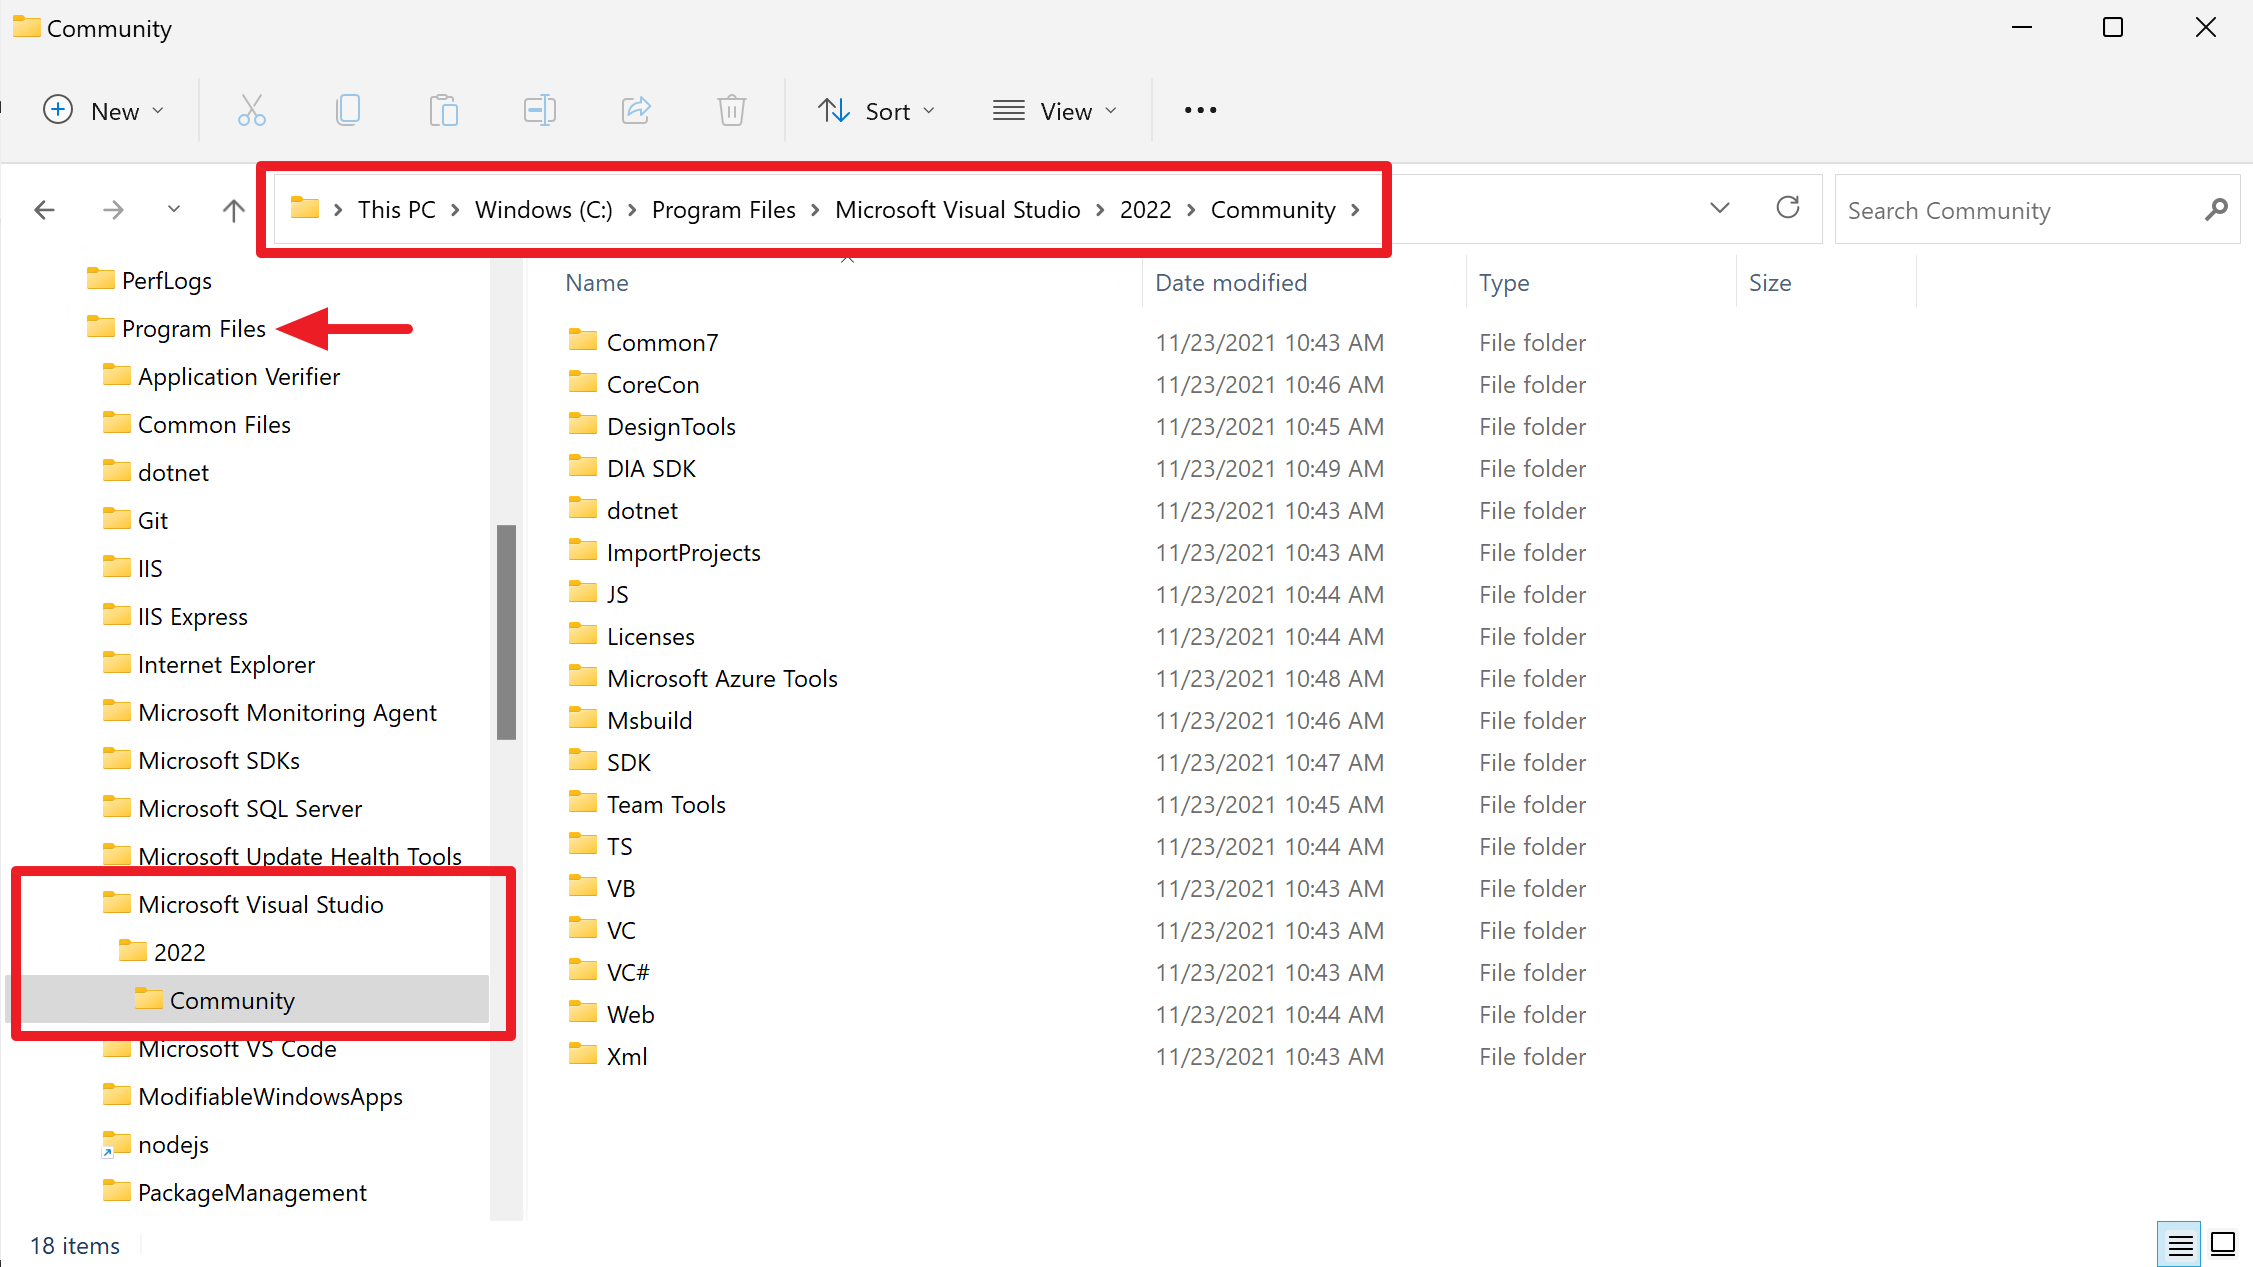
Your node-gyp version has already been updated to 8.4.0. Hence, once you complete installing Visual Studio 2022, running the npm install command won't cause an issue. Then, of course, you can force the Visual Studio version like below:
npm config set msvs_version 2022NOTE: In this post, I just use the Visual Studio Community Edition. But you can use Professional or Enterprise Edition.
Long Path Issue
It's not related to the node-gyp package, but you will frequently see this issue while developing the node.js app on Windows. The long path issue on Windows OS is now resolved on Windows 11 through Local Group Policy Editor.
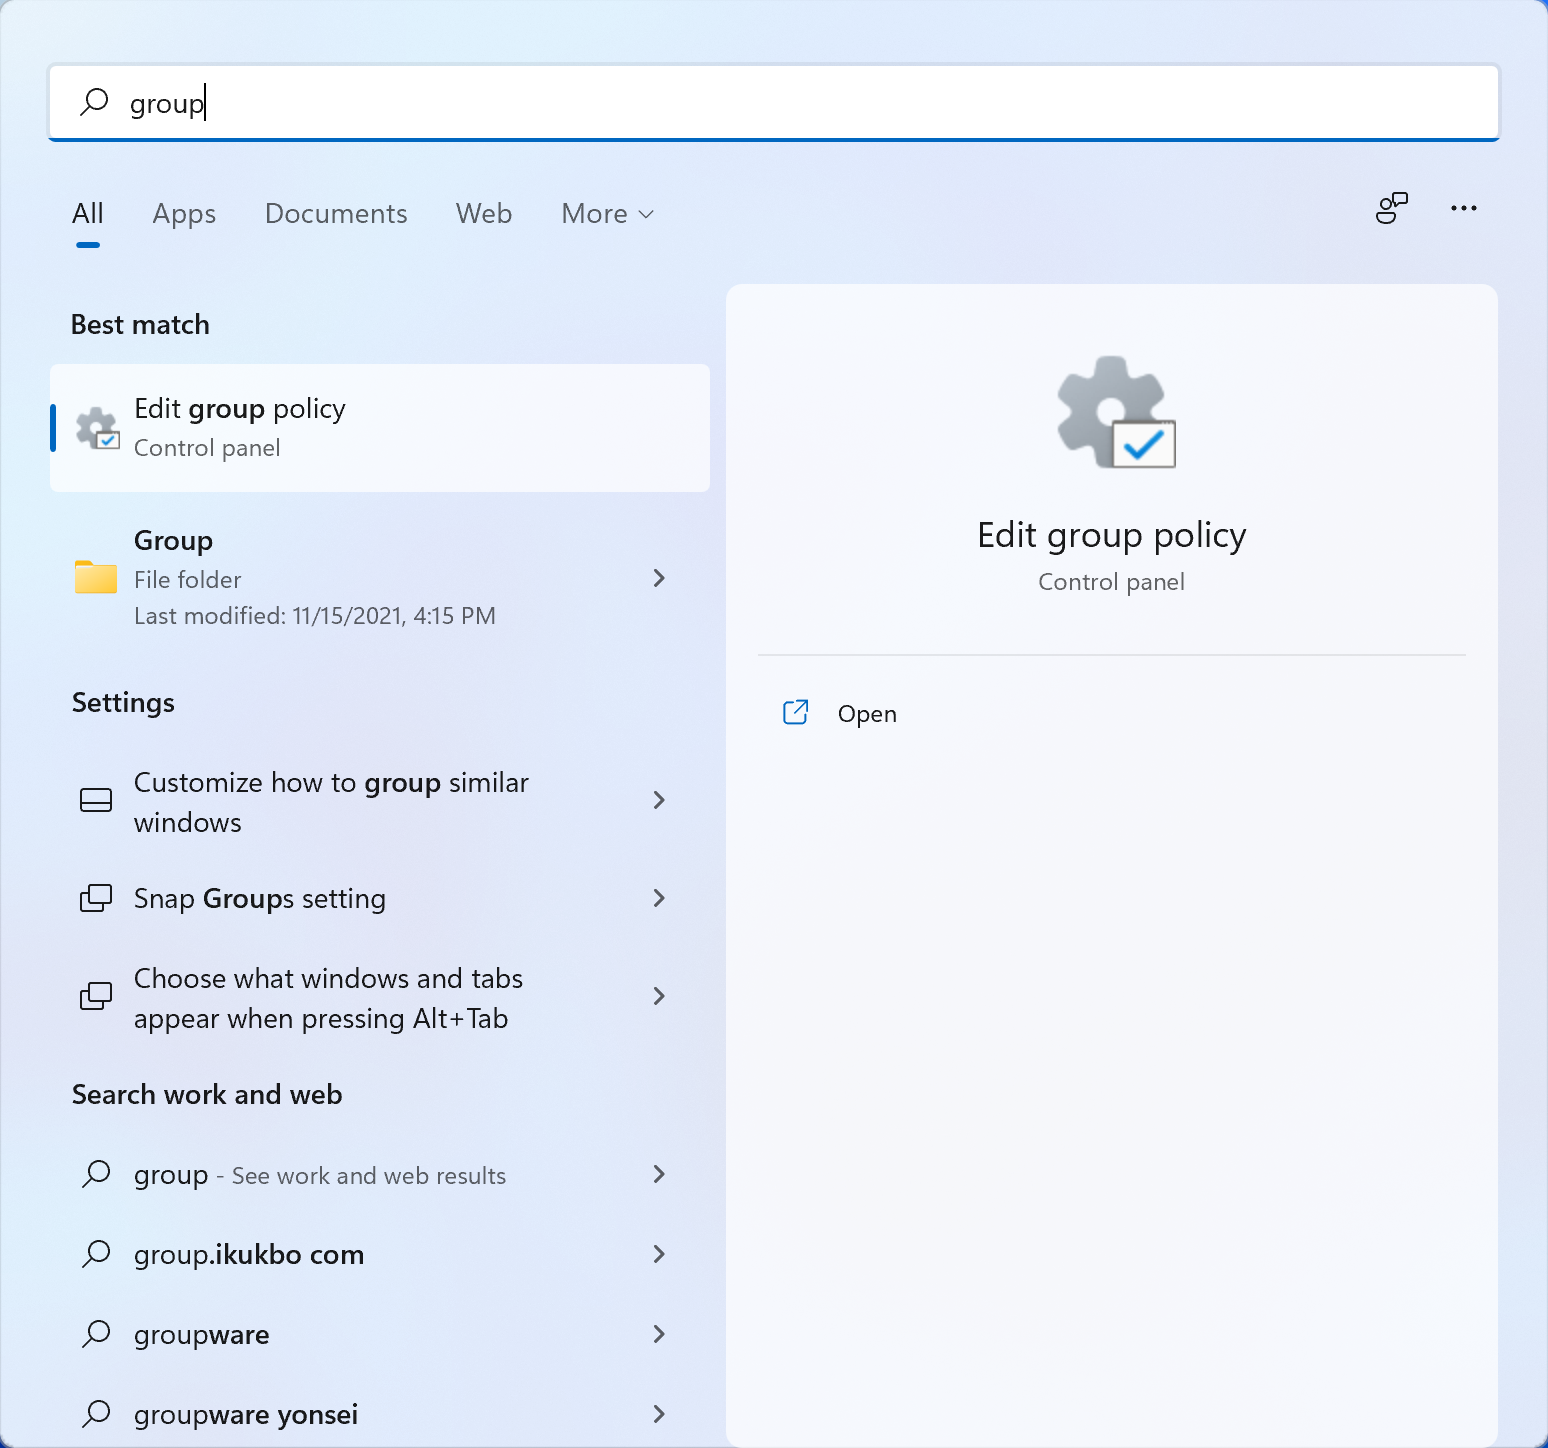
Once open Local Group Policy Editor, navigate to "Local Computer Policy" ➡️ "Computer Configuration" ➡️ "Administrative Templates" ➡️ "System" ➡️ "File System" and open the "Enable Win32 long paths" item.
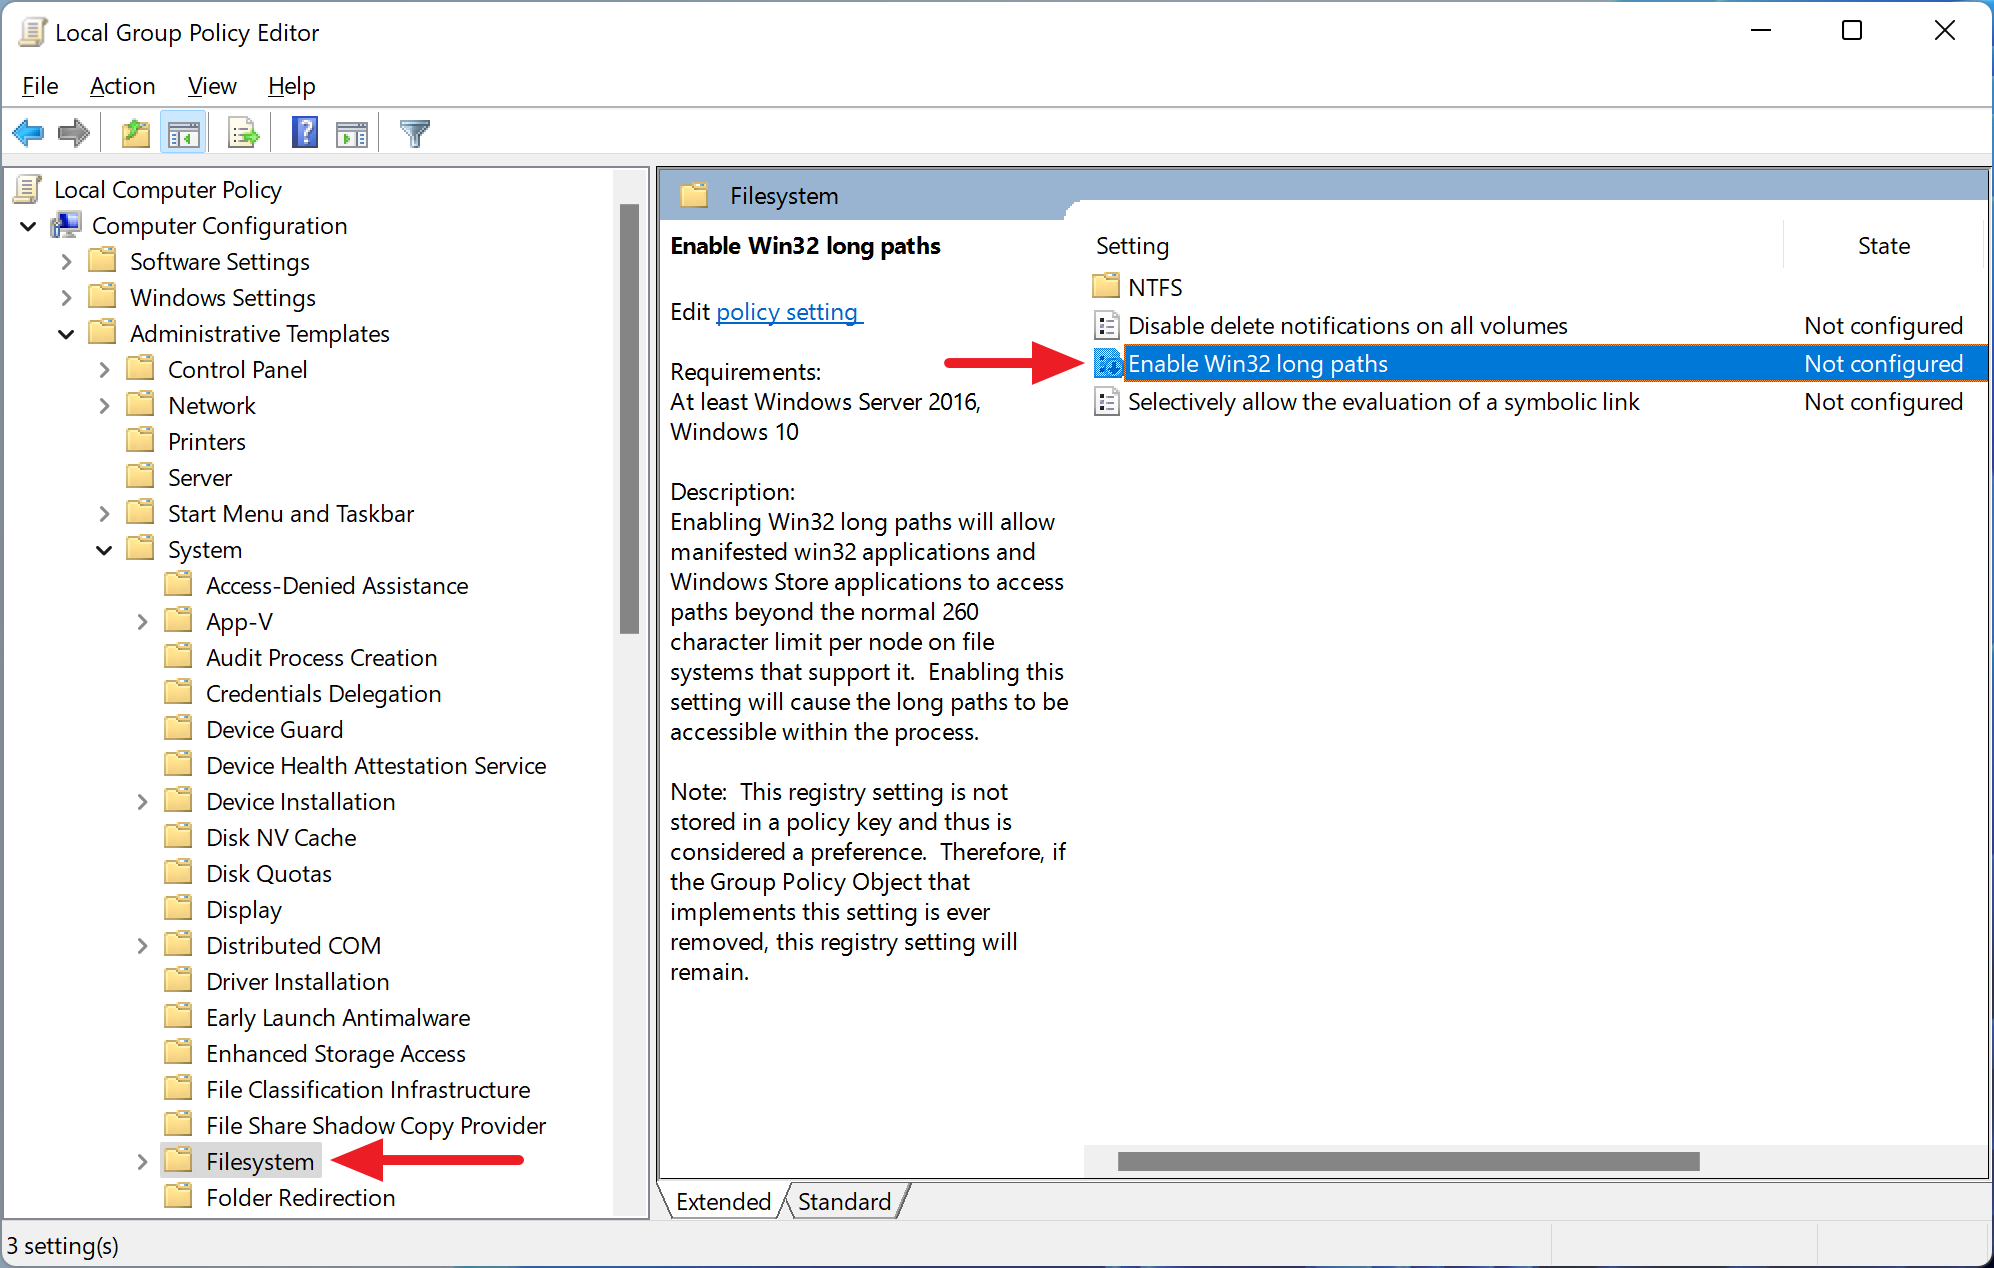
This value is "Not Configured" as default. Enable it.
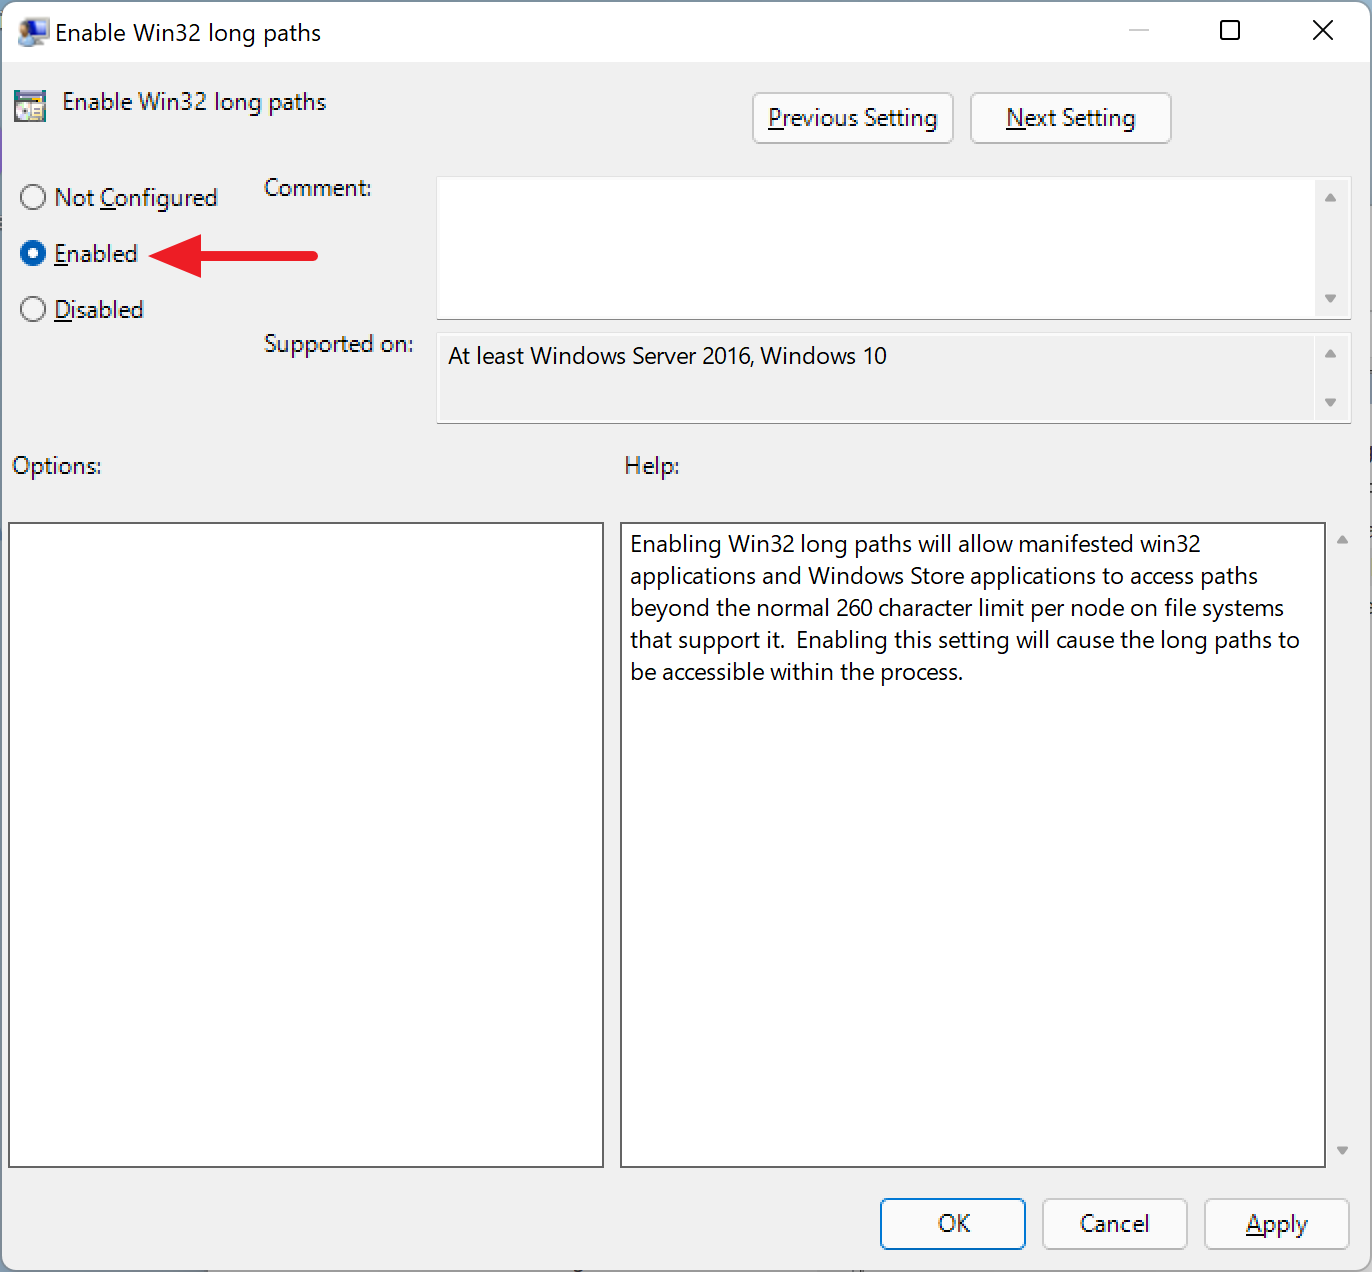
Then, you don't have to suffer from the long path issue any longer.
So far, we've walked through the node-gyp issue while working with the node.js app on Windows 11. I hope this approach helps.