One of the most popular scenarios to build a static website is to run a blog site for myself or my organisation. WordPress is the most popular service for this purpose. Now, you want to migrate your WordPress blog site to a static website, but it doesn't look easy.
What if you still want to use the WordPress site to write content but only want to refresh the UI outside the site? What if you can even use C# for it through Blazor WebAssembly? You are now able to use the existing WordPress site as the data source of truth and build a UI in a separate instance with your preferred method. Does that sound attractive?
Throughout this post, I'm going to discuss how to use the serviced WordPress instance as the headless CMS, build the Blazor WebAssembly app to make use of the WordPress as a data source, and host it to Azure Static Web Apps.
You can download the sample app code from this GitHub repository.
Serviced WordPress Site Instance
I've got a serviced WordPress site that is no longer maintained but archived.
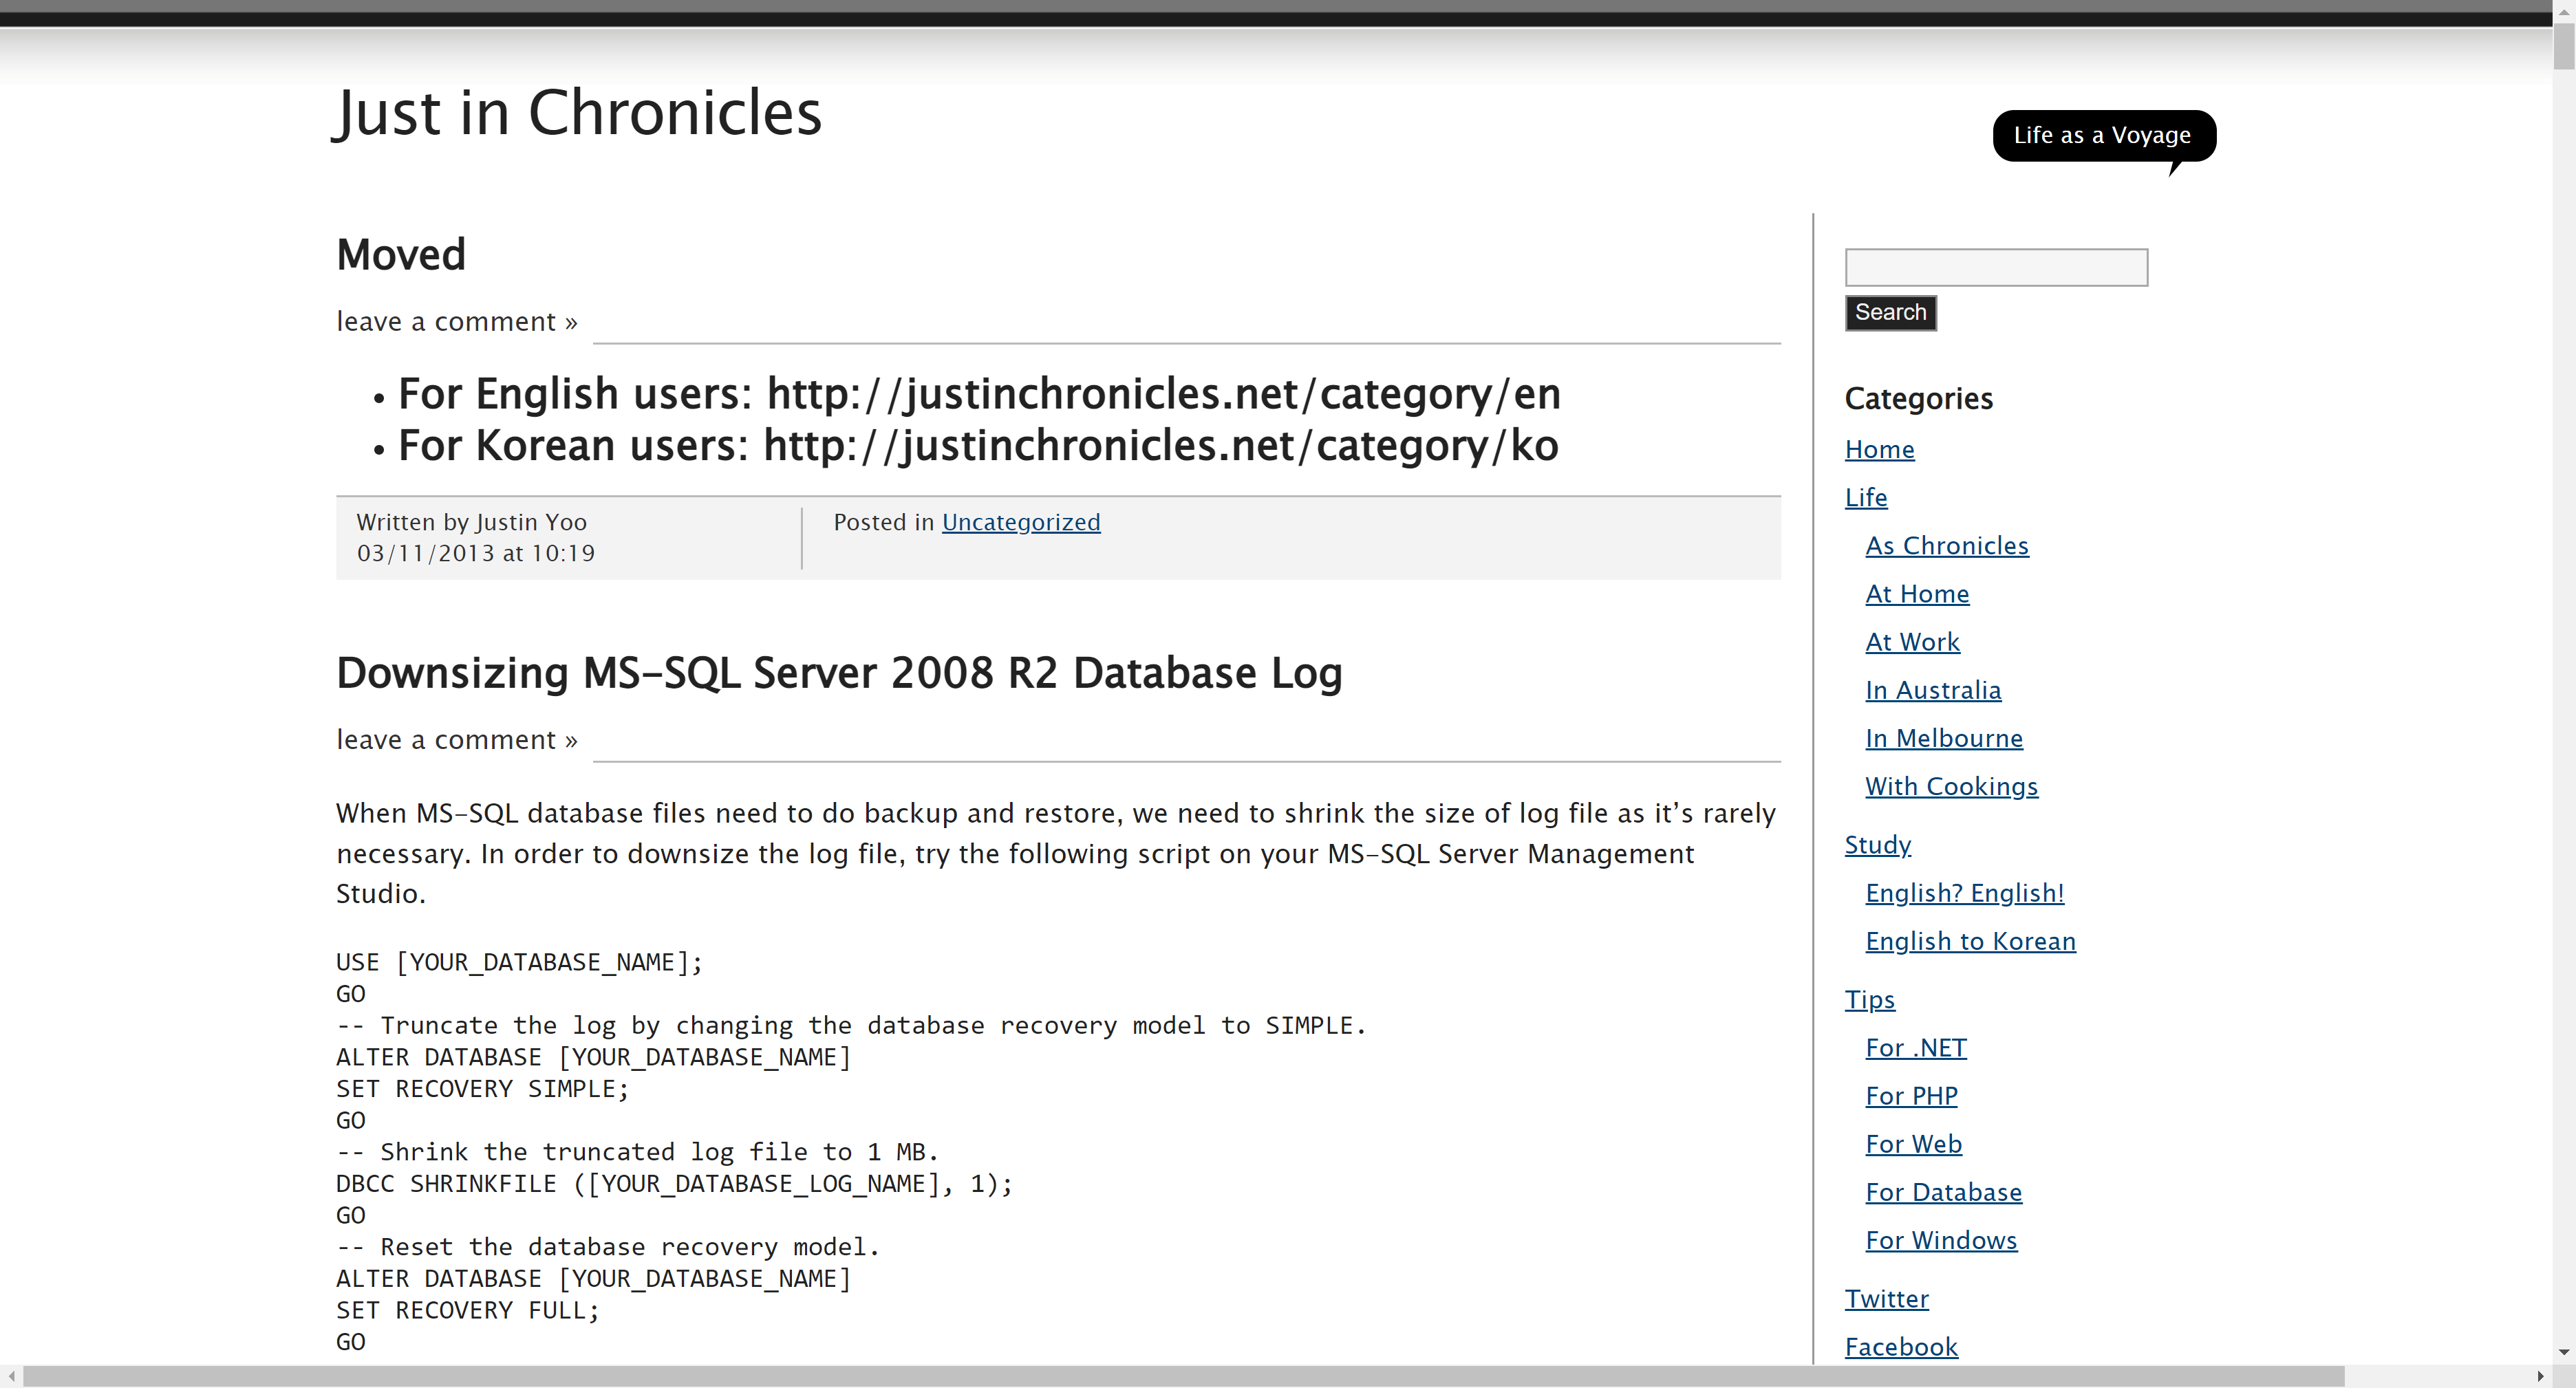
In order to use this site as a data source, I need to be able to access to the contents through APIs. Fortunately, WordPress provides full of HTTP API endpoints. Enter the following command in your terminal.
curl -X GET https://public-api.wordpress.com/rest/v1.1/sites/<site-name>.wordpress.com/posts/
Alternatively, you can use your preferred UI tool like Postman to get the list of contents:
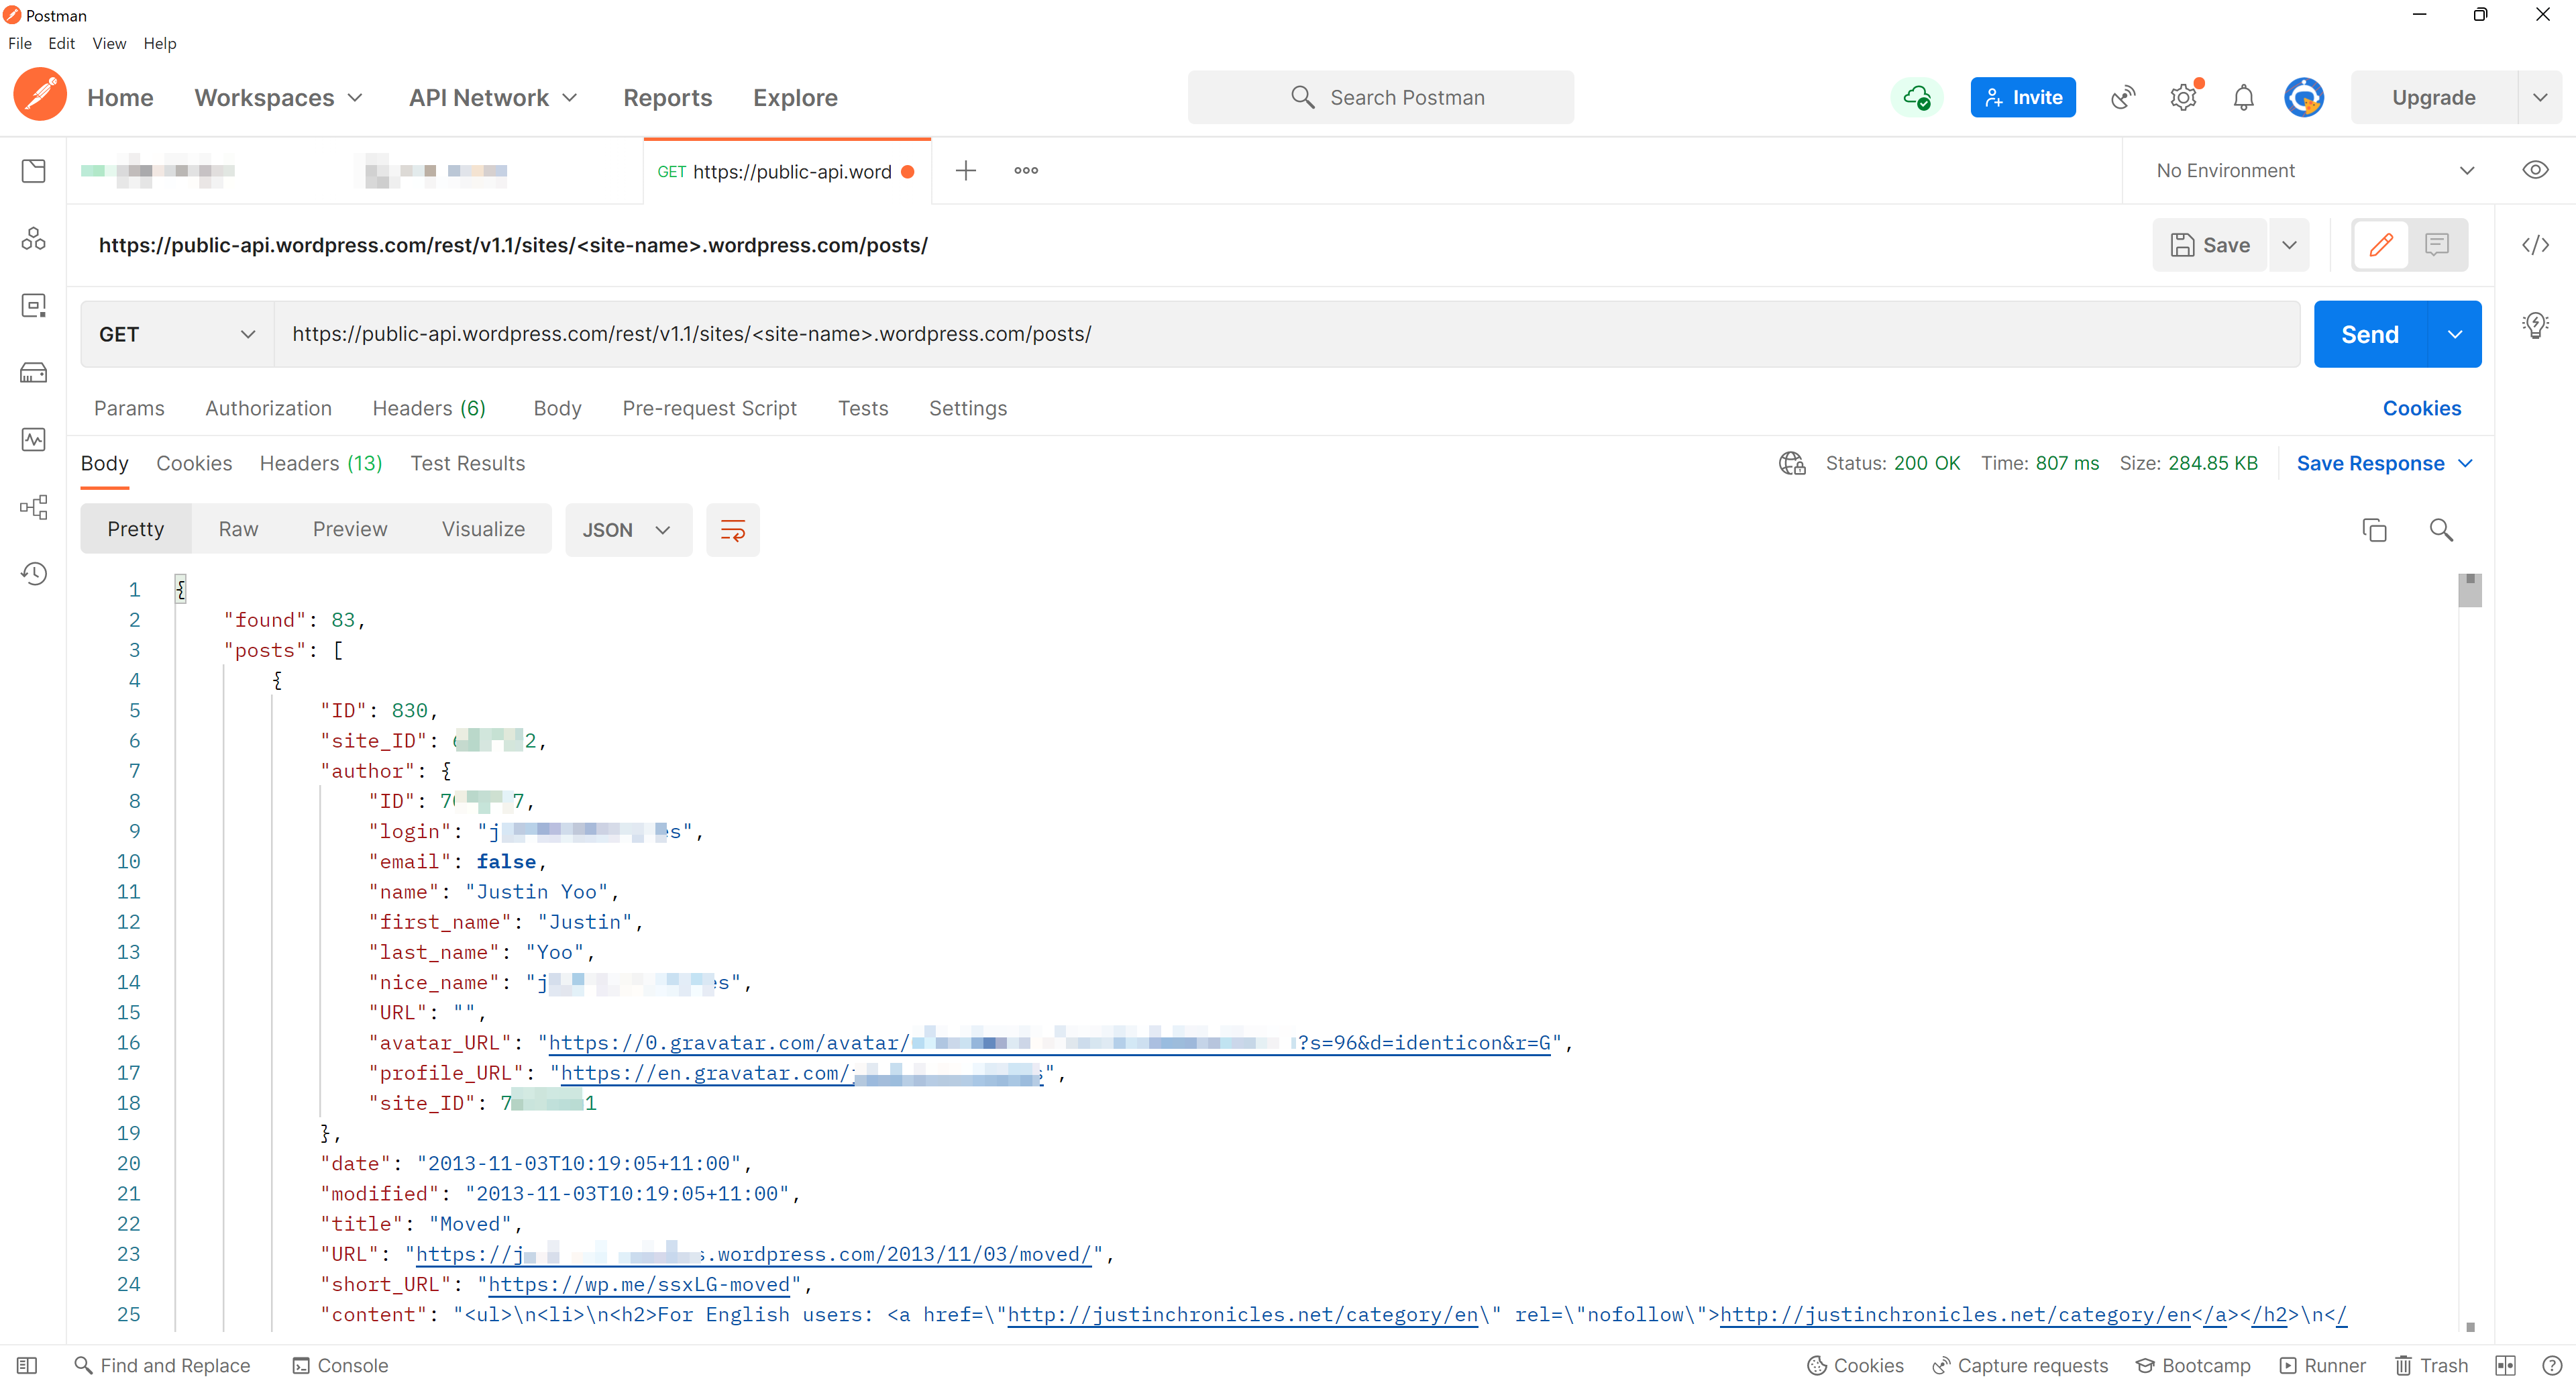
You get the contents. All you need to do now is to render the contents on the Blazore WASM app. There are two approaches to it:
- Directly call the API from the Blazor WASM app, or
- Call the API from the Blazor WASM app through the proxy API app
Both approaches have pros and cons, but let's make it with the second approach.
Proxy API Application
We don't need the proxy API app for Azure Static Web Apps. However, if you need to overcome the CORS issue, handle various APIs, or deal with some security concerns, using the proxy API is a good option. Because Azure Static Web Apps natively supports this proxy API feature, we can simply use it. First of all create an HTTP trigger of Azure Functions app.
Define GetPosts for the WordPress API endpoint and create an HttpClient instance.
public static class PostHttpTrigger
{
    private const string GetPosts = "https://public-api.wordpress.com/rest/v1.1/sites/{0}/posts";
    private static HttpClient http = new HttpClient();
If you add the OpenAPI extension to your function app, your Blazor WASM app can easily access this proxy API. I'll handle this part later in this post.
    [FunctionName("PostHttpTrigger")]
    [OpenApiOperation(operationId: "posts.get", tags: new[] { "posts" })]
    [OpenApiResponseWithBody(statusCode: HttpStatusCode.OK, contentType: "application/json", bodyType: typeof(PostCollection), Description = "The OK response")]
    public static async Task<IActionResult> GetPostsAsync(
        [HttpTrigger(AuthorizationLevel.Anonymous, "GET", Route = "posts")] HttpRequest req,
        ILogger log)
    {
Get the actual WordPress site name from the environment variables.
var requestUri = new Uri(string.Format(GetPosts, Environment.GetEnvironmentVariable("SITE__NAME")));Finally, call the WordPress API and deserialise the result to the PostCollection object.
        var json = await http.GetStringAsync(requestUri).ConfigureAwait(false);
        var posts = JsonConvert.DeserializeObject<PostCollection>(json);

        return new OkObjectResult(posts);
    }
}
Here are the definitions of the PostCollection class and its subclasses. Although the WordPress API returns a massive variety of results, we only need some of them defined in the PostCollection class.
public class PostCollection
{
    public virtual int Found { get; set; }

    public virtual List<PostItem> Posts { get; set; }

    [JsonProperty("meta")]
    public virtual Metadata Metadata { get; set; }
}

public class PostItem
{
    [JsonProperty("ID")]
    public virtual int PostId { get; set; }

    public virtual Author Author { get; set; }

    [JsonProperty("date")]
    public virtual DateTimeOffset DatePublished { get; set; }

    public virtual string Title { get; set; }

    [JsonProperty("URL")]
    public virtual string Url { get; set; }

    public virtual string Excerpt { get; set; }

    public virtual string Content { get; set; }
}

public class Author
{
    [JsonProperty("ID")]
    public virtual int AuthorId { get; set; }

    [JsonProperty("first_name")]
    public virtual string FirstName { get; set; }

    [JsonProperty("last_name")]
    public virtual string Surname { get; set; }

    public virtual string Name { get; set; }
}

public class Metadata
{
    public virtual Dictionary<string, string> Links { get; set; }

    [JsonProperty("next_page")]
    public virtual string NextPage { get; set; }

    [JsonProperty("wpcom")]
    public virtual bool IsWordpressCom { get; set; }
}
Finally, configure the local.settings.json file. We set it to this file as we previously referred to the environment variable of SITE__NAME. In addition to that, we set the CORS for the Blazor WebAssembly app integration.
{
  "IsEncrypted": false,
  "Values": {
    "AzureWebJobsStorage": "UseDevelopmentStorage=true",
    "FUNCTIONS_WORKER_RUNTIME": "dotnet",

    "SITE__NAME": "<site-name>.wordpress.com"
  },
  "Host": {
    "CORS": "*"
  }
}
All set! Run the proxy API app, and you will see the result like below:
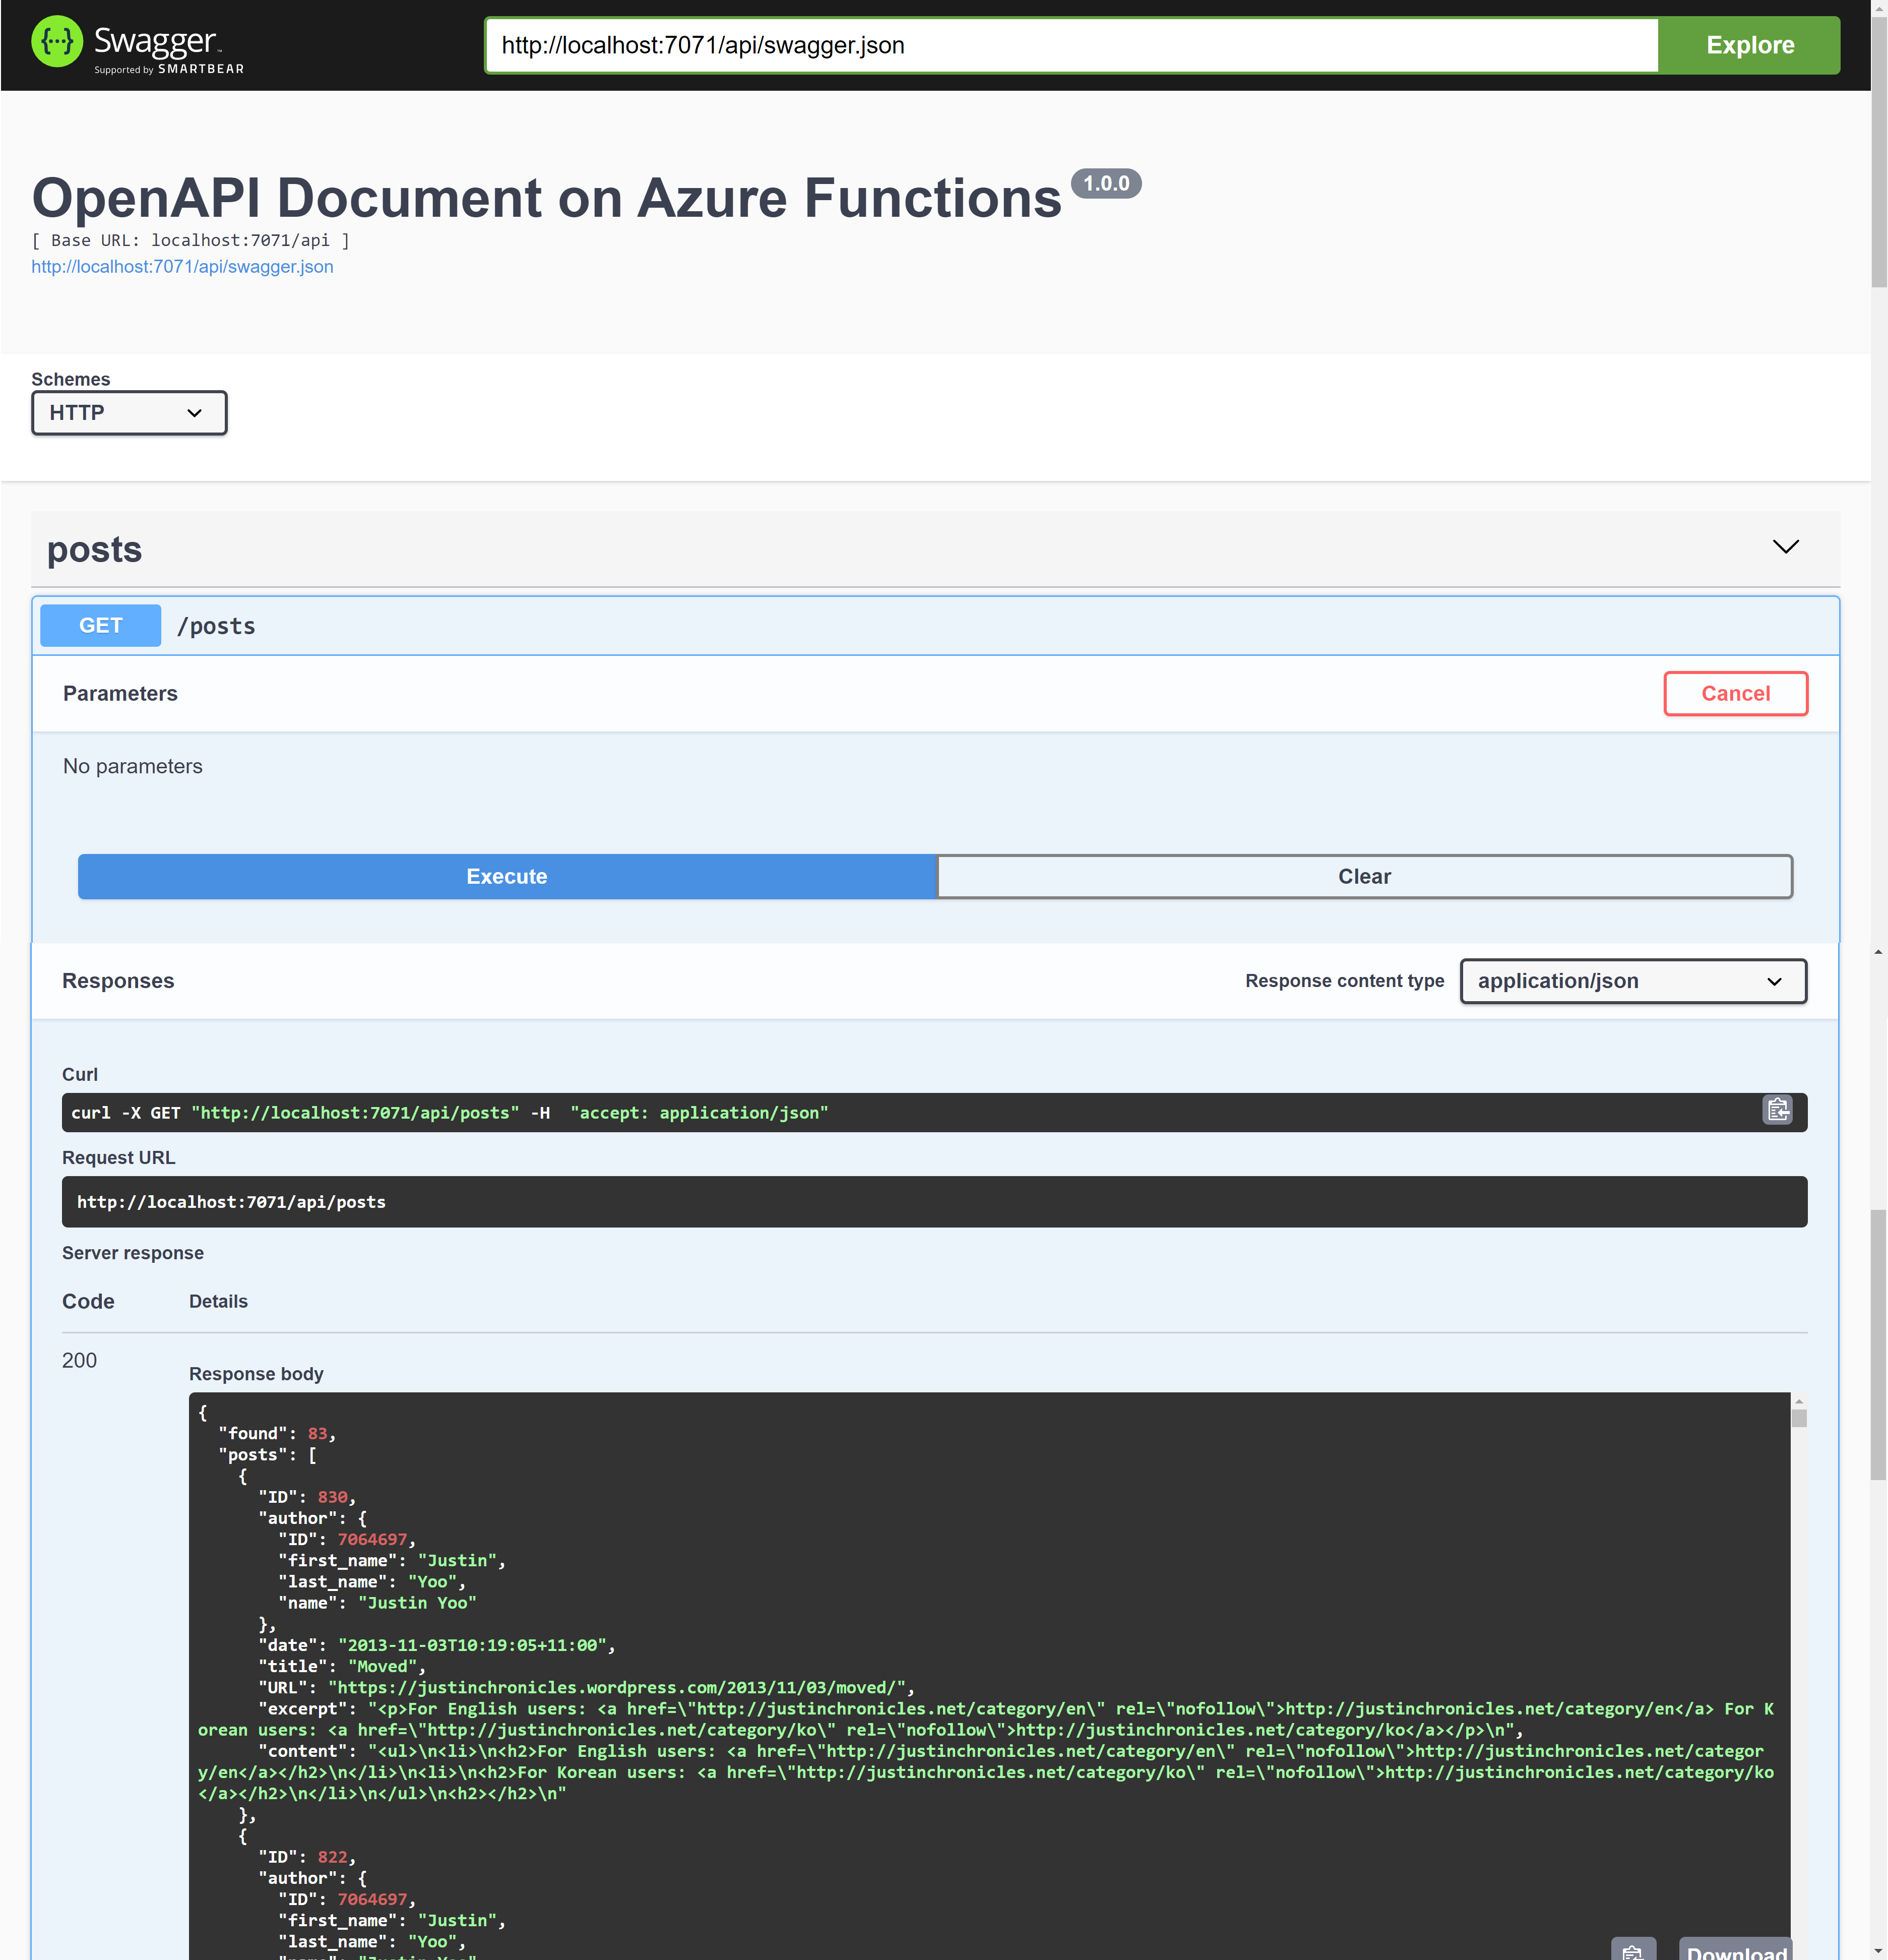
The OpenAPI document URL to this proxy API app is one of the following:
http://localhost:7071/api/swagger.json– OpenAPI V2http://localhost:7071/api/openapi/v2.json– OpenAPI V2http://localhost:7071/api/openapi/v3.json– OpenAPI V3
Blazor WebAssembly Application
Open Visual Studio and create a new Blazor WebAssembly project.
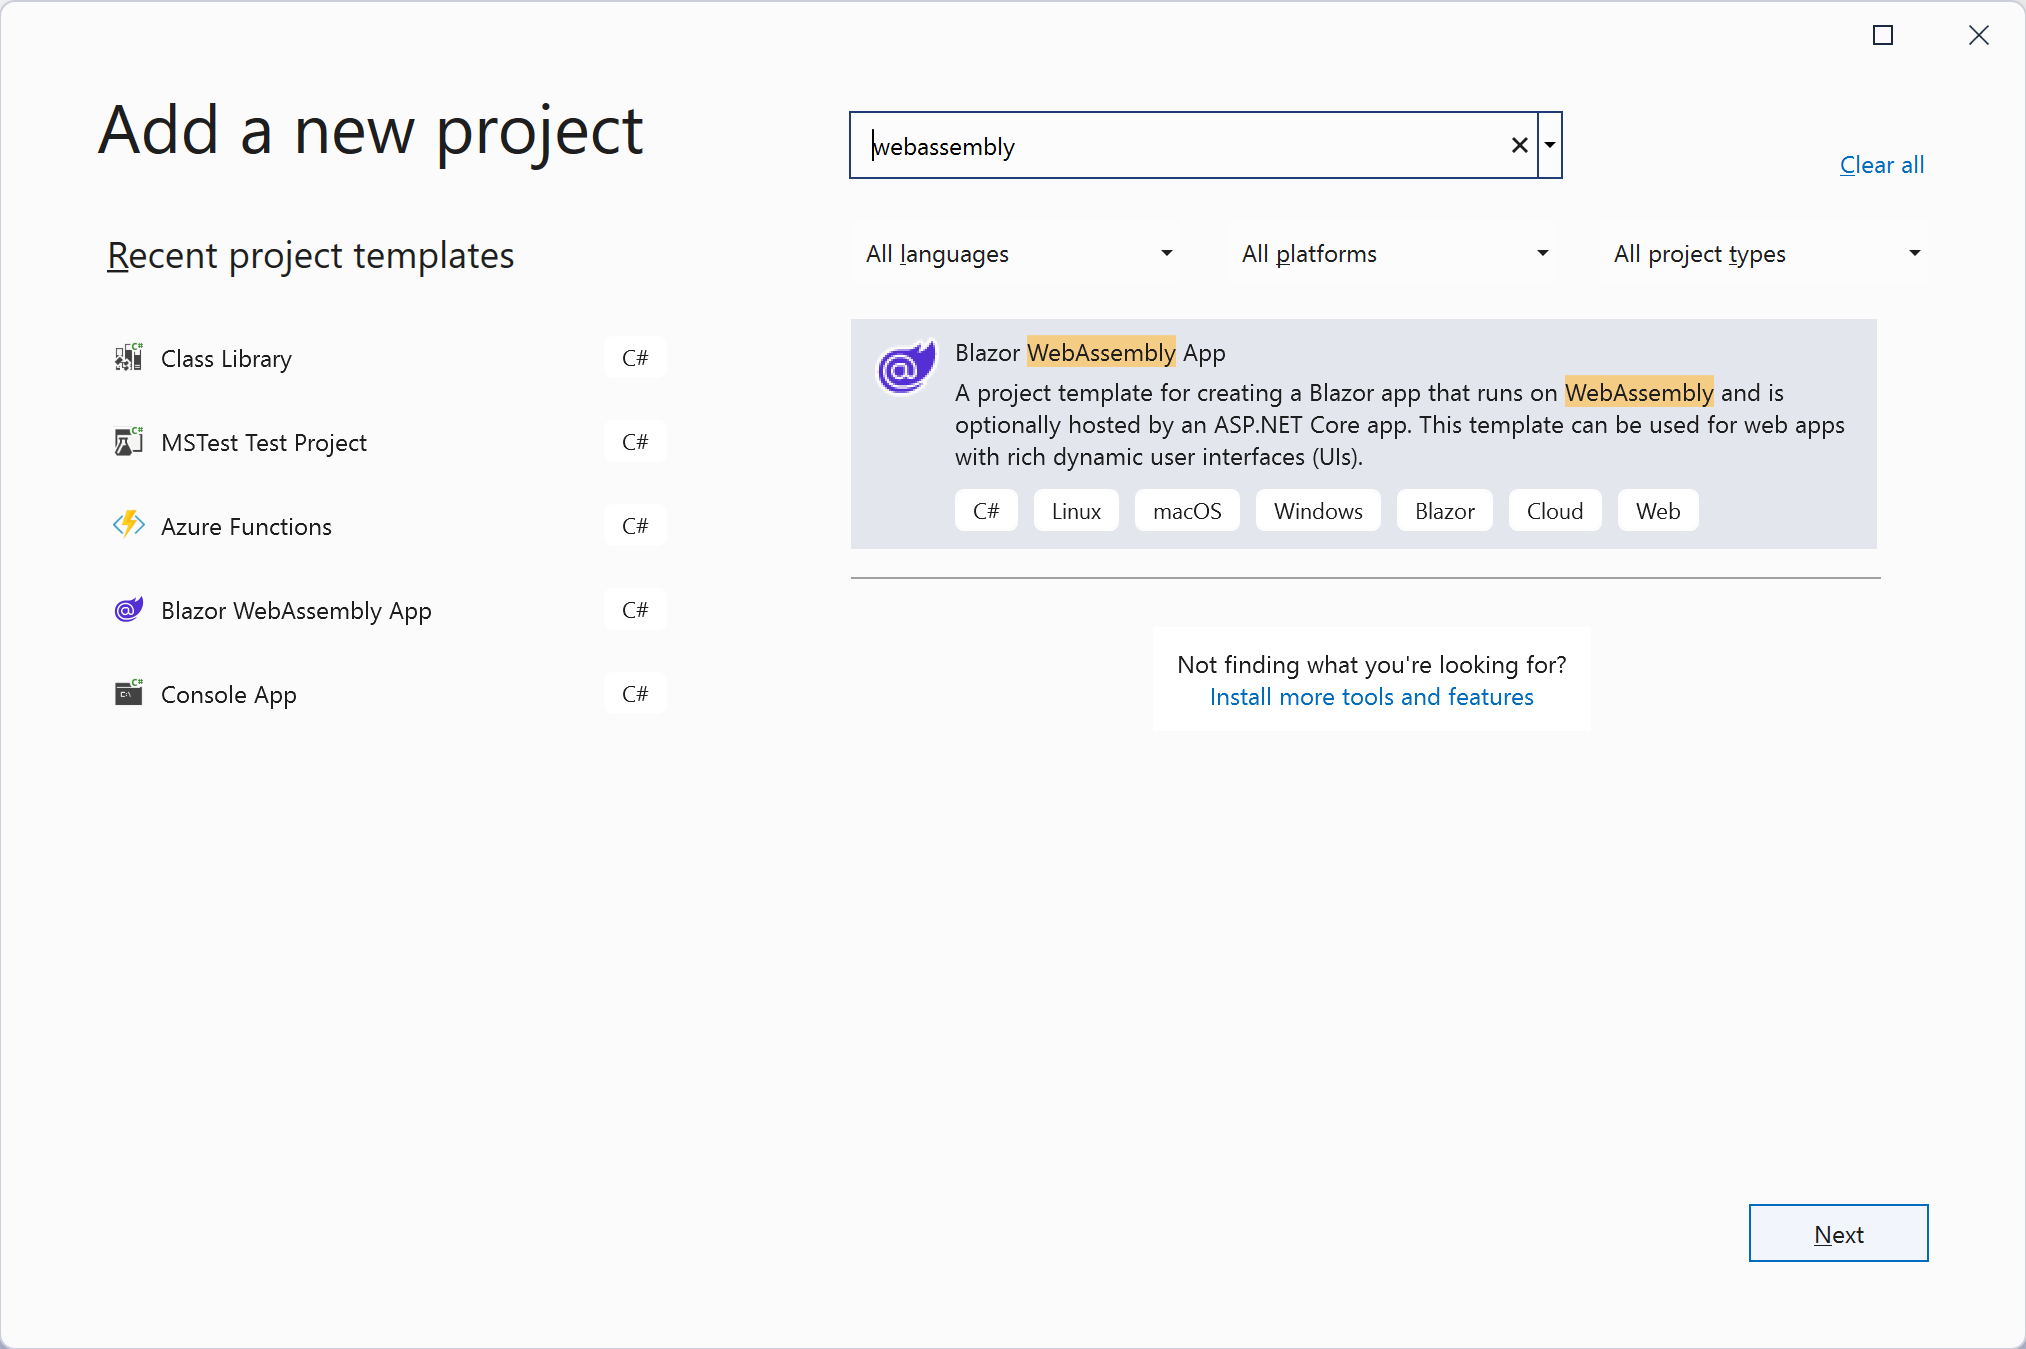
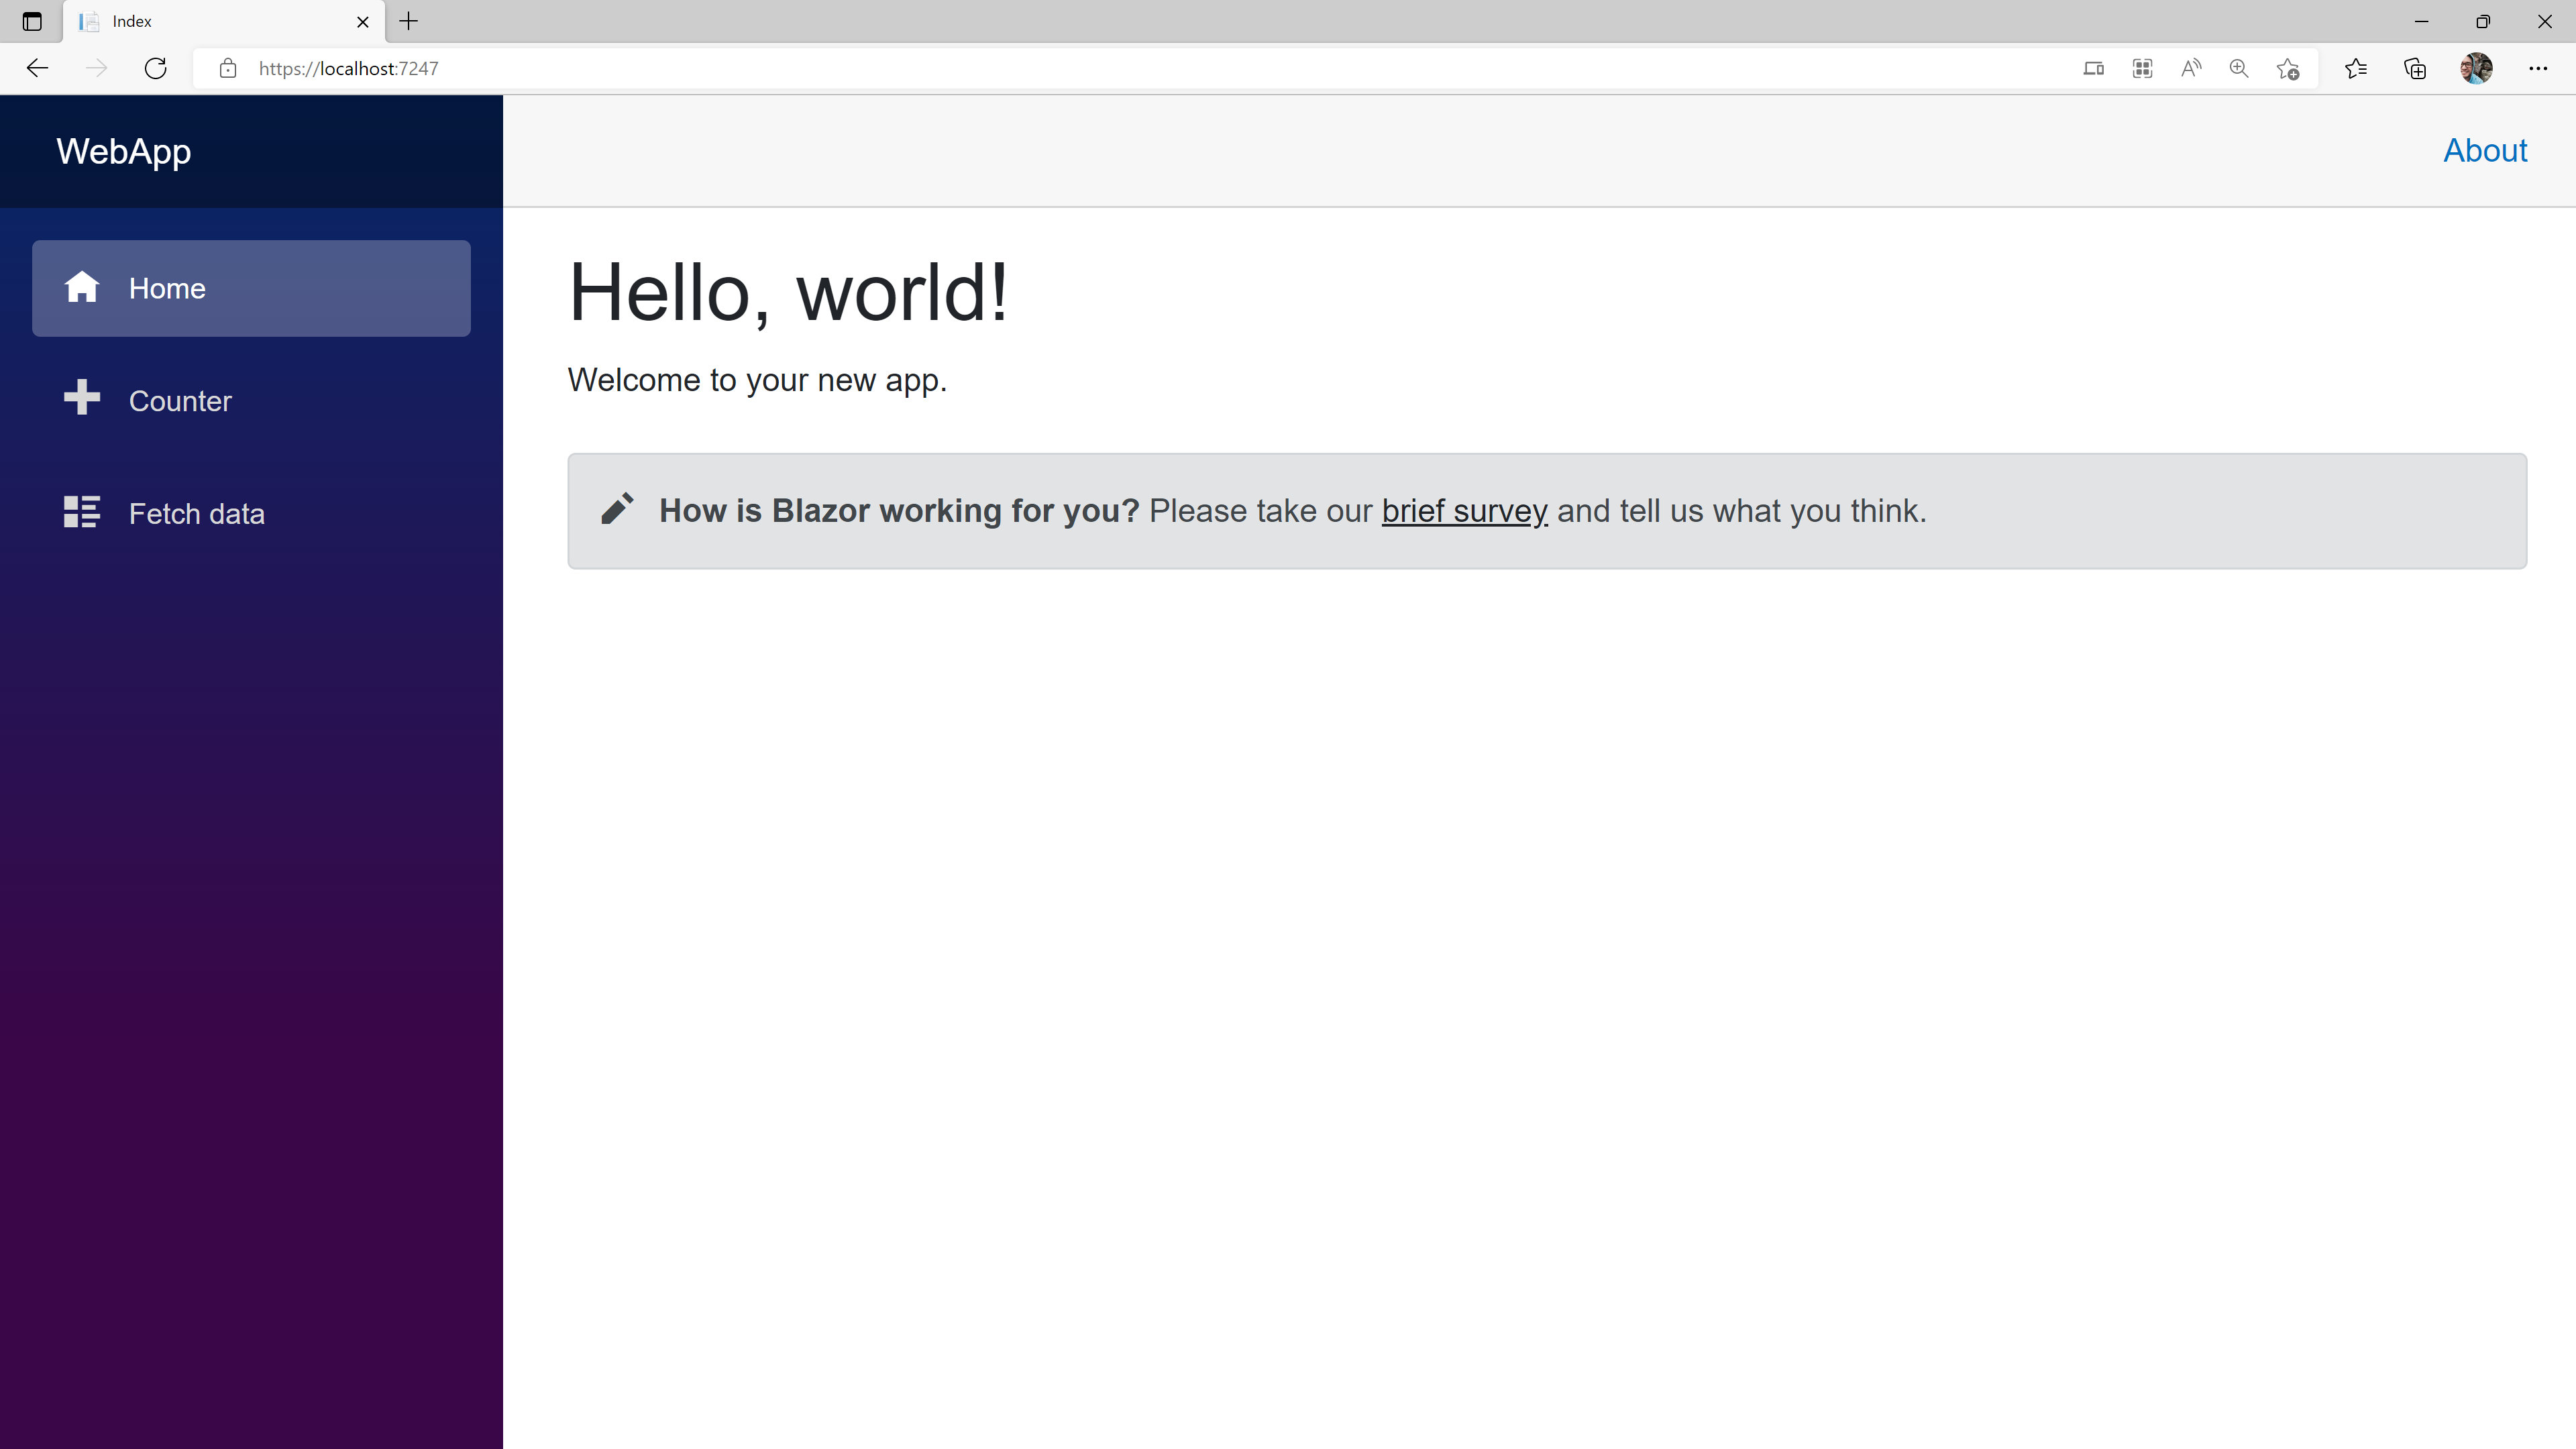
Give it the name of WebApp`, and leave the rest as default. Once the app is created, run the app by typing the F5 key, and you will see the screen like this:
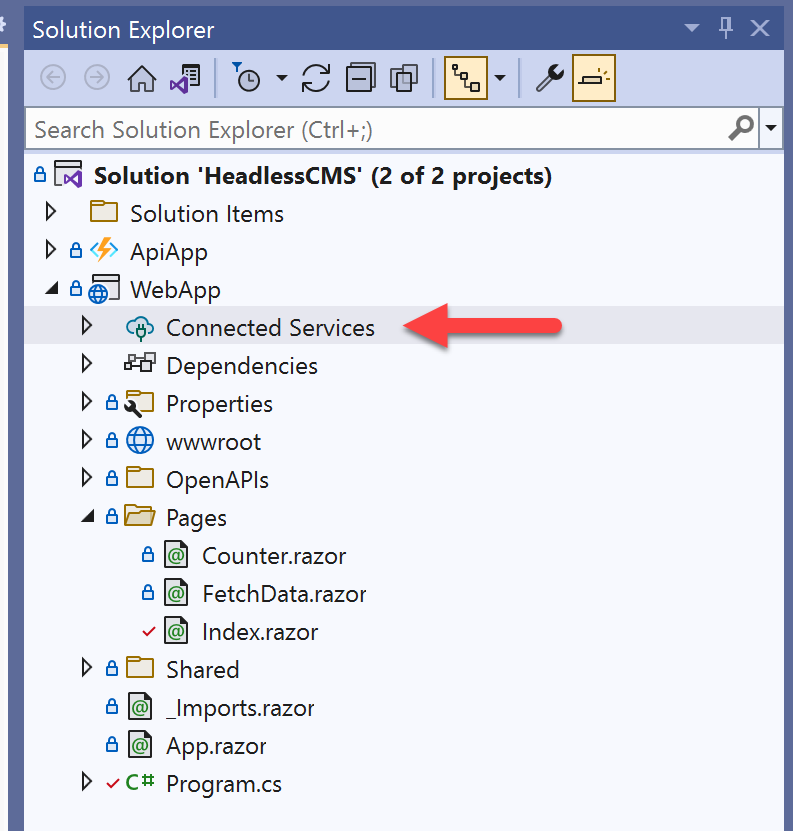
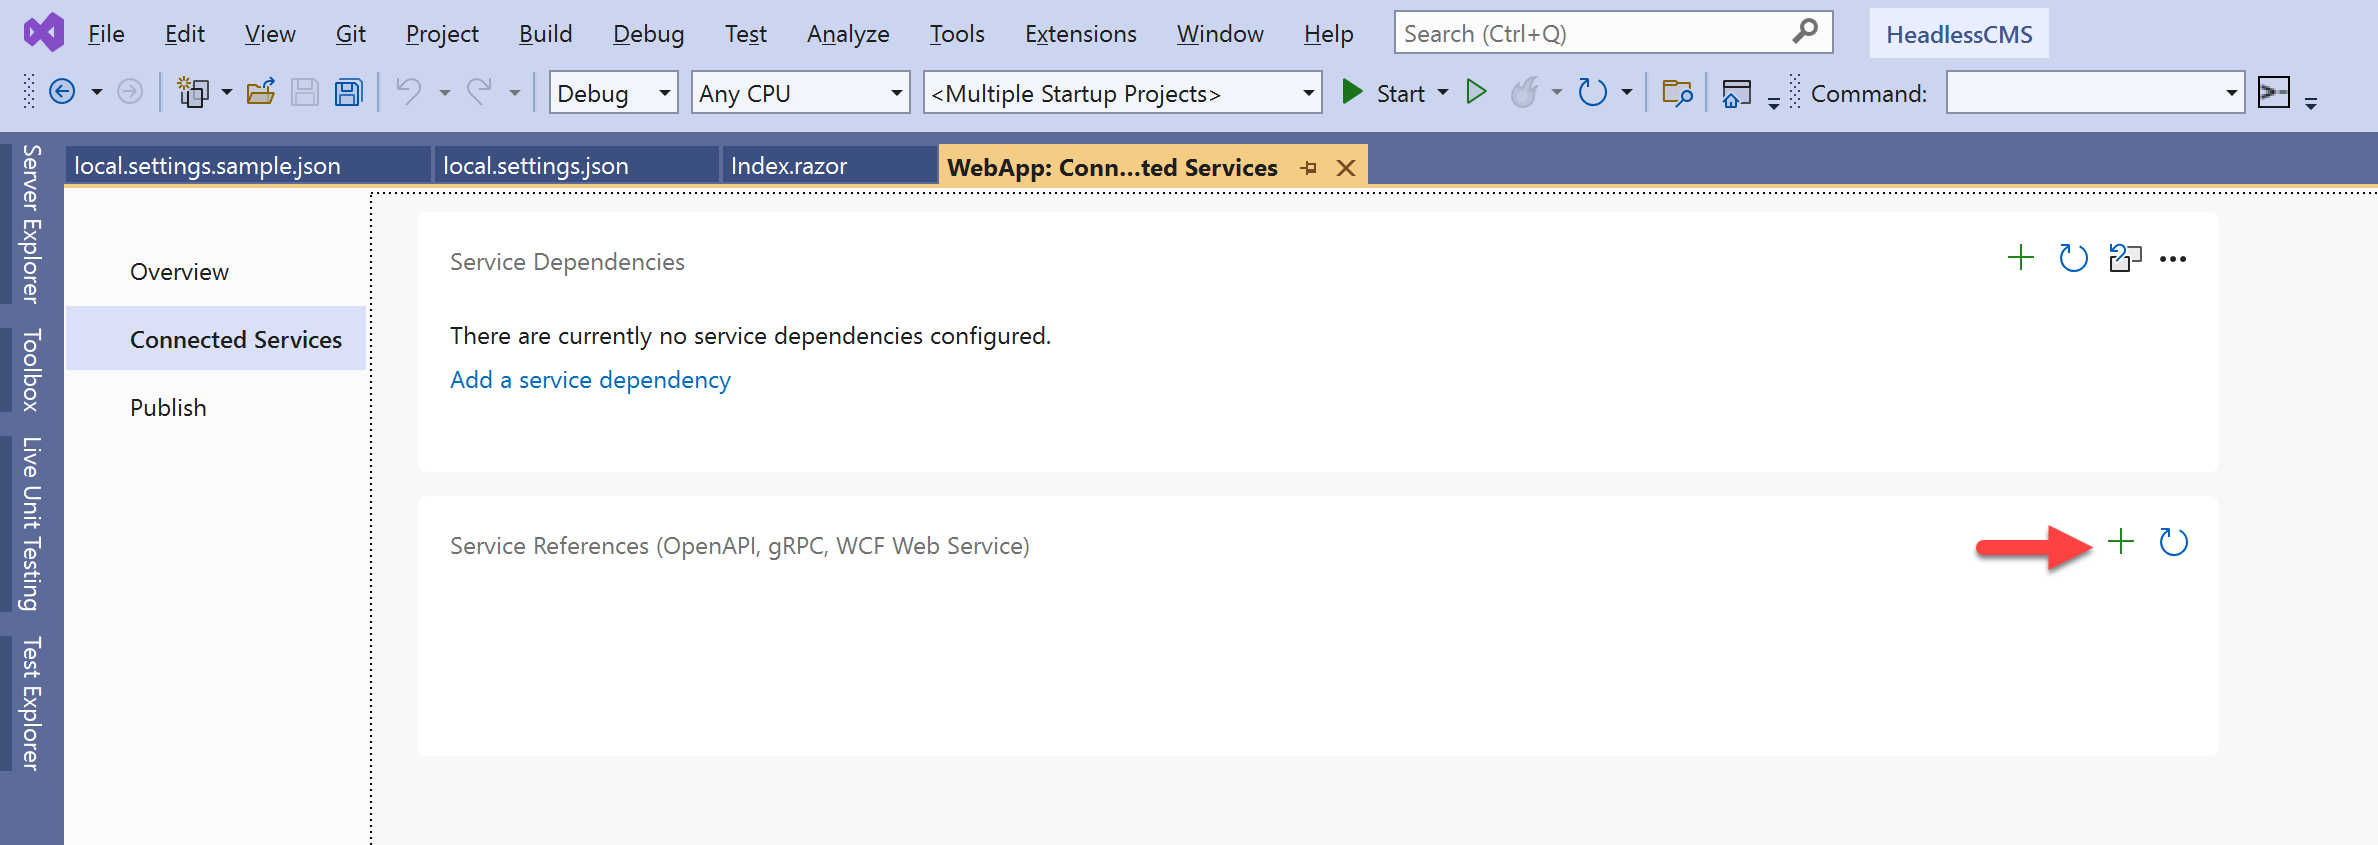
It's time to connect to the proxy API to this Blazor app. First, make sure that the proxy API app is running background. Then, click the "Connected Services" menu.
Then click the "➕" button.
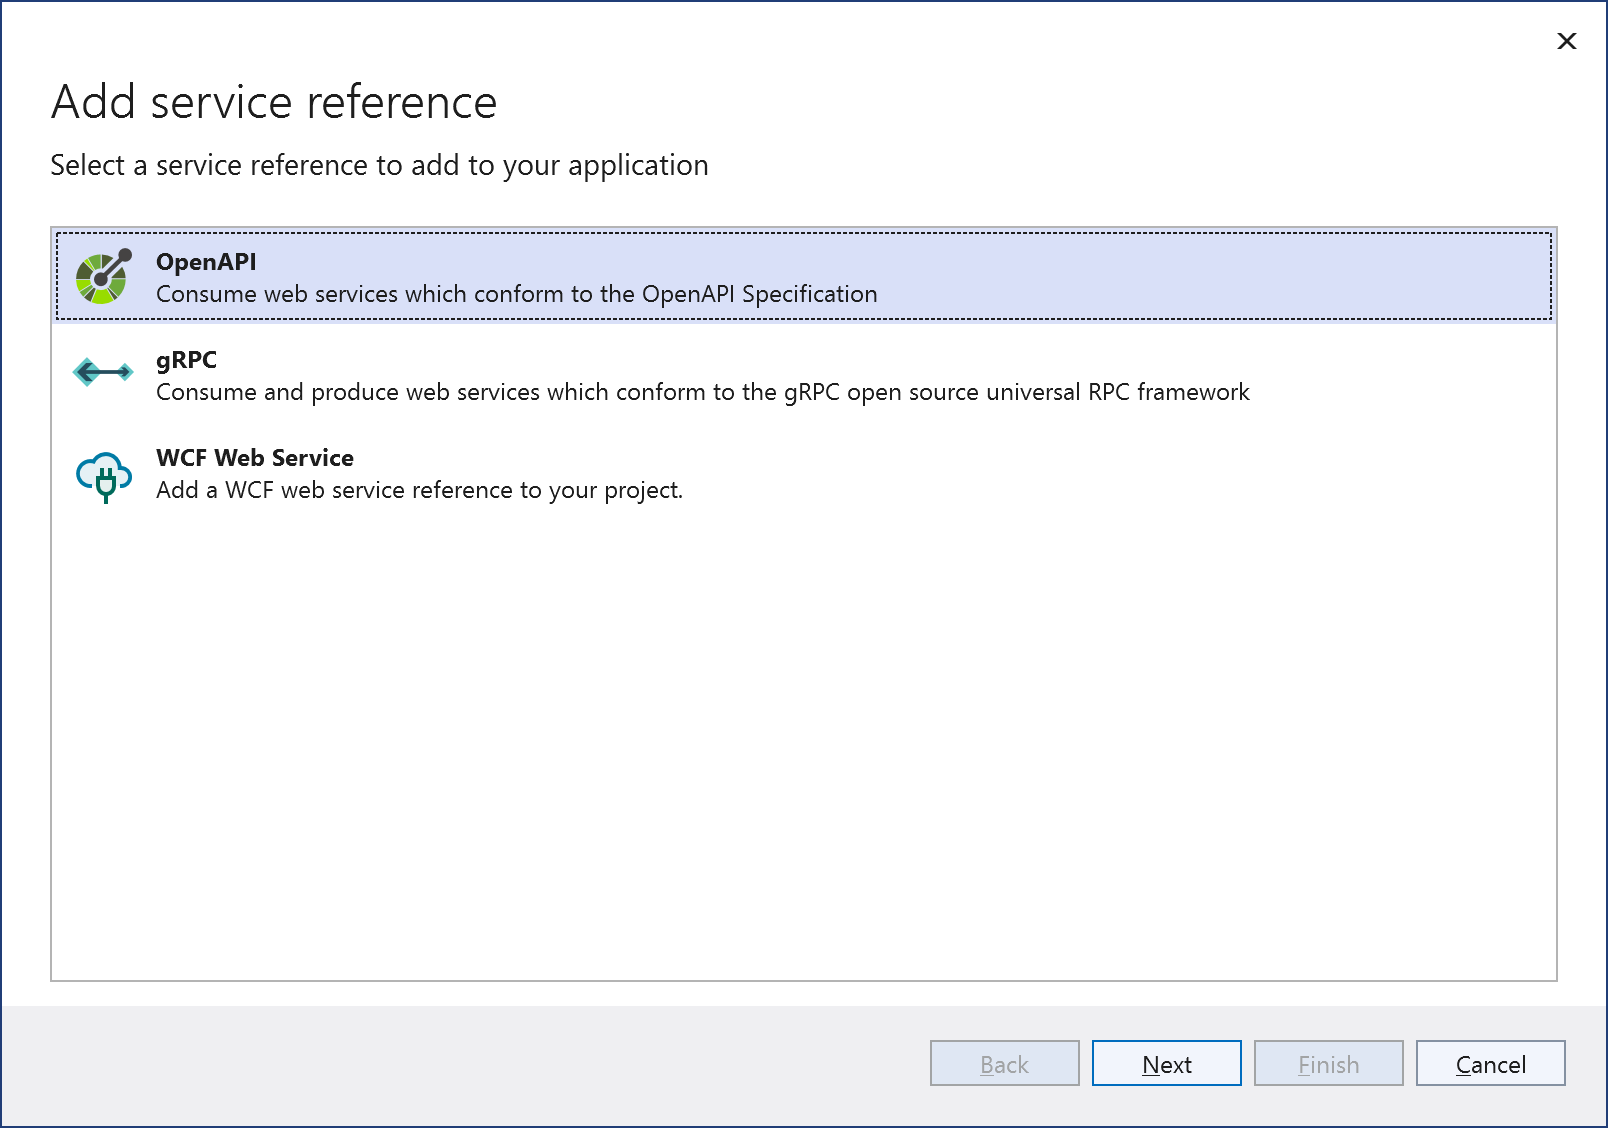
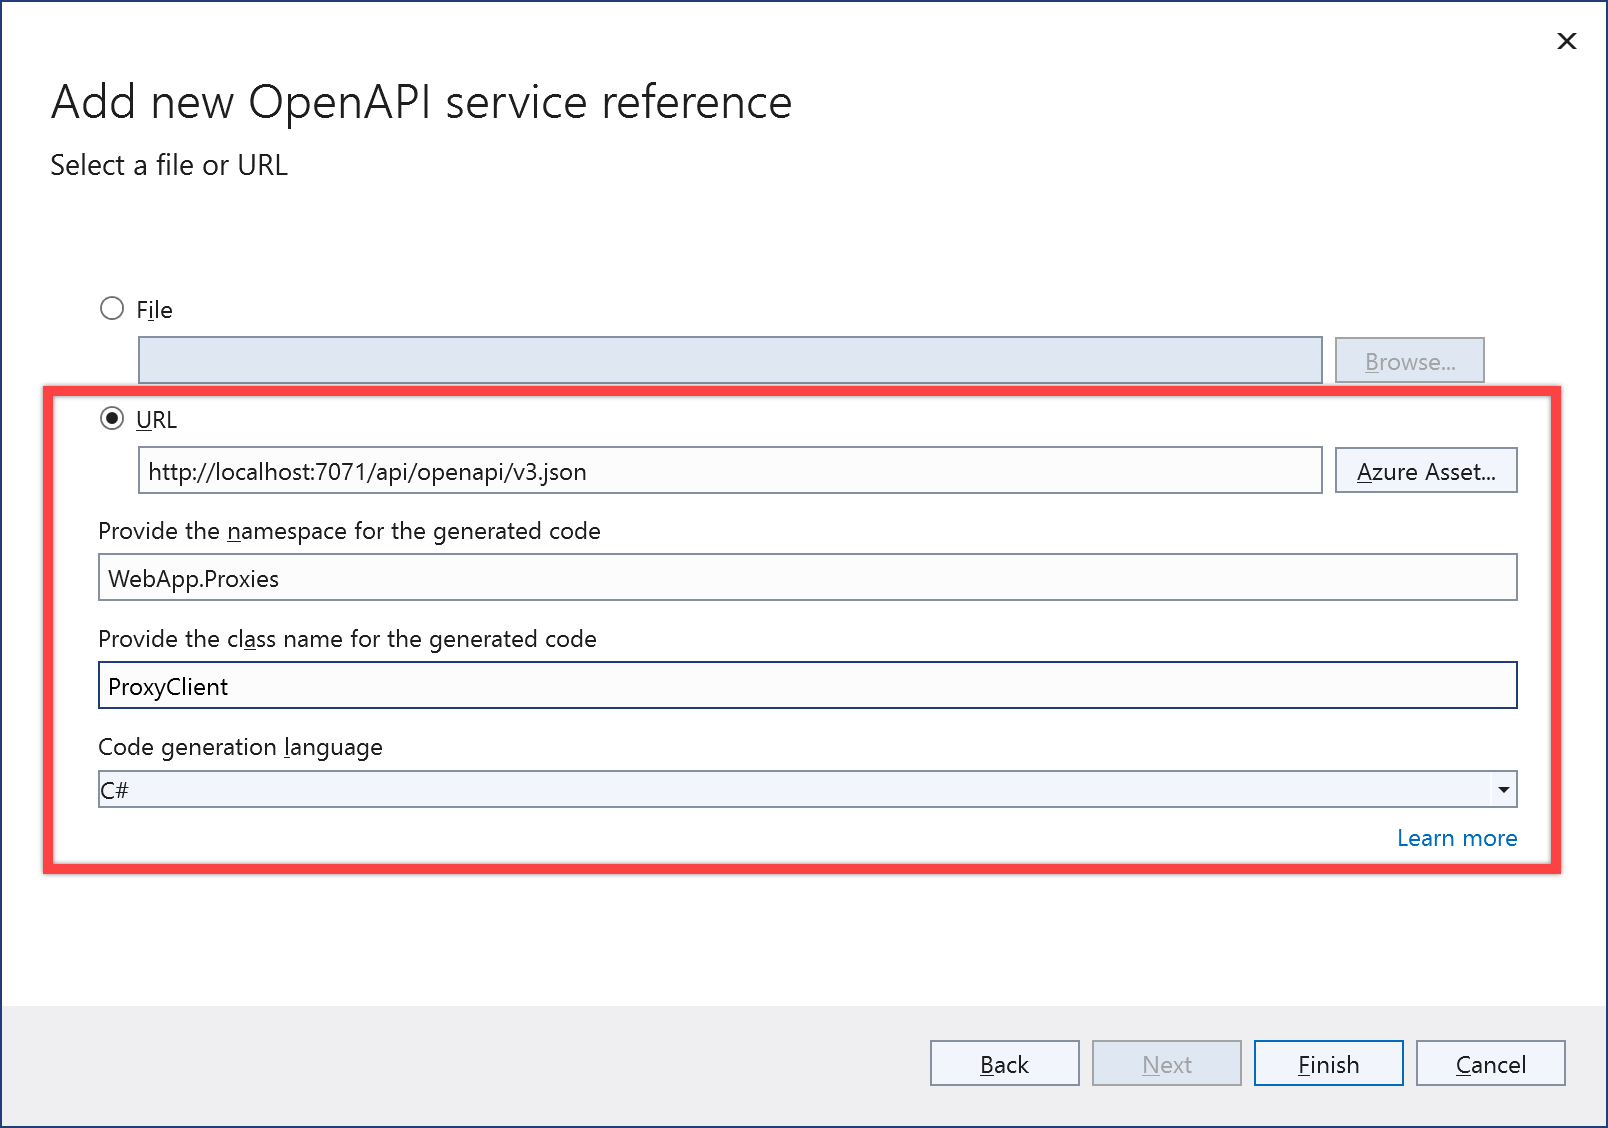
Choose the "OpenAPI" option as a service reference.
Enter the OpenAPI URL, give the namespace of WebApp.Proxies and class name of ProxyClient, and click the "Finish" button.
You'll see the proxy API is added to the Blazor app.
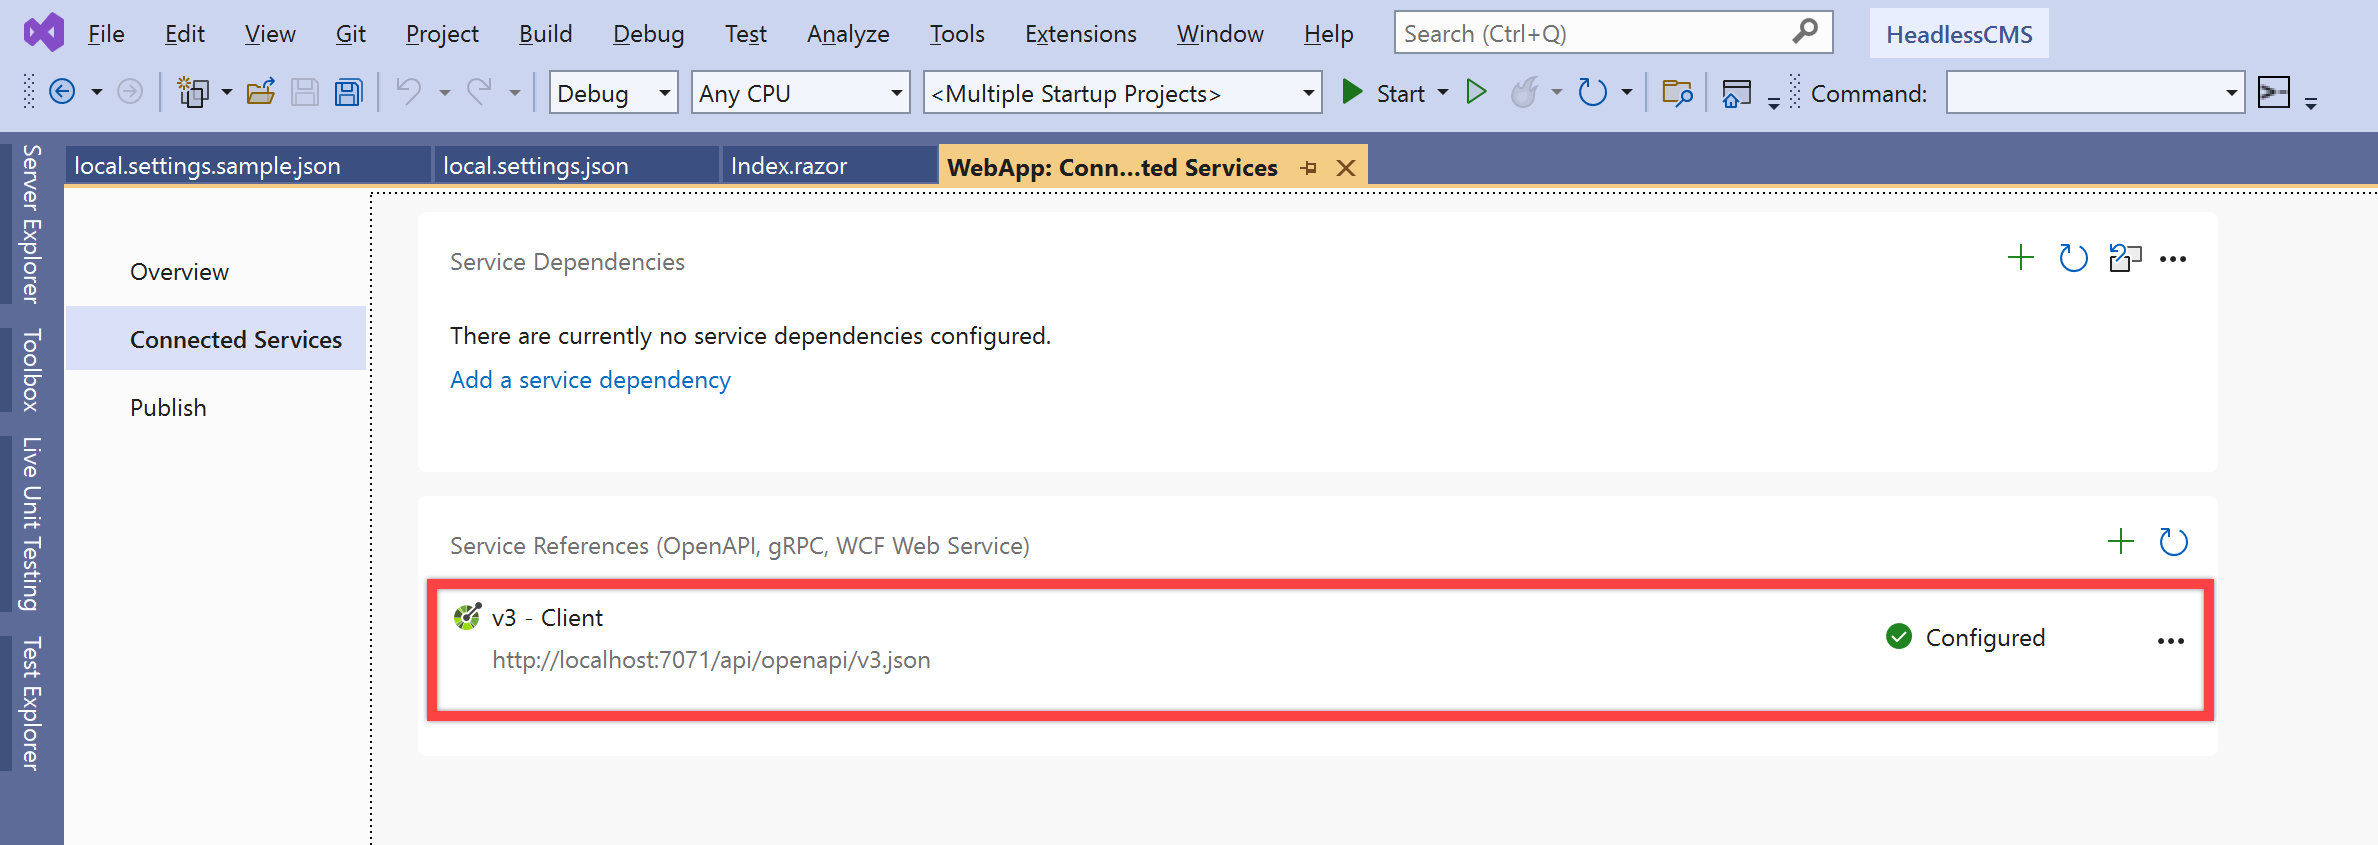
Click the three dots on the right-hand side and select the "View generated code" menu. Can you see the auto-generated code from the OpenAPI document?
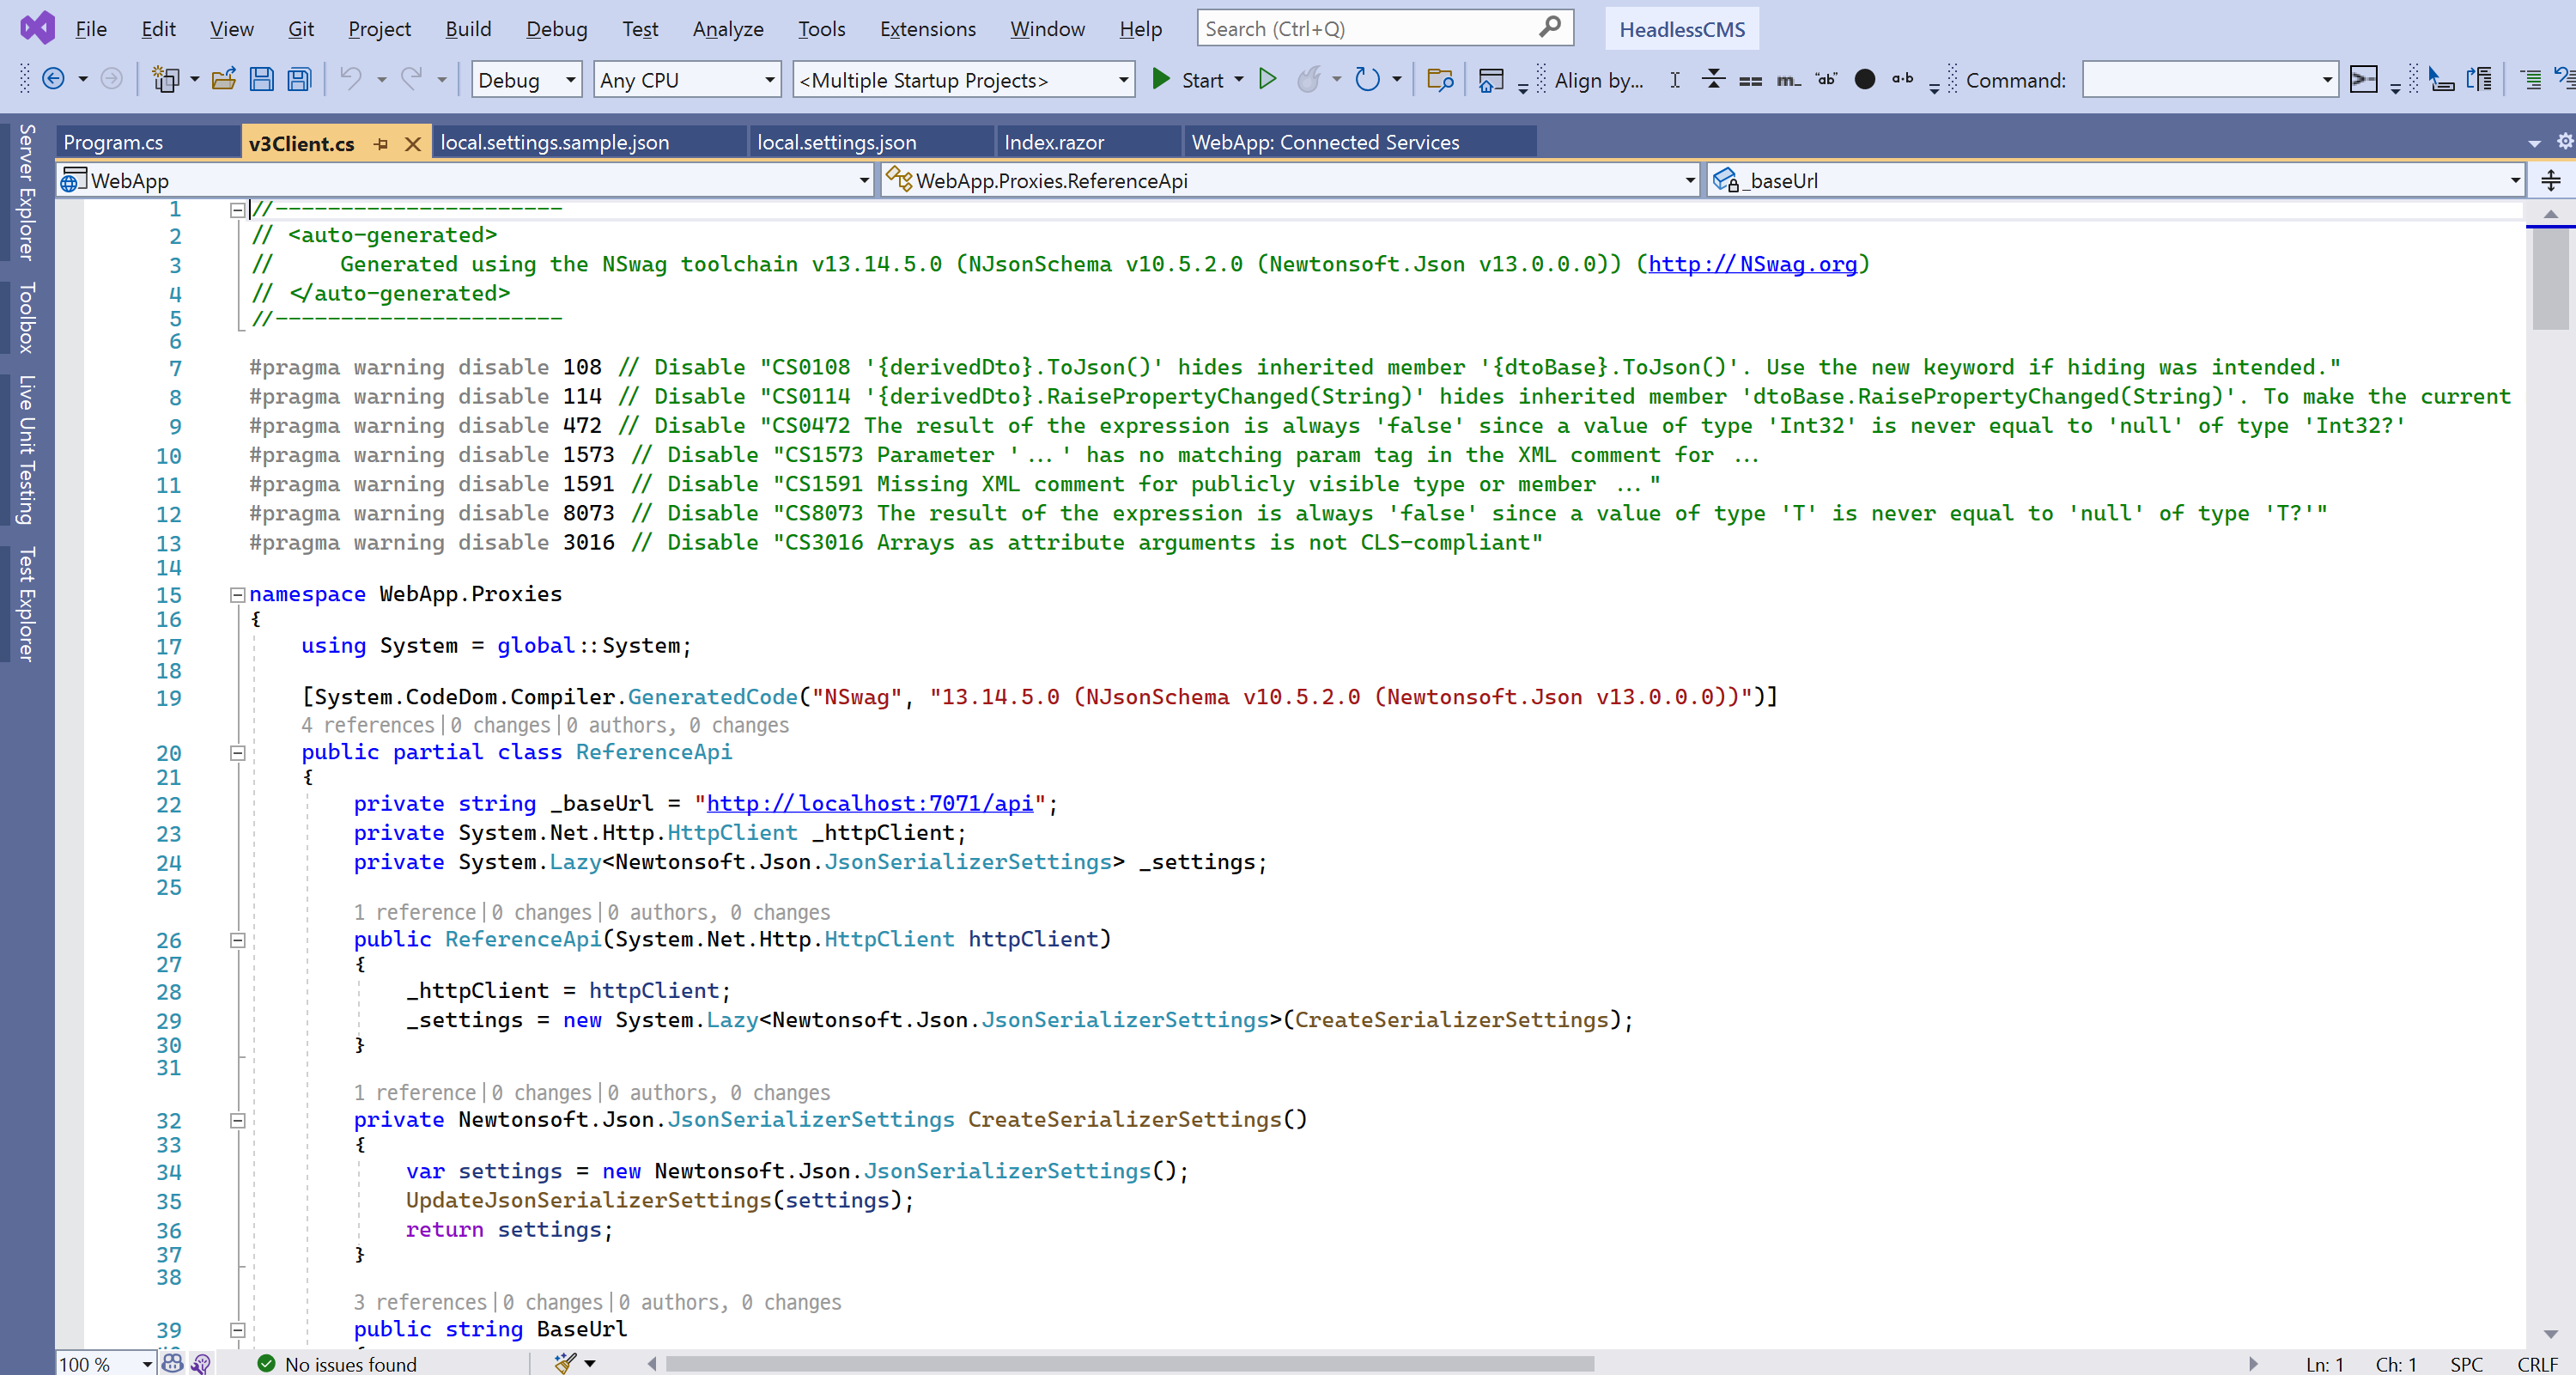
We just need to consume this code. First, open the Program.cs file and add the dependency of the ProxyClient instance.
While developing this app on your local machine, the default base URL is
http://localhost:7071/api. But once it's deployed to Azure, it must follow the actual host address (line #9-13).
builder.Services.AddScoped(sp => new HttpClient { BaseAddress = new Uri(builder.HostEnvironment.BaseAddress) });

// Add these lines to inject the dependency of ProxyClient
builder.Services.AddScoped(sp =>
{
    var client = sp.GetService<HttpClient>();
    var api = new ProxyClient(client);
    if (!builder.HostEnvironment.IsDevelopment())
    {
        var baseUrl = $"{builder.HostEnvironment.BaseAddress.TrimEnd('/')}/api";
        api.BaseUrl = baseUrl;
    }

    return api;
});
By this far, your Blazor app is now freely accessible to the proxy API. So, let's implement this part. First, we simply modify the index.razor page and render the list of blog posts in this post.
Inject the dependency of ProxyClient added through Program.cs.
@page "/"

@* Inject ProxyClient dependency *@
@using WebApp.Proxies
@inject ProxyClient Api
Add the HTML bits and pieces just below the <SurveyPrompt> component that handles the list of blog posts.
...
<SurveyPrompt Title="How is Blazor working for you?" />

@if (posts == null)
{
    <p><em>Loading...</em></p>
}
else
{
    <table class="table">
        <thead>
            <tr>
                <th>Date</th>
                <th>Author</th>
                <th>Title</th>
                <th>Excerpt</th>
            </tr>
        </thead>
        <tbody>
            @foreach (var post in posts)
            {
                <tr>
                    <td>@post.Date.ToString()</td>
                    <td>@post.Author.Name</td>
                    <td><a href="@post.URL">@post.Title</a></td>
                    <td>@((MarkupString)post.Excerpt)</td>
                </tr>
            }
        </tbody>
    </table>
}
Here's the actual code to call the proxy API. Through this proxy API, this page receives the list of blog posts.
@code {
private List<PostItem> posts;
protected override async Task OnInitializedAsync()
{
var collection = await Api.Posts_getAsync().ConfigureAwait(false);
posts = collection?.Posts.ToList();
}
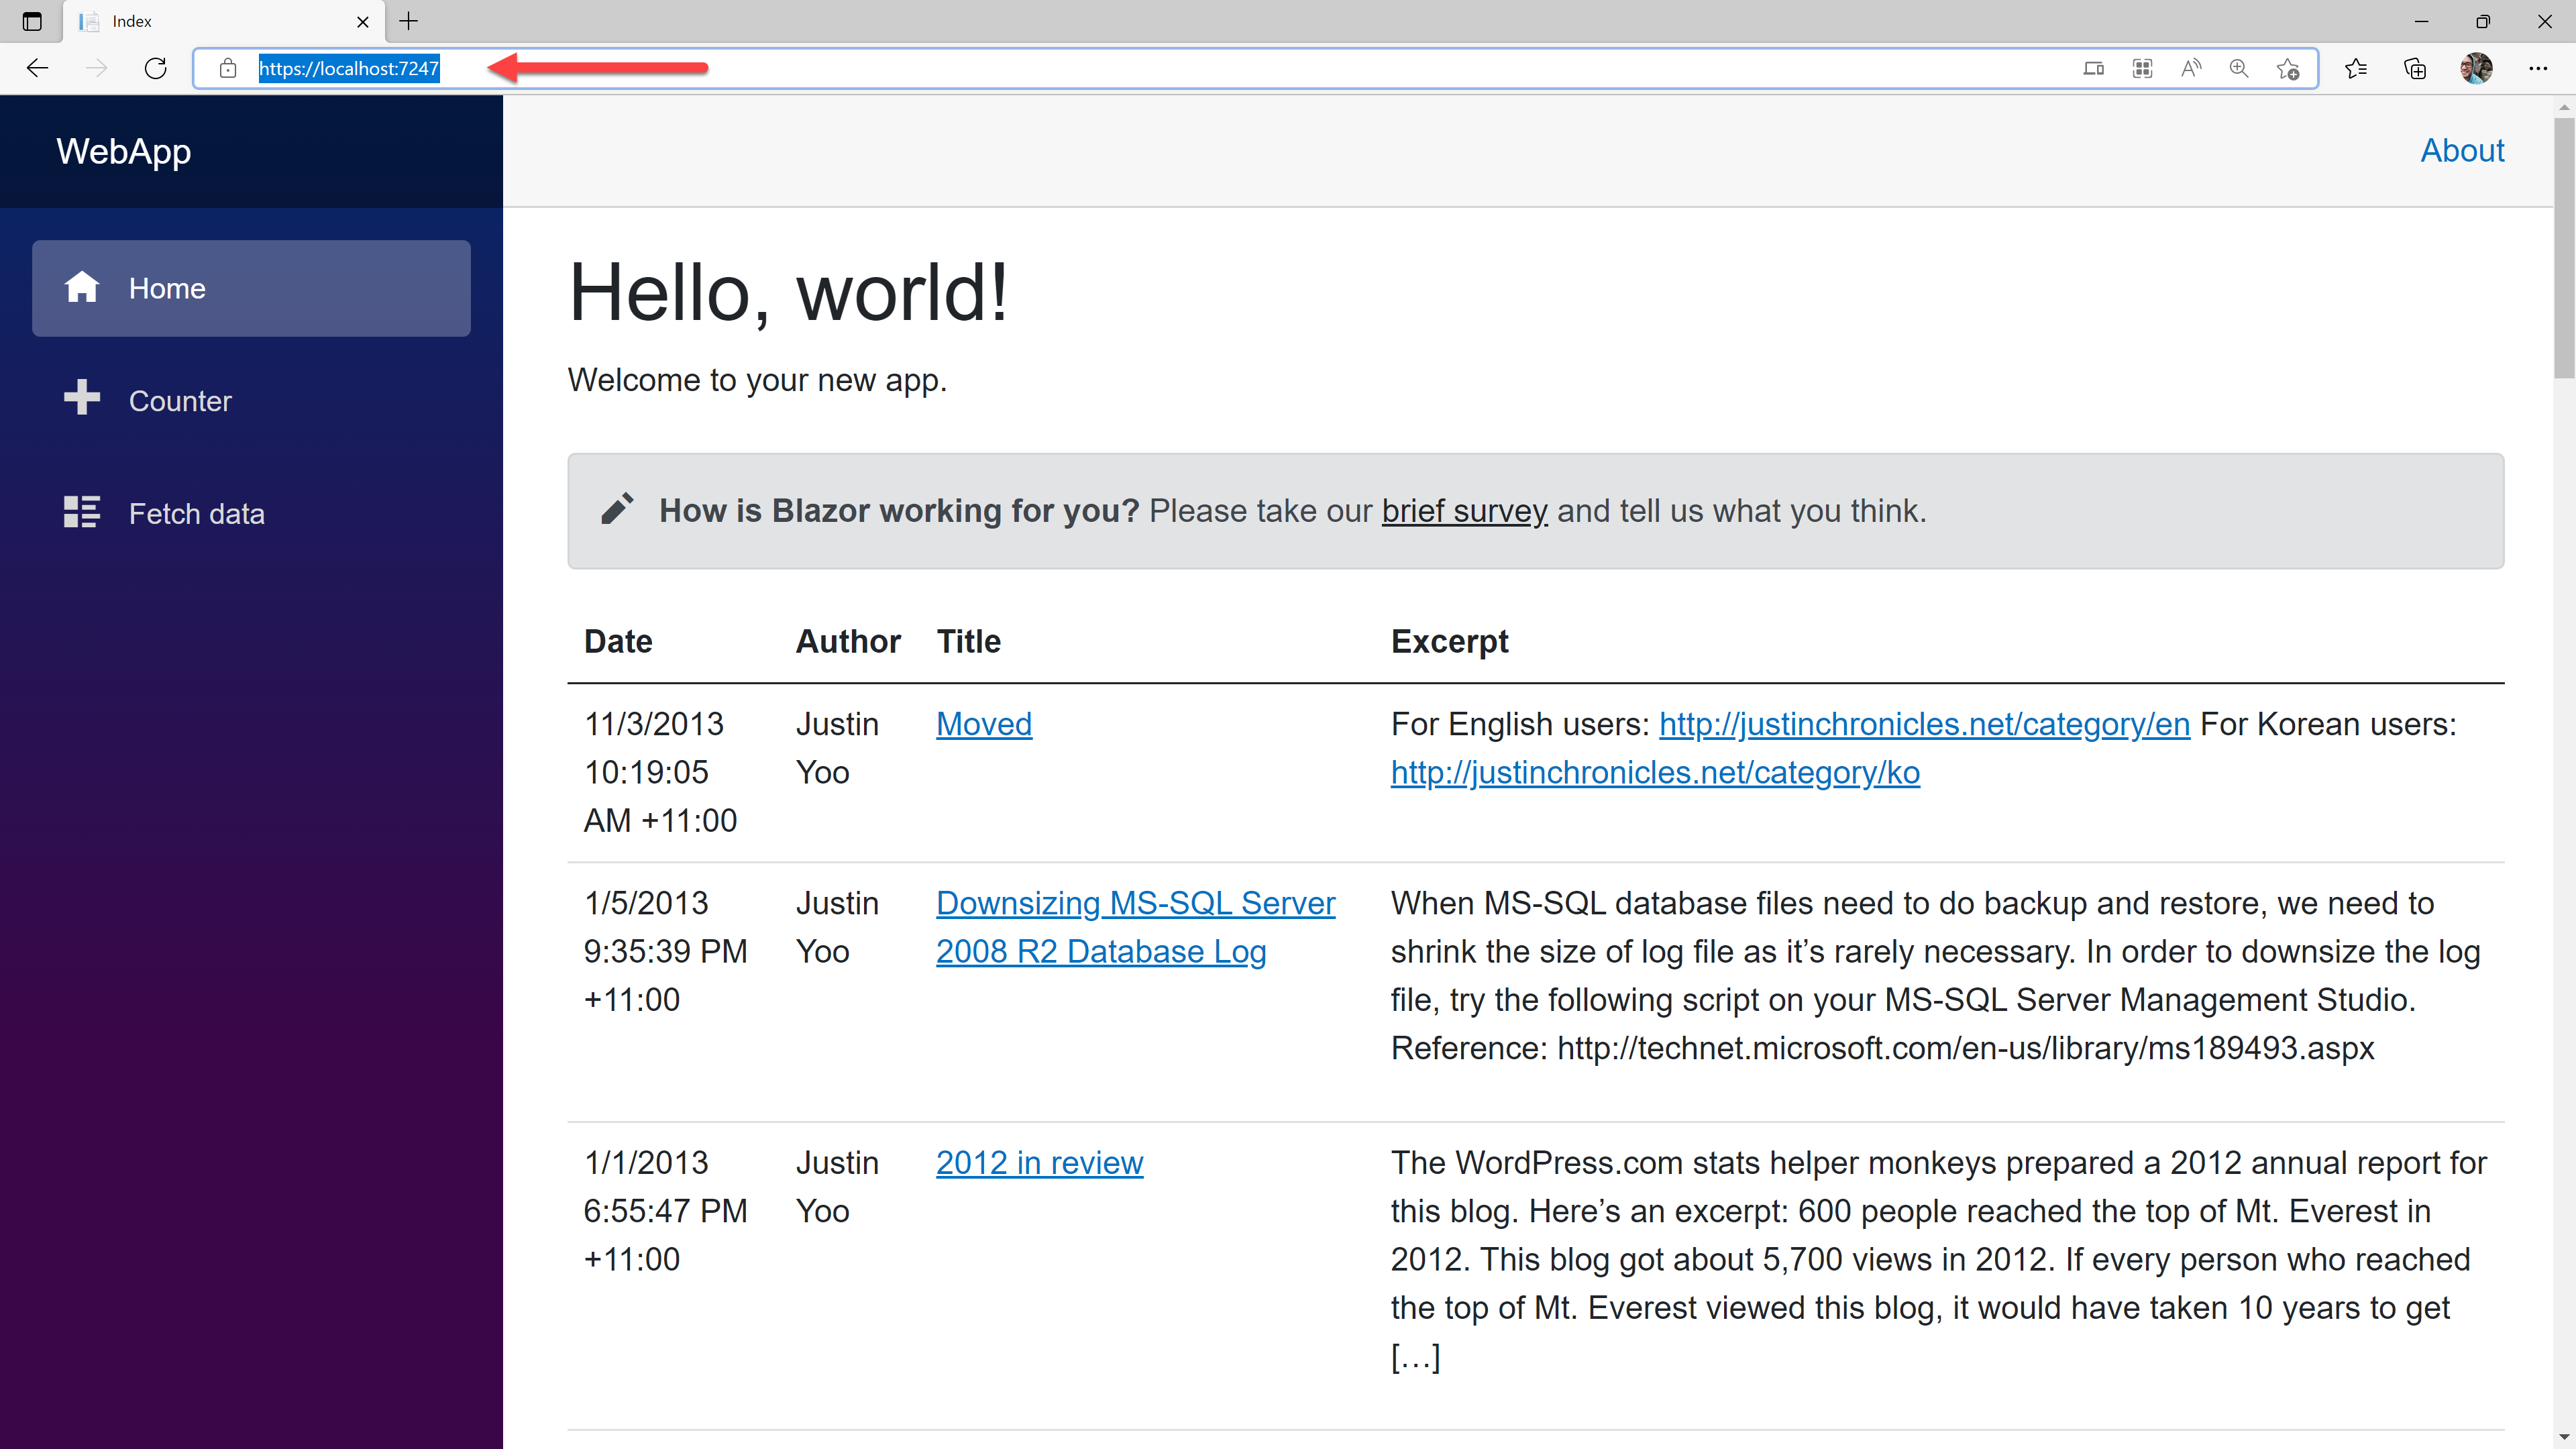
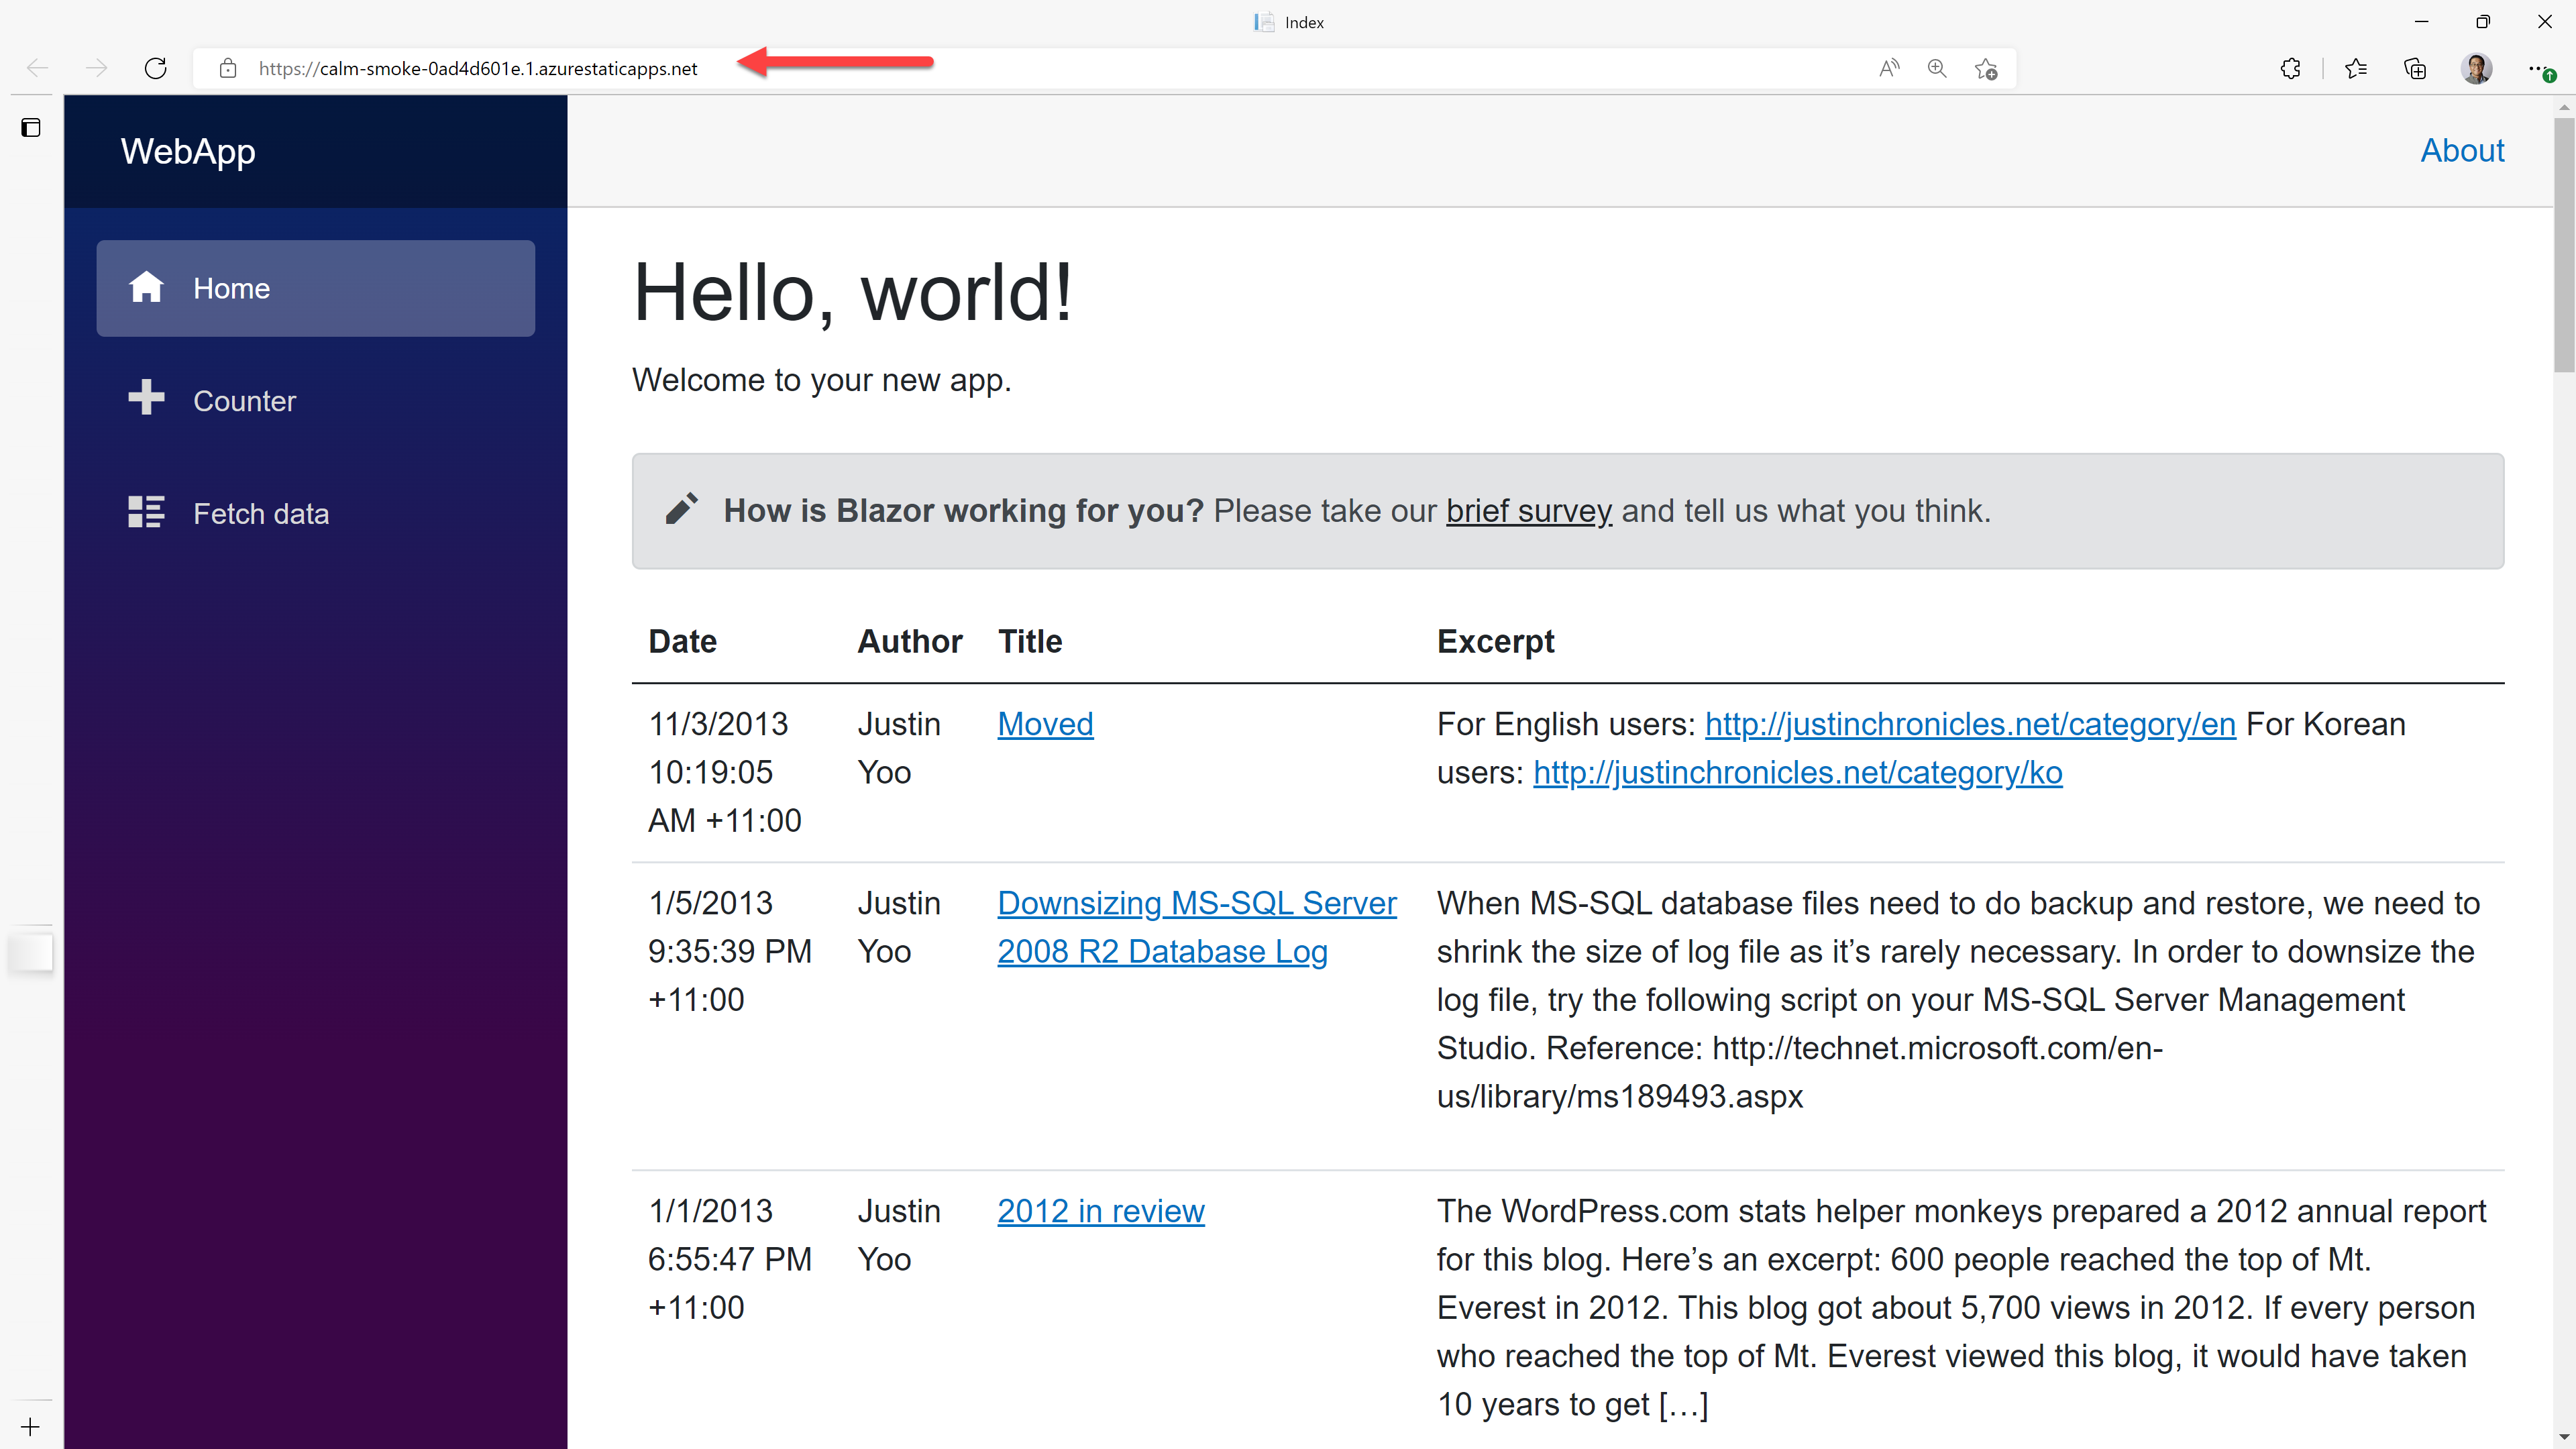
}It's done! Run the Blazor app again. You can see the list of blog posts populated from Wordpress.
You need to push all the code to the GitHub repository.
Azure Static Web Apps Hosting
All coding parts have been completed! Now it's time to publish the app to Azure Static Web Apps. I'm not going to walk through this part. Instead, here are links to my previous posts about the deployment.
- Hosting Blazor Web Assembly App on Azure Static Web App
- Refactoring GitHub Actions Workflow for Azure Static Web Apps
Once you complete publishing your Blazor WebAssembly app with the proxy API app, go to the website to confirm whether everything is OK or not.
So far, I've walked through how to build a Blazor WebAssembly app with an Azure Functions proxy API and use serviced WordPress site as a data source. Also, I've published this app to Azure Static Web Apps instance. Although this post has only implemented the high-level concepts, it has basically touched almost everything you need. Therefore, it's up to you to use as many API endpoints as possible and make the UI prettier. Then, you can still use the existing WordPress site as your data source of truth.