In my previous blog posts of containerising .NET apps and Function apps, I discussed how to containerise .NET apps and Azure Functions apps with and without Dockerfile. However, deploying these containerised apps to Azure Container Apps (ACA) is a different story. Since its release in May 2023, Azure Developer CLI (azd) has evolved significantly. azd nowadays even automatically generates Bicep files for us to immediately provision and deploy applications to Azure. With this feature, you only need the azd up command for provisioning and deployment. Throughout this post, I'm going to discuss how to provision and deploy .NET apps including Azure Functions to ACA through just one command, azd up.
You can find a sample code from this GitHub repository.
Prerequisites
There are a few prerequisites to containerise .NET apps effectively.
- .NET SDK 8.0+
- Visual Studio or Visual Studio Code + C# Dev Kit
- Azure Developer CLI
- Azure Functions Core Tools
- Docker Desktop
Running the app locally
The sample app repository already includes the following apps:
- Blazor app as a frontend
- ASP.NET Core Web API app as a backend
- Azure Functions app as another backend
Let's make sure those apps running properly on your local machine. In order to run those apps locally, open three terminal windows and run the following commands on each terminal:
# Terminal 1 - ASP.NET Core Web API
dotnet run --project ./ApiApp

# Terminal 2 - Azure Functions
cd ./FuncApp
dotnet clean && func start

# Terminal 3 - Blazor app
dotnet run --project ./WebApp
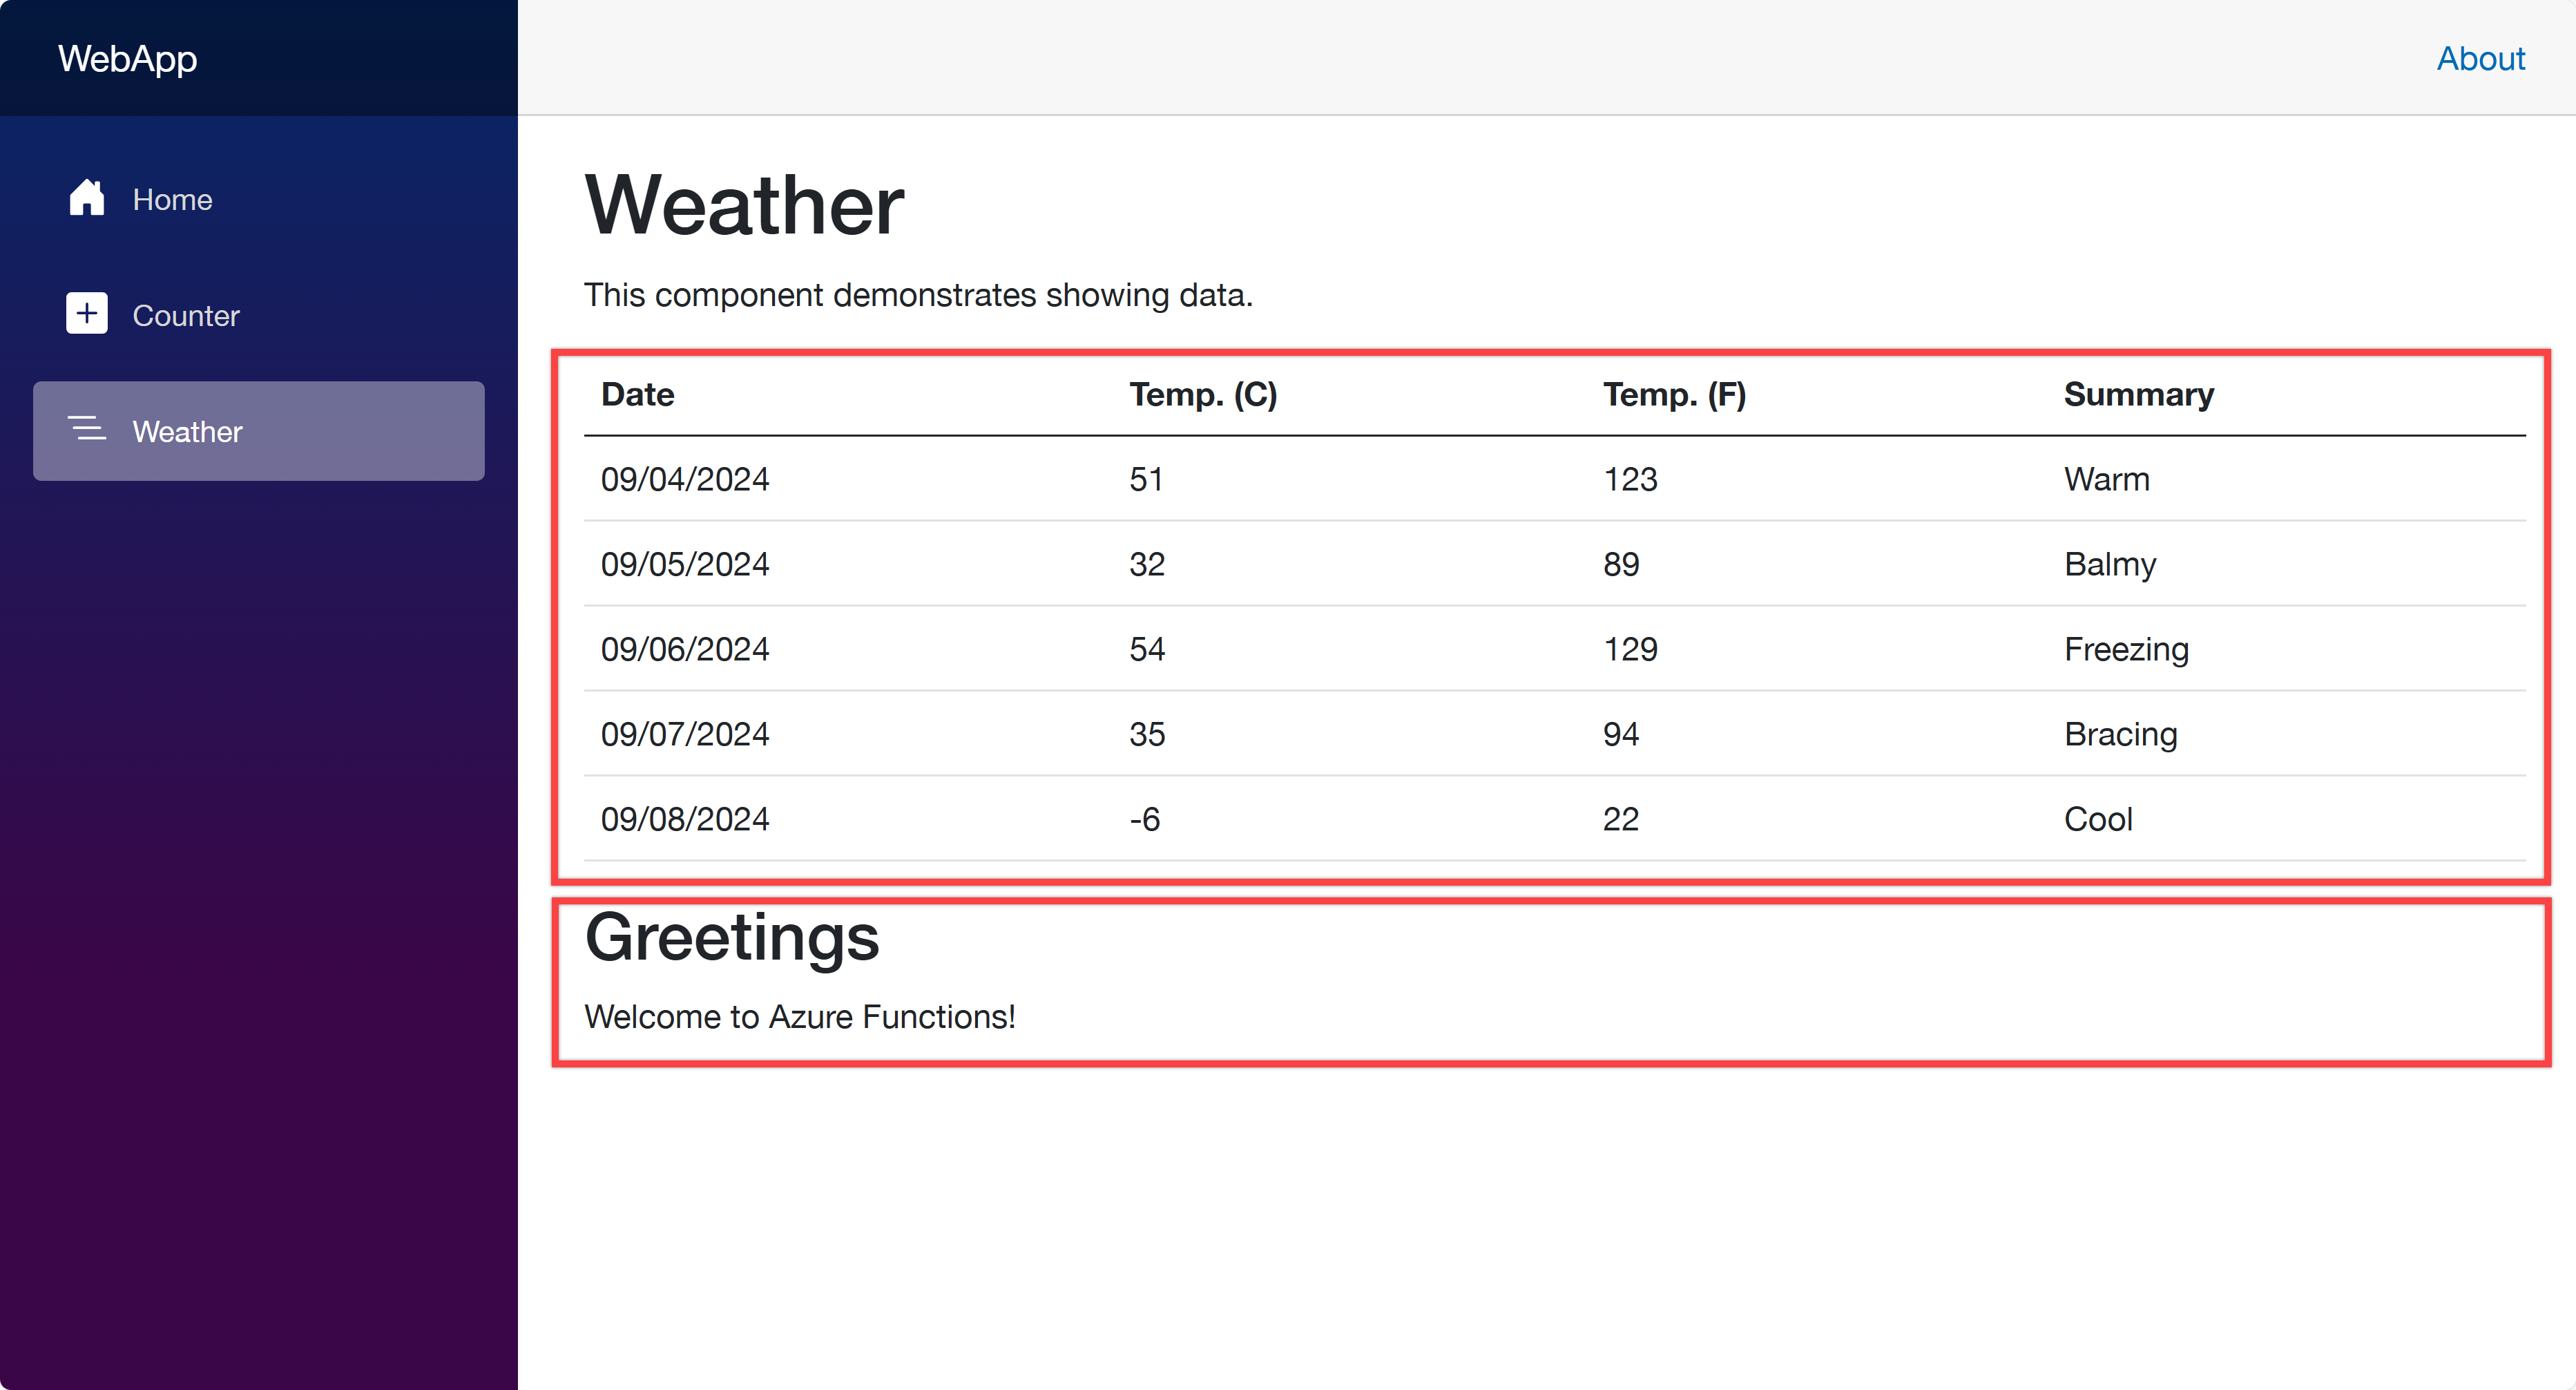
Open your web browser and navigate to https://localhost:5001 to see the Blazor app running. Then navigate to https://localhost:5001/weather to see the weather data fetched from the ApiApp and the greetings populated from the FuncApp.
Now, let's start using azd to provision and deploy these apps to ACA. Make sure that you've already logged in to Azure with the azd auth login command.
azd init – Initialisation
In order to provision and deploy the apps to ACA, you need to initialise the azd configuration. Run the following command:
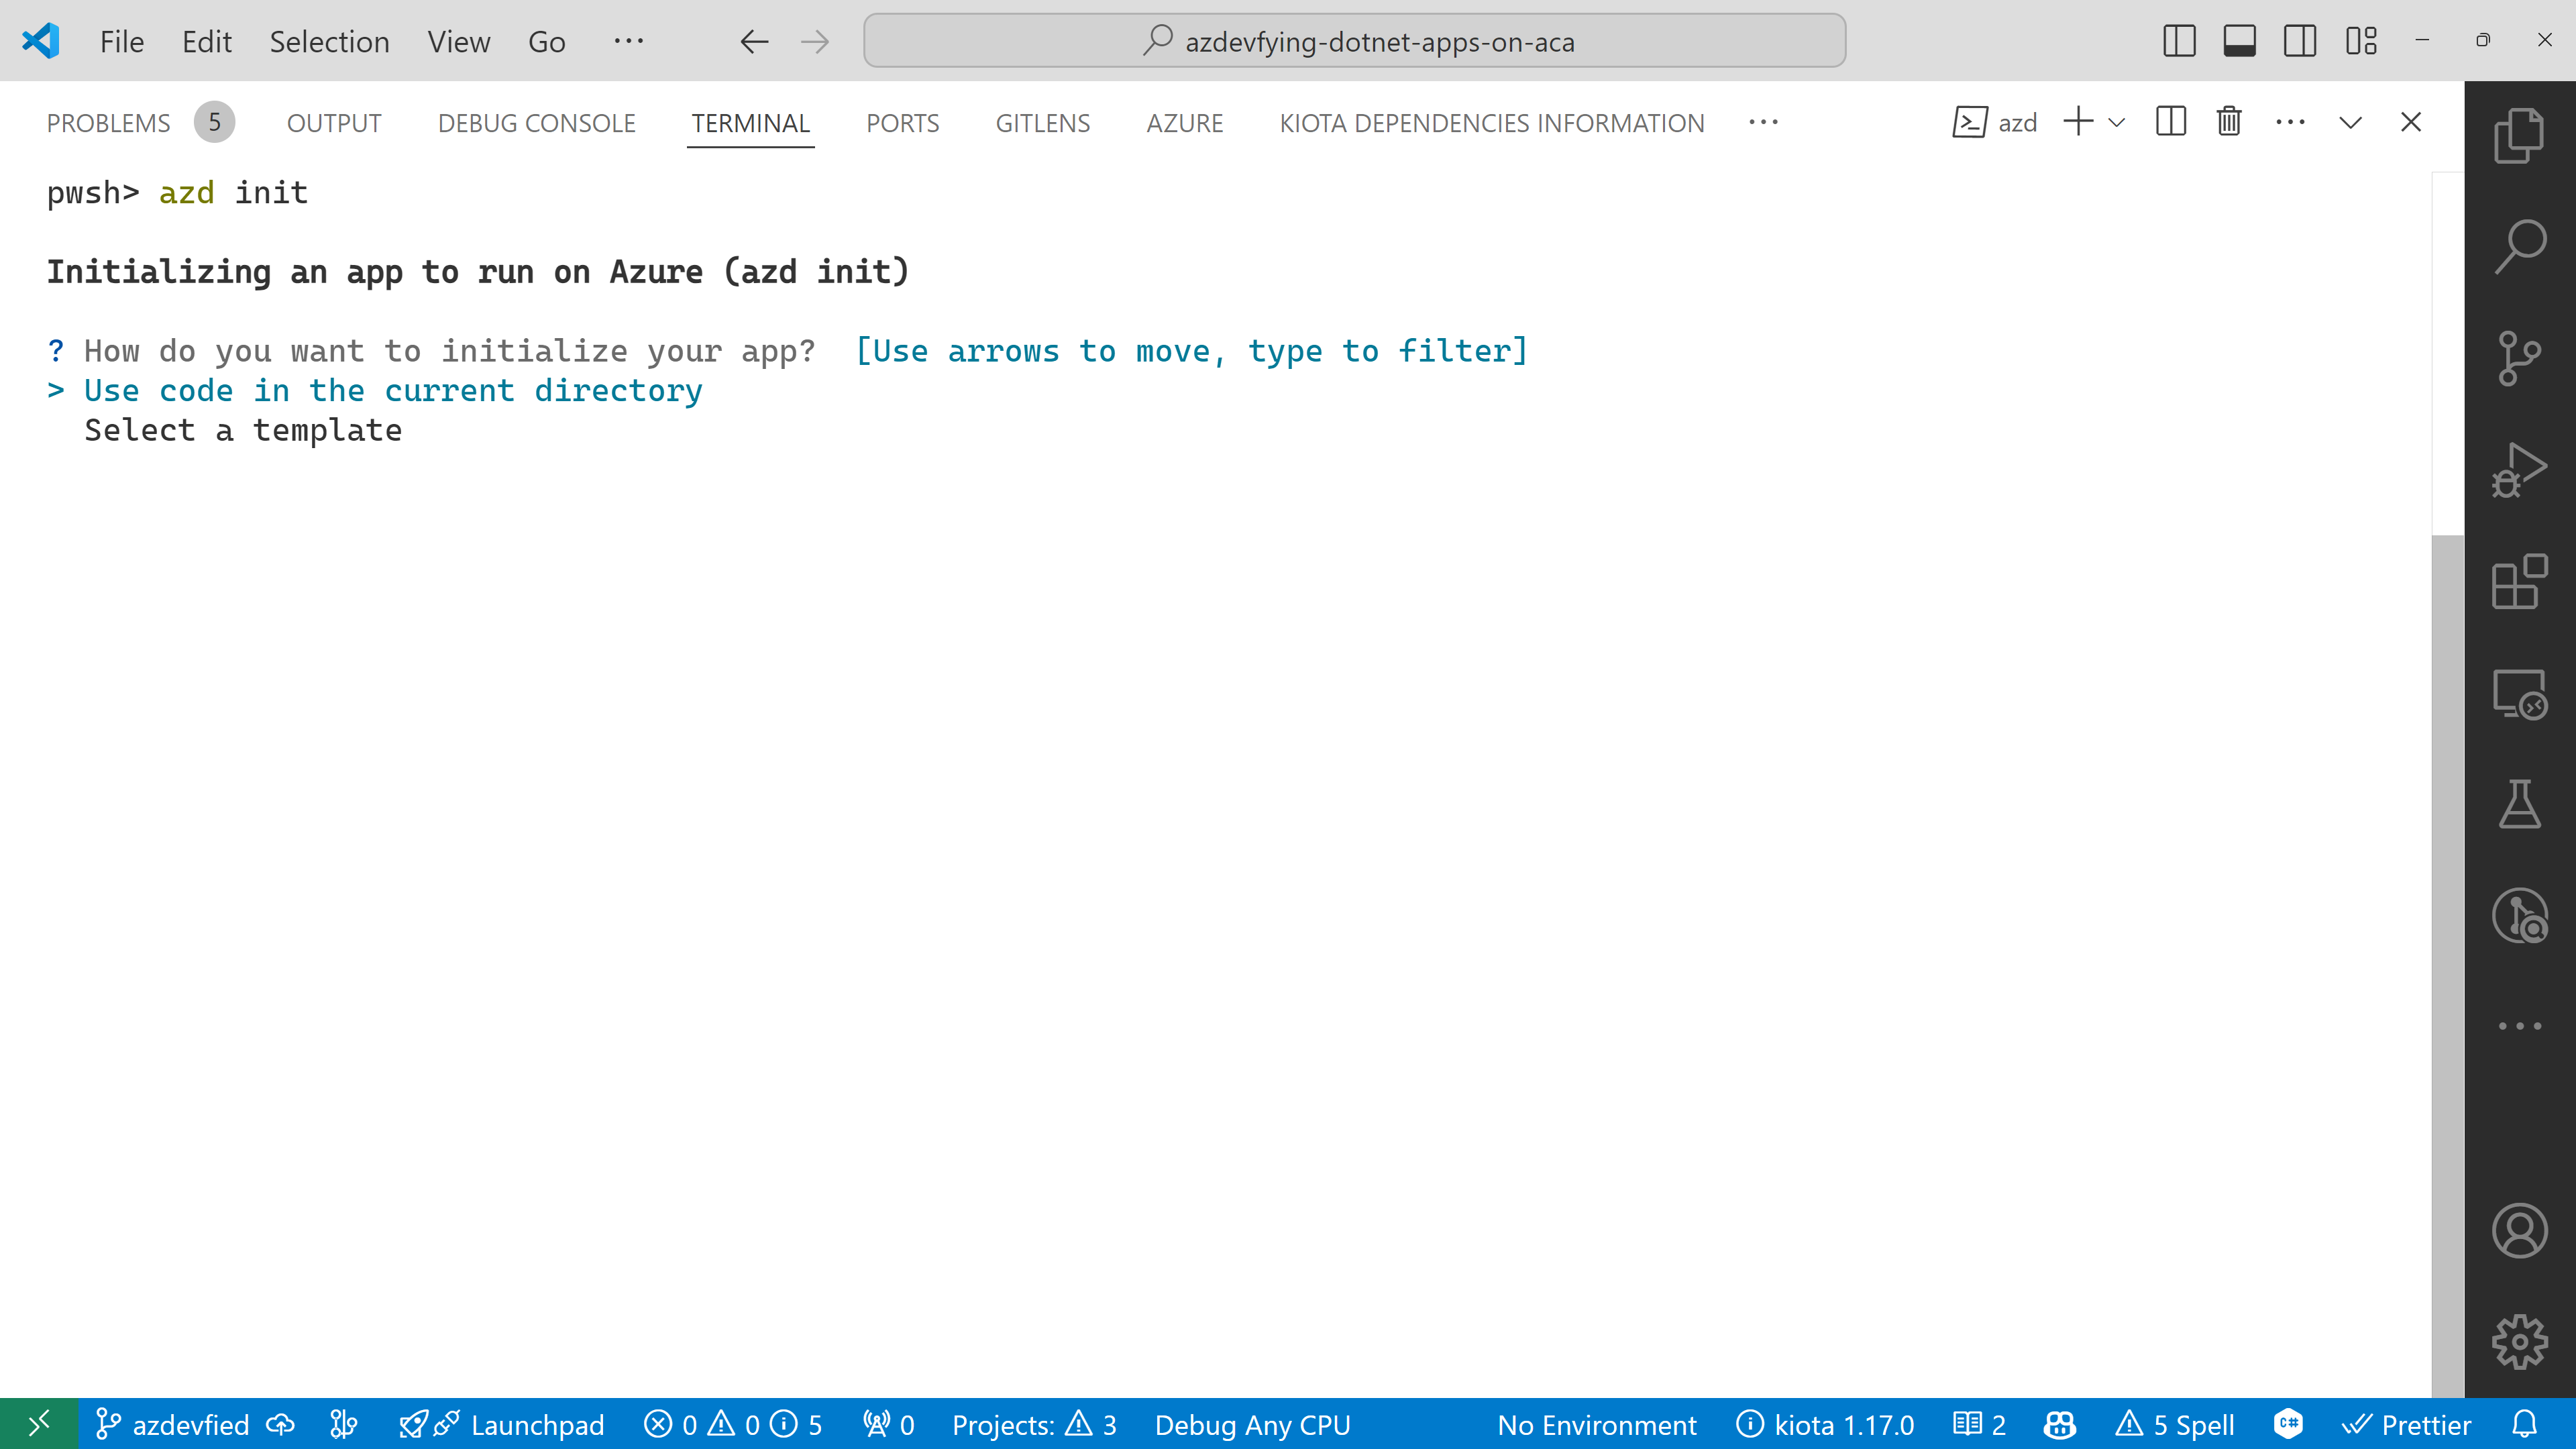
azd initYou'll be prompted to initialise the app. Choose the Use code in the current directory option.
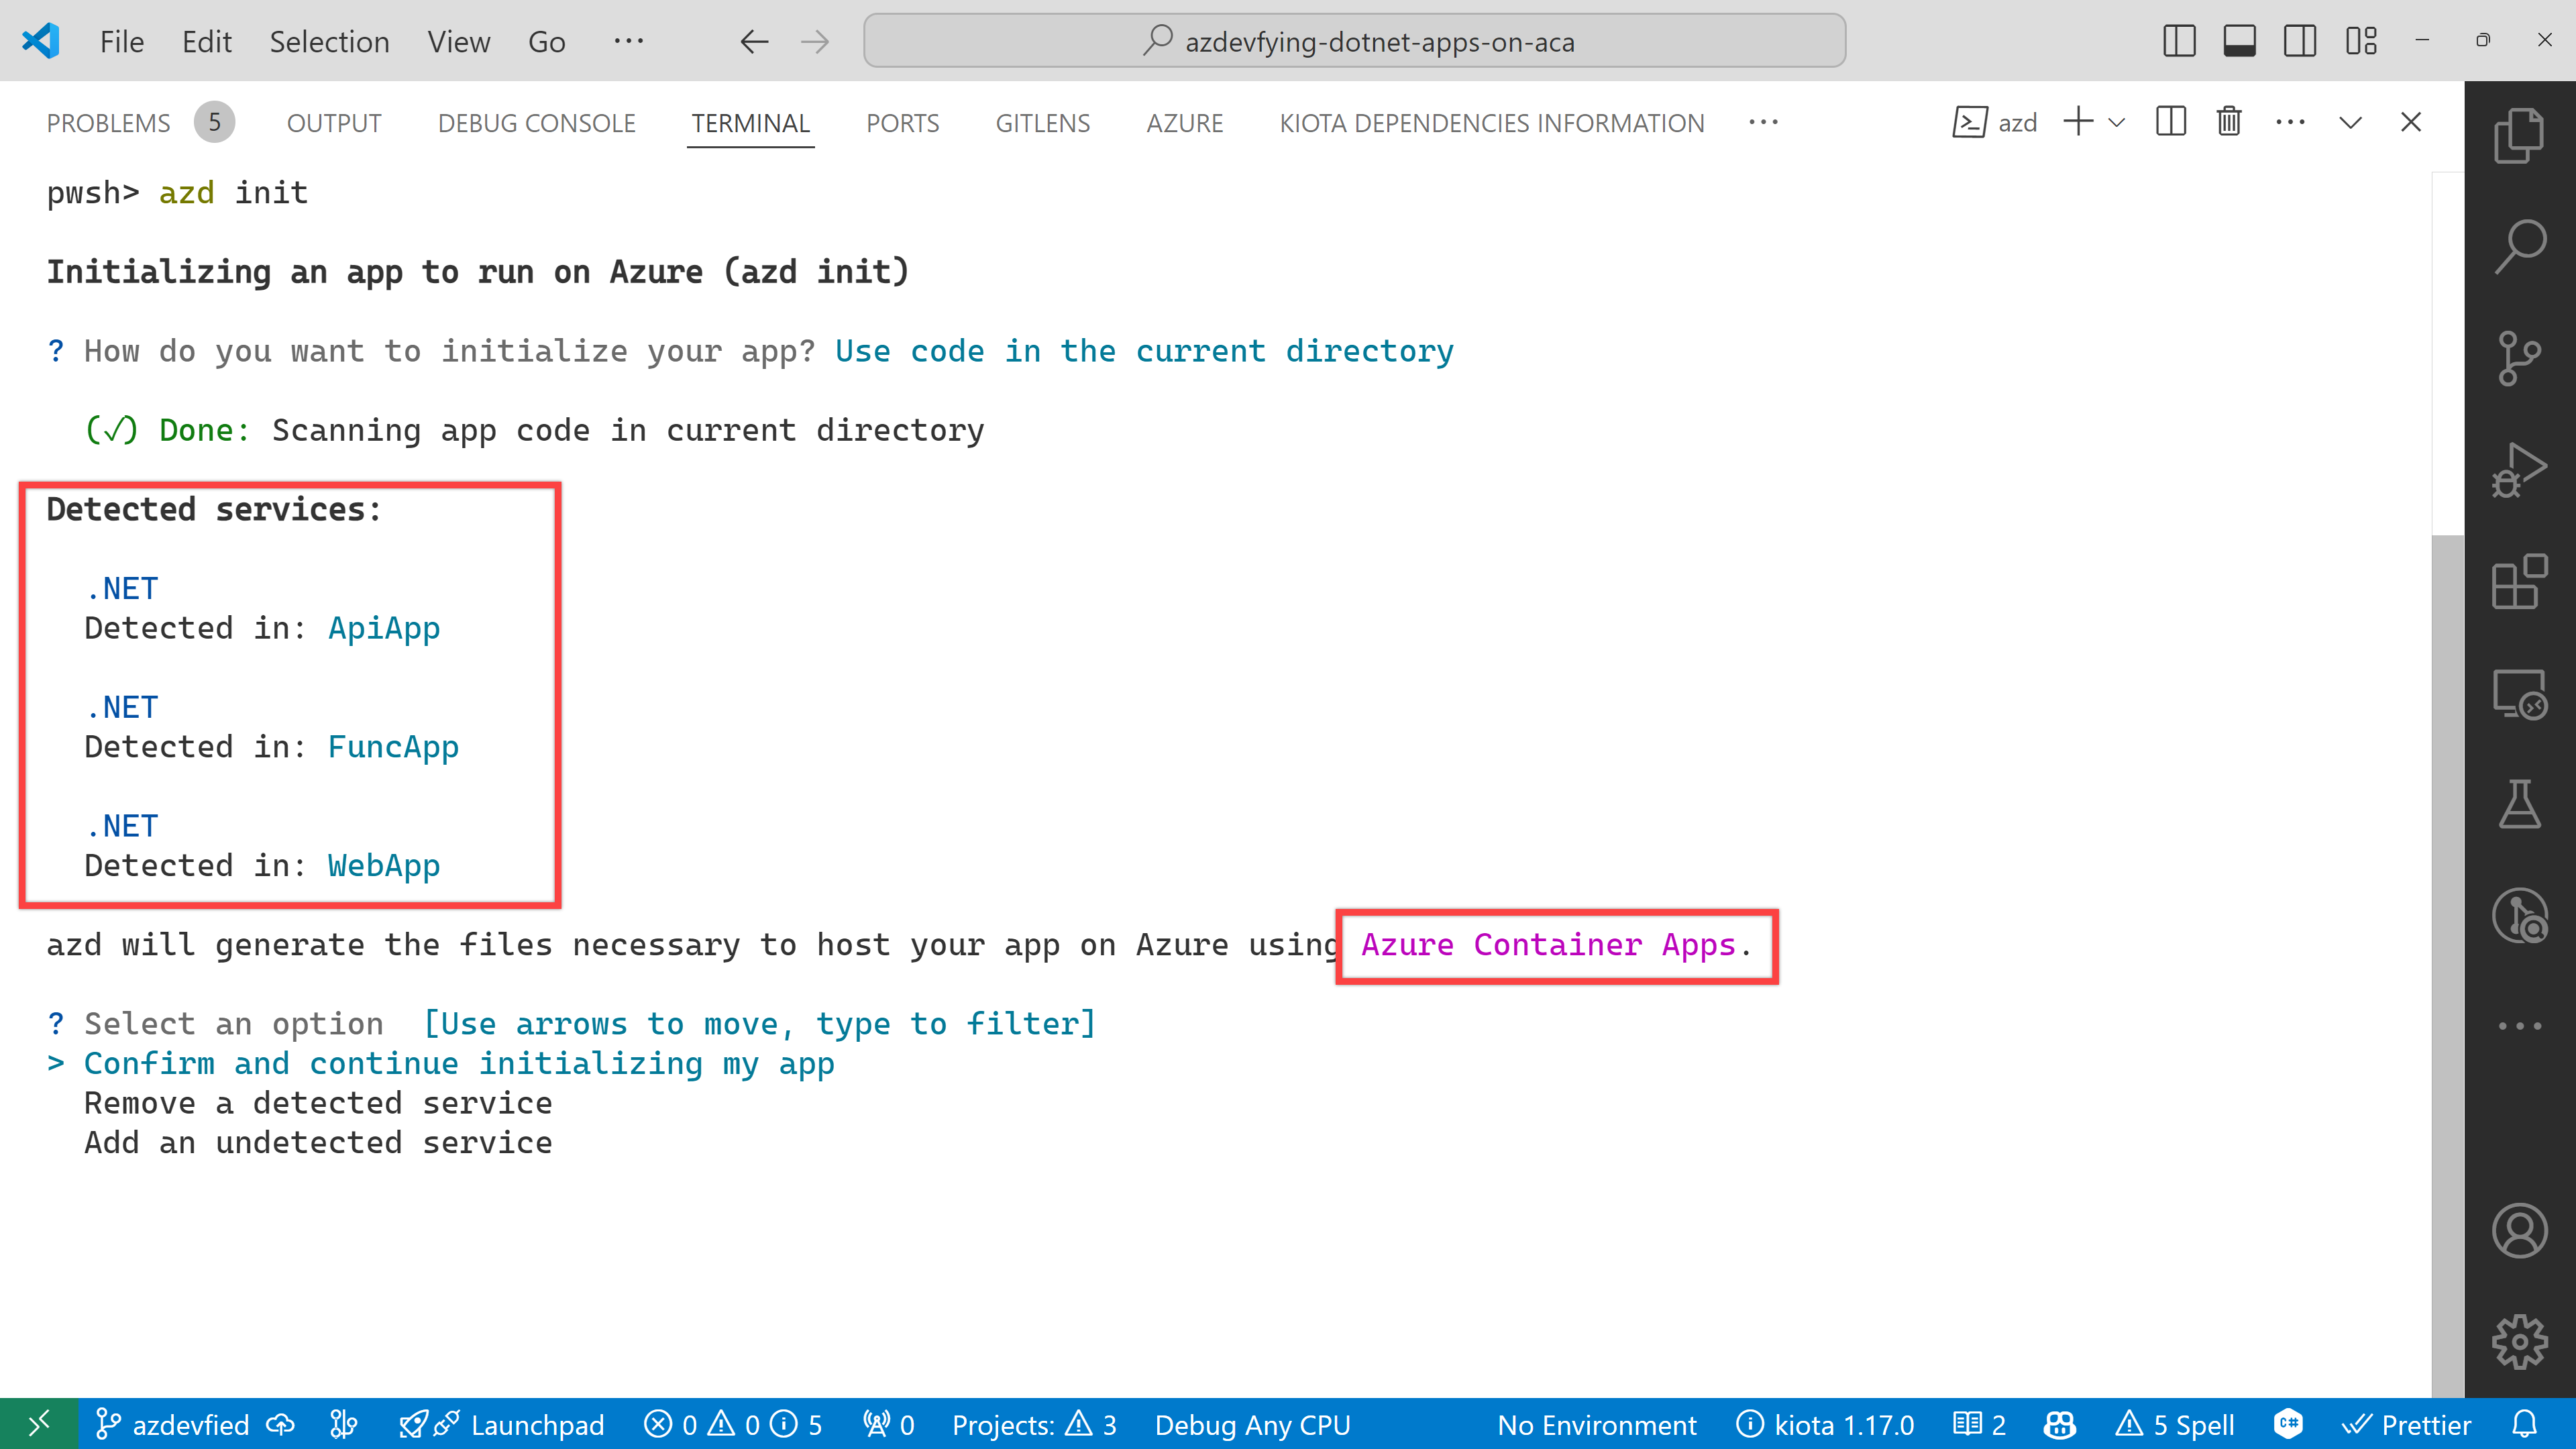
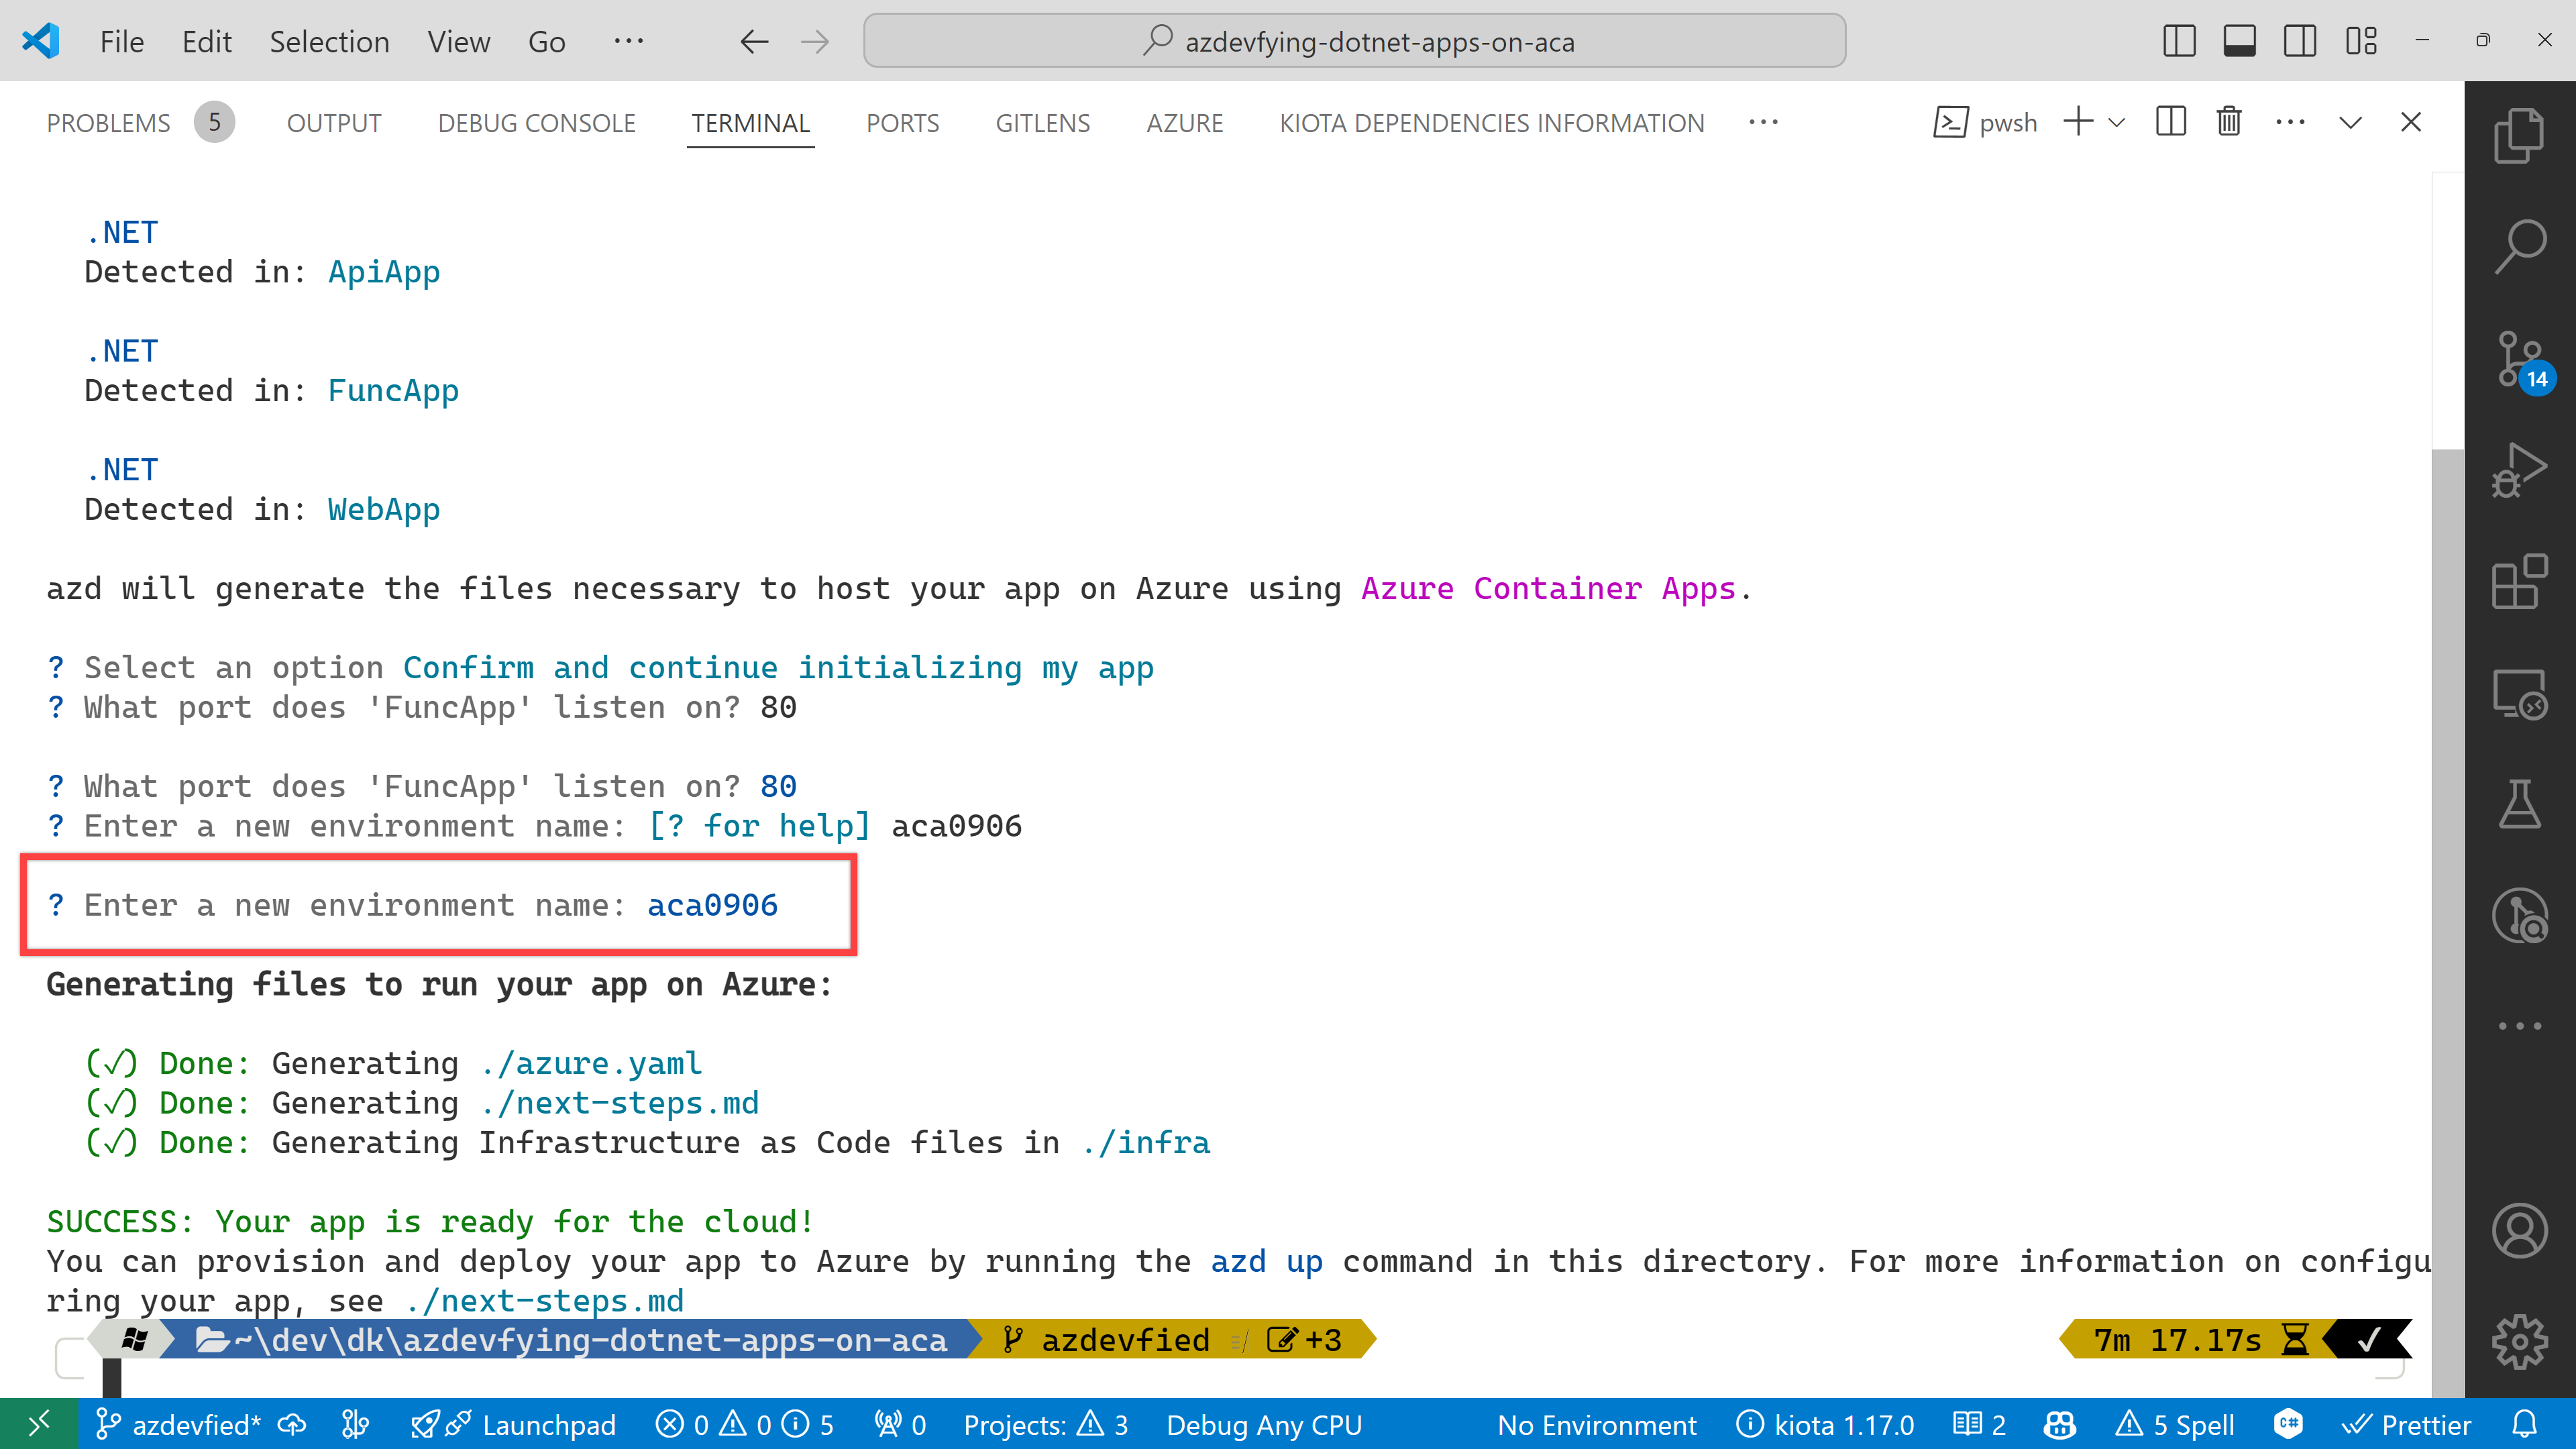
azd automatically detects your three apps as shown below. In addition to that, it says it will use Azure Container Apps. Choose the Confirm and continue initializing my app option.
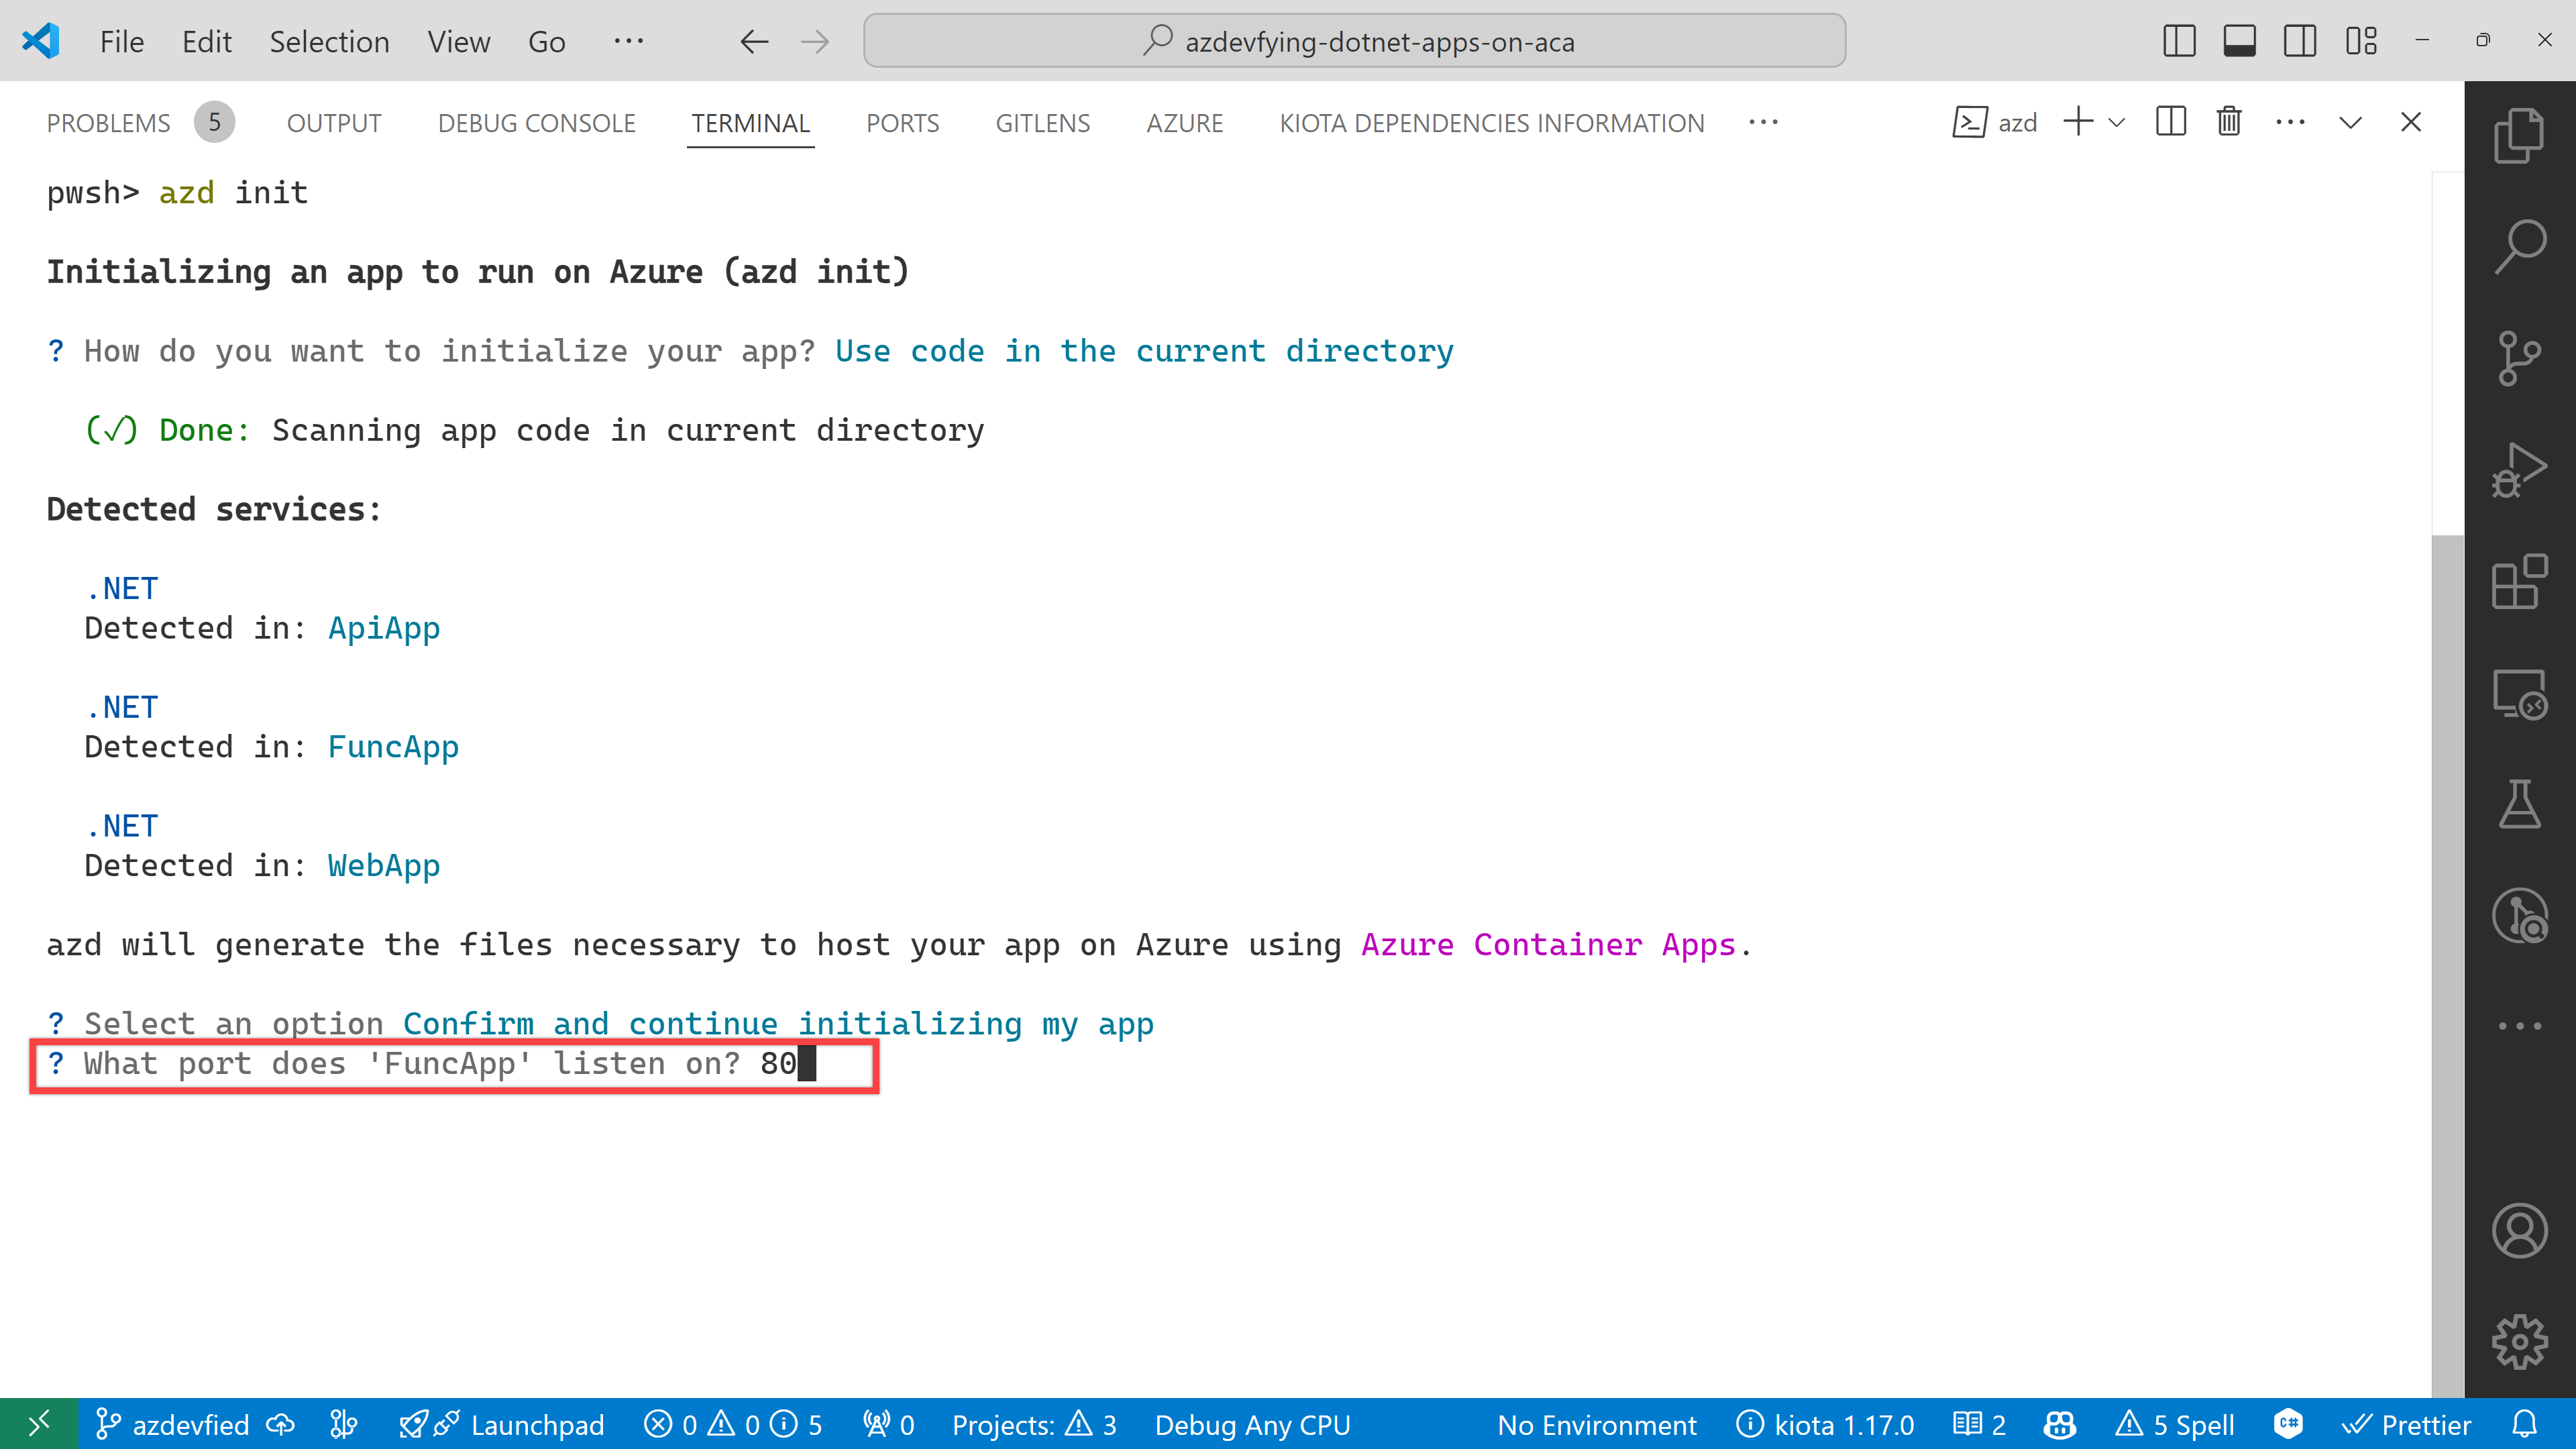
The function app asks the target port number. Enter 80.
And finally, it asks the environment name. Enter any name you want. I just entered aca0906 for now.
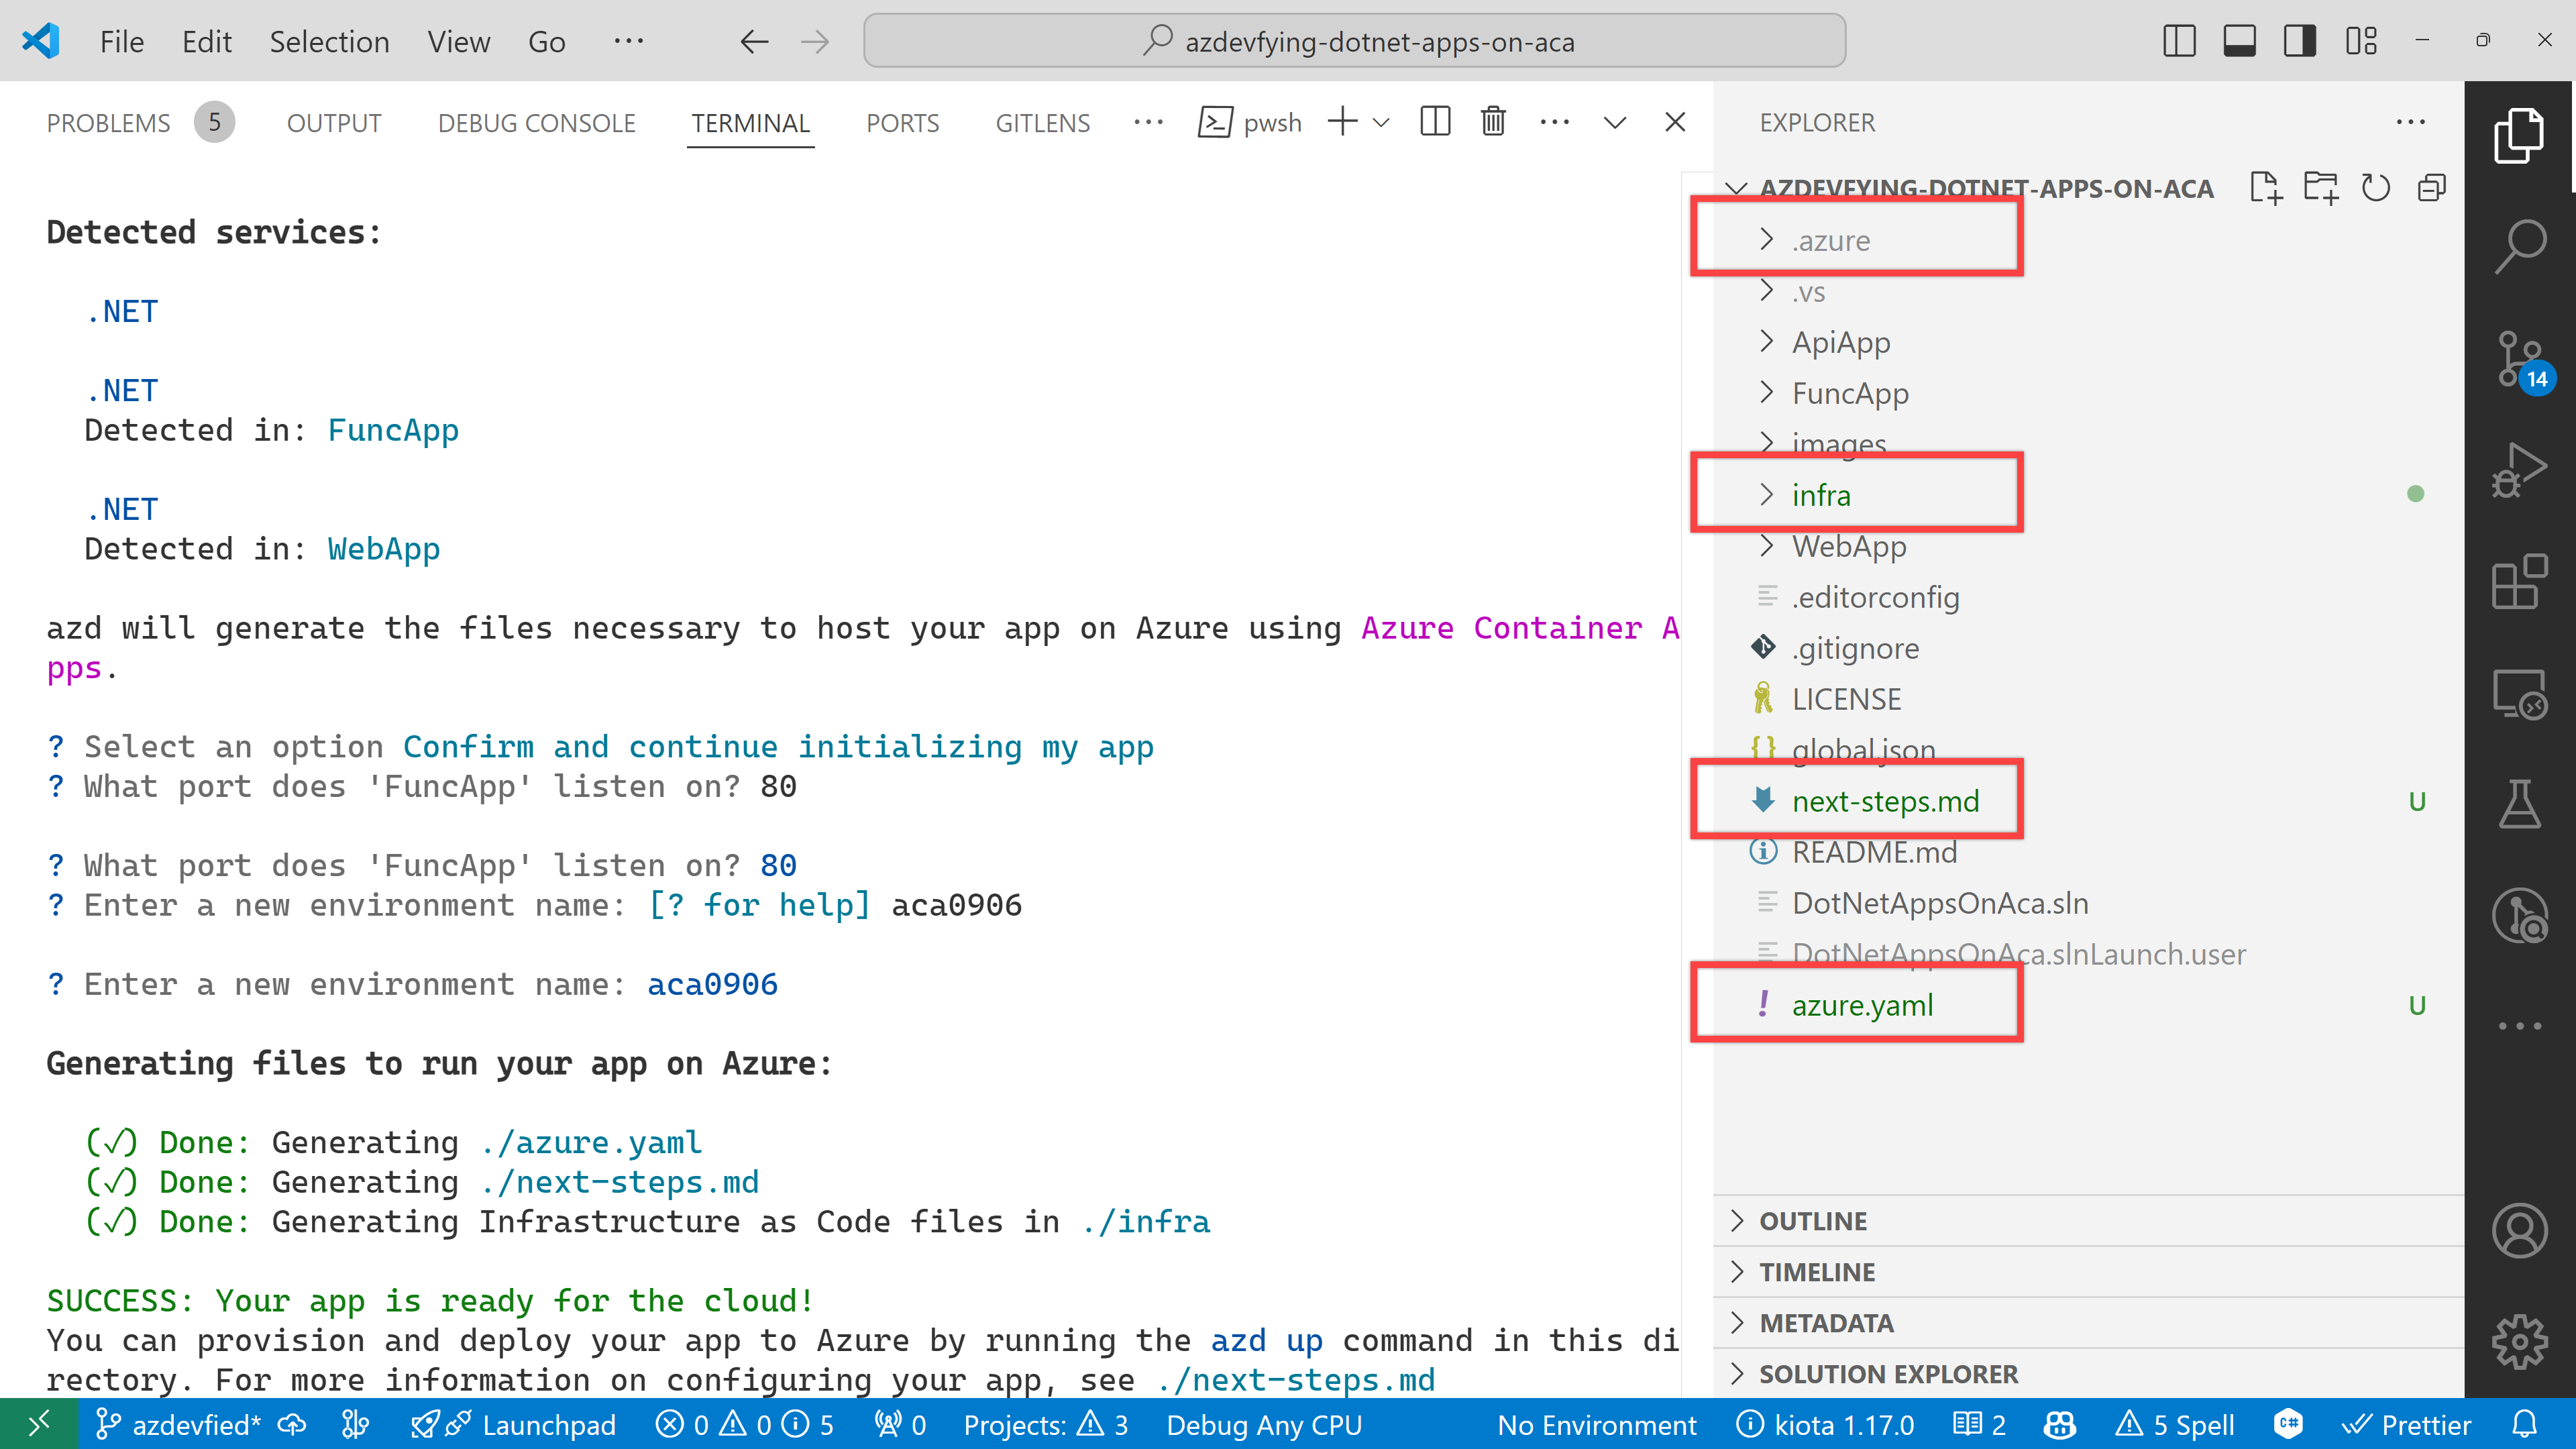
Now, you've got two directories and two files generated:
.azuredirectoryinfradirectorynext-steps.mdfileazure.yamlfile
Under the infra directory, there are bunch of Bicep files automatically generated through azd init.
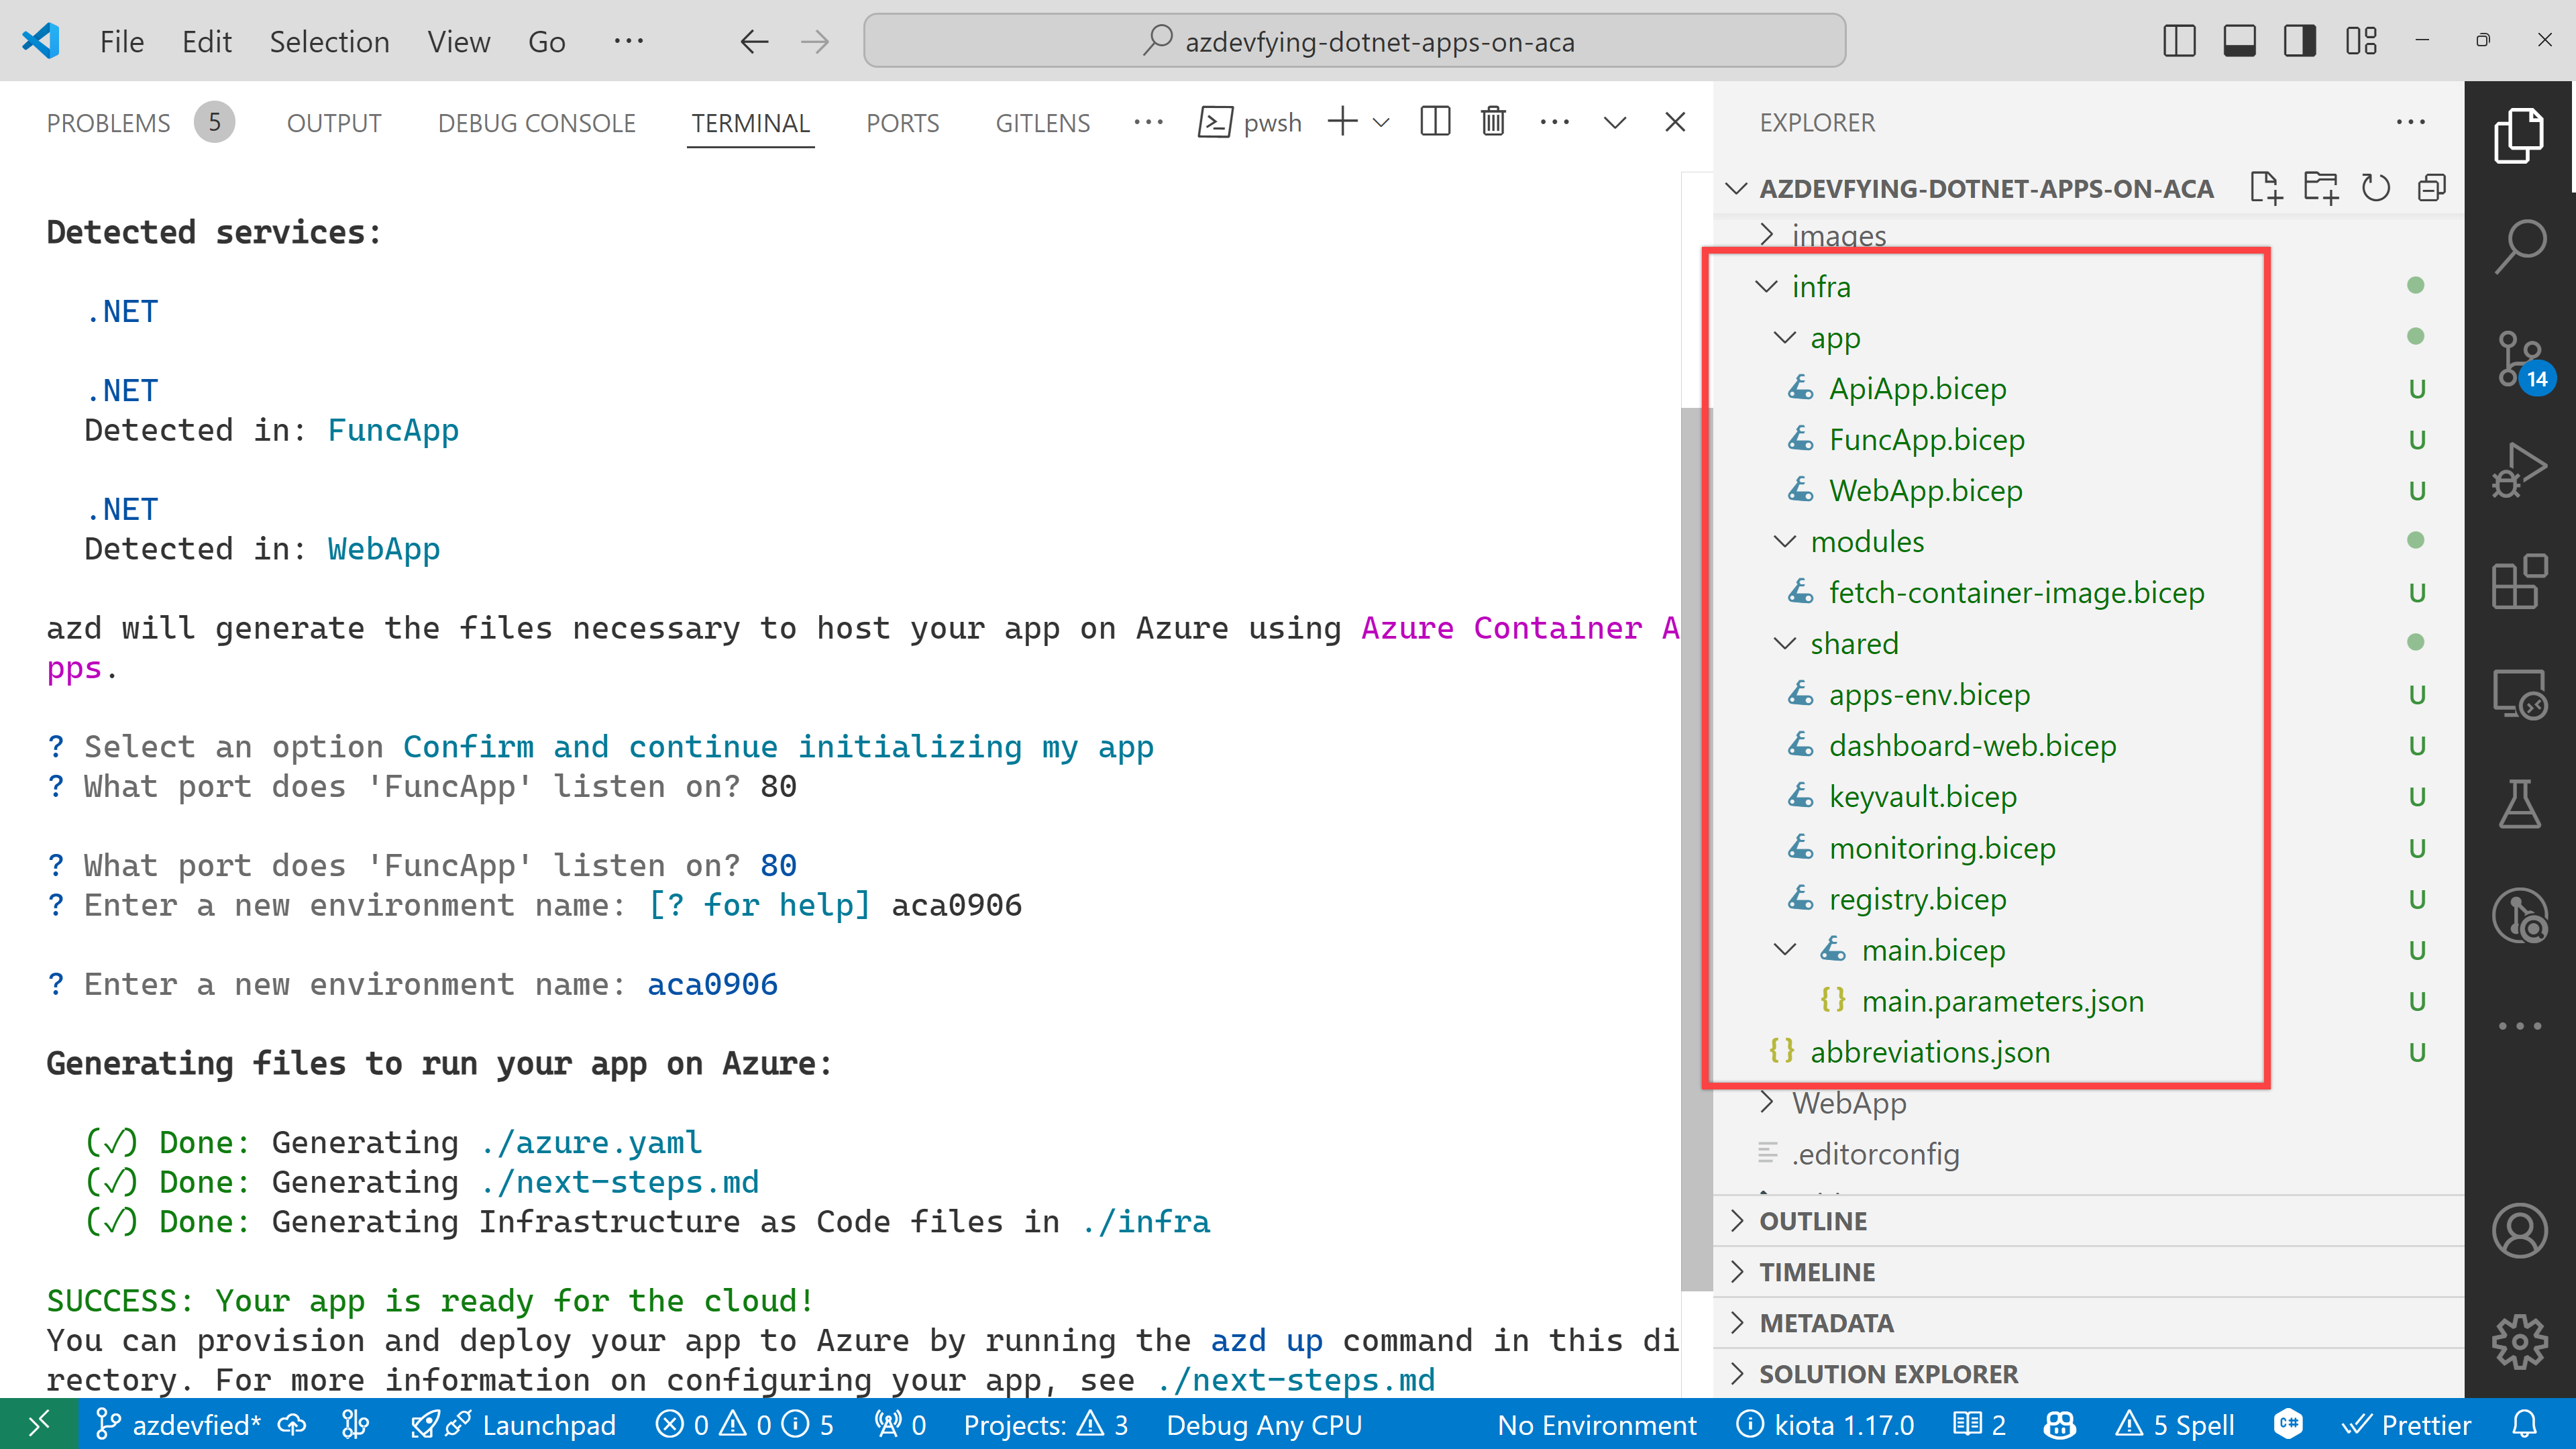
As a result of running the command, azd init, you don't have to write all necessary Bicep files. Instead, it generates them for you, which significantly reduces the time for infrastructure provisioning. Now, you're ready to provision and deploy your apps to ACA. Let's move on.
azd up – Provision and deployment
All you need to run at this stage is:
azd upThen, it asks you to confirm the subscription and location to provision the resources. Choose the appropriate options and continue.

All apps are containerised and deployed to ACA. Once the deployment is done, you can see the output as shown below:

Click the web app URL and navigate to the /weather page. But you will see the error as shown below:

This is because each app doesn't know where each other is. Therefore, you should update the Bicep files to let the web app know where the other apps are.
Update Bicep files – Service discovery
Open the infra/main.bicep file and update the webApp resource:
module webApp './app/WebApp.bicep' = {
  name: 'WebApp'
  params: {
    ...
    // Add these two lines
    apiAppEndpoint: apiApp.outputs.uri
    funcAppEndpoint: funcApp.outputs.uri
  }
  scope: rg
}
Then, open the infra/app/WebApp.bicep file and add both apiAppEndpoint and funcAppEndpoint parameters:
...
@secure()
param appDefinition object

// Add these two lines
param apiAppEndpoint string
param funcAppEndpoint string
...
In the same file, change the env variable:
// Before
var env = map(filter(appSettingsArray, i => i.?secret == null), i => {
  name: i.name
  value: i.value
})

// After
var env = union(map(filter(appSettingsArray, i => i.?secret == null), i => {
  name: i.name
  value: i.value
}), [
  {
    name: 'API_ENDPOINT_URL'
    value: apiAppEndpoint
  }
  {
    name: 'FUNC_ENDPOINT_URL'
    value: funcAppEndpoint
  }
])
This change passes the API and Function app endpoints to the web app as environment variables, so that the web app knows where the other apps are.
Once you've made the changes, run the azd up command again. It will update the resources in ACA. After that, go to the web app URL and navigate to the /weather page. You will see the weather data and greetings fetched from the API and Function apps.
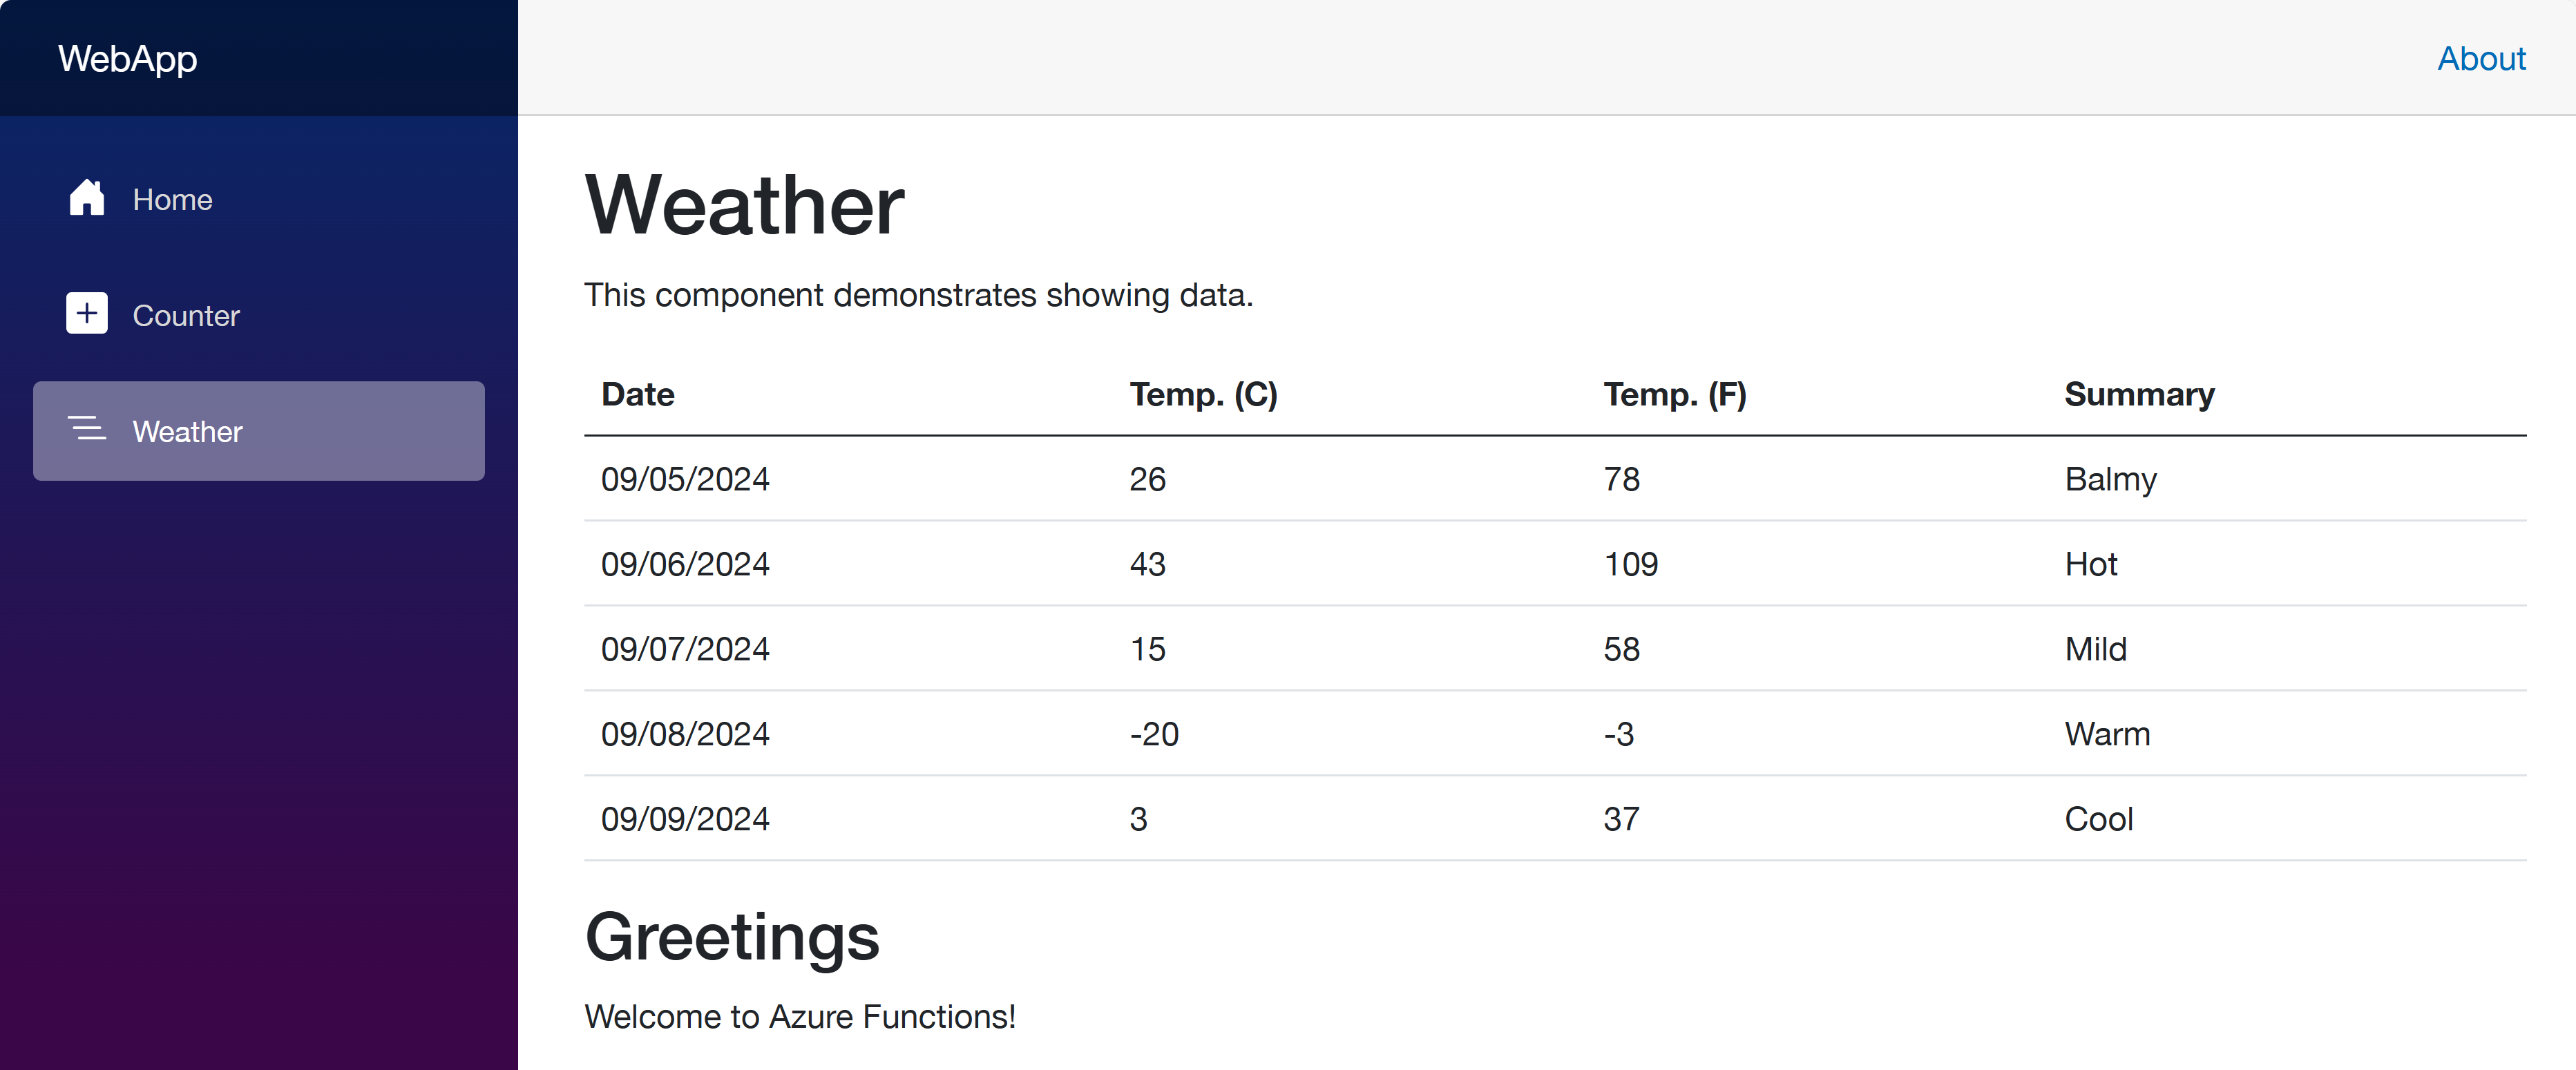
So far, I've discussed how to provision and deploy .NET apps including Azure Functions to ACA with just one command, azd up. This is a very convenient way to deploy apps to Azure. However, to let the apps know each other, you should slightly tweak the auto-generated Bicep files. With this little tweak, all your .NET apps will be seamlessly provisioned and deployed to ACA.
One more thing I'd like to mention here, though, is that, if you use .NET Aspire, this sort of service discovery is automatically handled.
More about deploying .NET apps to ACA?
If you want to learn more options about deploying .NET apps to ACA, the following links might be helpful.