Previously, I wrote several blog posts about GitHub Actions, and I'm going to continue it in this post. We've been using ready-made GitHub Actions so far. However, there might not be Actions available, which I'm looking for, or I can't use the open-sourced Actions for various reasons. In this instance, we need to build our own Custom GitHub Action. Throughout this post, I'm going to discuss when to use Custom GitHub Actions and how to build it, with a very simple .NET Core console application.
Why Custom GitHub Actions?
All GitHub Actions available on the marketplace are open-sourced. Anyone who agrees with the owner's license policy can use them. At the same time, someone can't use them because of the license policy. Maybe their organisation doesn't allow to use open-source libraries unless it's fully endorsed. In this case, instead of using the existing Actions, they should build their own Actions. Let's think about other cases. What if there's no Action that I'm looking for? I should wait for the Action published by someone else or build it by myself. If I decide to make it, the Custom GitHub Action is the answer.
Types of Custom GitHub Actions
There are two types of building Custom Actions. One is to use Docker container, and the other is to use JavaScript. Both have their own pros and cons. Here are some:
| Docker Action | JavaScript Action | |
|---|---|---|
| Runner Dependency | Runner independent | Runner Dependent |
| Performance | Slow | Fast |
| Multi-platform Support | Ubuntu runner only | All runners |
| Language Support | All languages available | JavaScript only |
The reason why the Docker Action is slower than the JavaScript one is that it takes time to build a container before use, while the JavaScript one runs directly on the runner. With this regards, the JavaScript one looks way better, but multi-language support is the killing point of using the Docker Action. If you want to use your preferred language, like C#, Java, Python, Go, or PHP, the Docker Action is yours.
As we're building a .NET Core console application written in C#, we're going to use the Docker one.
Building a .NET Core Console Application
First of all, let's write a .NET Core console app. Instead of a simple Hello World style one, we're building a more practical one. The code below takes inputs and send a message to a Microsoft Teams channel. Here's the code:
This post shows more detailed logic, used for Azure Functions.
| public static class Program | |
| { | |
| public static void Main(string[] args) | |
| { | |
| var card = new MessageCard() | |
| { | |
| Title = args[1], | |
| Summary = args[2], | |
| Text = args[3], | |
| ThemeColor = args[4], | |
| Sections = ParseCollection<Section>(args[5]), | |
| Actions = ParseCollection<BaseAction>(args[6]) | |
| }; | |
| var converted = JsonConvert.SerializeObject(card); | |
| var message = (string)null; | |
| var requestUri = args[0]; | |
| using (var client = new HttpClient()) | |
| using (var content = new StringContent(converted, Encoding.UTF8, "application/json")) | |
| using (var response = await client.PostAsync(requestUri, content).ConfigureAwait(false)) | |
| { | |
| response.EnsureSuccessStatusCode(); | |
| } | |
| } | |
| private static List<T> ParseCollection<T>(string value) | |
| { | |
| var parsed = string.IsNullOrWhiteSpace(value) | |
| ? null | |
| : JsonConvert.DeserializeObject<List<T>>(value, settings); | |
| return parsed; | |
| } | |
| } |
Once completing the console app, let's move onto the custom action part.
action.yml – Custom Action Metadata
action.yml declares how the custom action work by defining input and output values and how it runs. At the root directory of the repository, create the action.yml file and fill the code like below. For more details of the metadata, please visit the Metadata syntax for GitHub Actions page.
| name: <Name of Custom GitHub Action> | |
| description: <Short description of Action> | |
| inputs: | |
| input_parameter: | |
| description: <Short description of input parameter> | |
| required: <true|false> | |
| default: <default value> | |
| runs: | |
| using: docker | |
| image: Dockerfile | |
| env: | |
| INPUT_PARAMETER: {{ inputs.input_parameter }} |
Both using and image parameters are the core of this declaration. using MUST be docker and image SHOULD be Dockerfile. It can be a reference from outside of the repository, but it's better to stay within the repo.
If you use the extension of
.yaml, likeaction.yaml, it can't read the secrets from the repository settings, which is a BUG at the time of this writing. Therefore, keep using the.ymlextension for now. Of course, the main workflow can use both.yamland.yml.
Dockerfile – Container Definition
In the previous section, the action.yml refers to Dockerfile. As we're building a .NET Core application, we need a base image containing .NET Core 3.1 SDK, which is mcr.microsoft.com/dotnet/core/sdk:3.1. Then copy the source code into the container image. Finally copy the entrypoint.sh file that executes the Docker container image.
| FROM mcr.microsoft.com/dotnet/core/sdk:3.1 AS build | |
| WORKDIR /app | |
| COPY *.sln . | |
| COPY src/ ./src/ | |
| ADD entrypoint.sh /entrypoint.sh | |
| RUN chmod +x /entrypoint.sh | |
| ENTRYPOINT ["/entrypoint.sh"] |
entrypoint.sh – Container Runner
We copied the entrypoint.sh file into Dockerfile. How does it look like? In the Dockerfile, there is nothing but copying the source code. Therefore, the entrypoint.sh should build the app and run it with the arguments passed. Here's the code:
| #!/bin/sh -l | |
| cd /app | |
| dotnet restore | |
| dotnet build | |
| dotnet run --project src/GitHubActions.Teams.ConsoleApp -- \ | |
| --input-parameter "$INPUT_PARAMETER" |
Now, we've got the basic structure of a Custom Action. Let's have a test!
Build Private Workflow
If I want to know whether my Action works OK or not, I should create a workflow and run it. Create a workflow, .github/workflows/main.yaml like:
| name: Build and Test GitHub actions | |
| on: push | |
| jobs: | |
| build_and_test: | |
| name: Build and test the GitHub Action | |
| runs-on: ubuntu-latest | |
| steps: | |
| - name: Checkout the repository | |
| uses: actions/checkout@v1 | |
| - name: Run the private action | |
| uses: ./ | |
| with: | |
| input_parameter: <Input parameter value> |
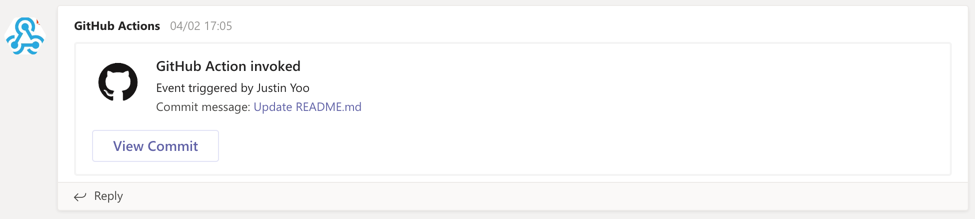
Once running the workflow, I'll have a message on my Microsoft Teams channel.
README.md – Usage Instruction
If you want to open your custom action, everyone should be able to know how to use it. Write a README.md file so that potential users can understand how to use your Action. It should at least contain the followings:
- A detailed description of what the Action does.
- Required input and output arguments.
- Optional input and output arguments.
- Secrets the Action uses.
- Environment variables the Action uses.
- An example of how to use your Action in a workflow.
Once you publish yours to marketplace, you'll be able to see like this:
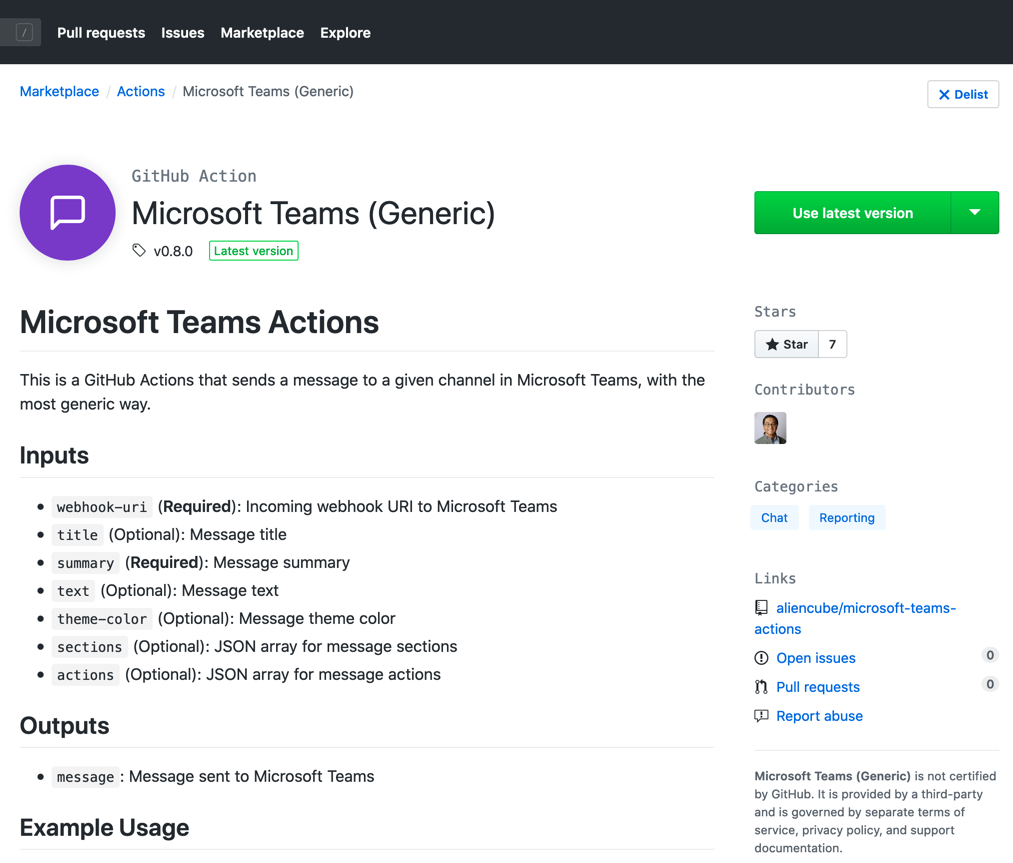
And here's the actual link of the Custom Action:
So far, we've walked through how to build a custom action with a real-world scenario. If you have your use case, why not creating a one? It's your turn now.