- Adding React UI Components to Blazor Web Assembly App
- Adding React UI Components to Blazor Web Assembly App by node.js
- Hosting Blazor Web Assembly App on Azure Static Web App
There were literally a lot of services and technologies announced at Build 2020. Blazor Web Assembly was one of them, which I believe it may put a significant impact on the front-end development experiences. For those who are not familiar with the term, Web Assembly, it's technology to run binaries on web browsers, which is written in high-level languages such as C#, C, Java, Go, and so forth. Blazor uses this technology to run .NET .dll files on web browsers directly. If you want to know more about Blazor Web Assembly, I would recommend watching this video at Build.
Like any other web front-end frameworks, as Blazor Web Assembly has completeness by itself, it might be tricky to mix with other frameworks. However, we can do a workaround if we're using a component-based web framework. Throughout this post, I'm going to show how to integrate React-based Fluent UI components with a Blazor Web Assembly web application.
The sample code used in this post can be found at https://github.com/devkimchi/Blazor-React-Sample.
Creating Blazor Web Assembly Application
Unlike Blazor Server, we MUST have the latest version of .NET Core SDK (3.1.4 or later) to develop the Blazor Web Assembly app. Once installed, follow the Blazor Getting Started page and create a simple application.
| dotnet new blazorwasm -n BlazorJsSample |
We use
blazorwasminstead ofblazorserveras we're building a web assembly application which is purely running on the client-side.
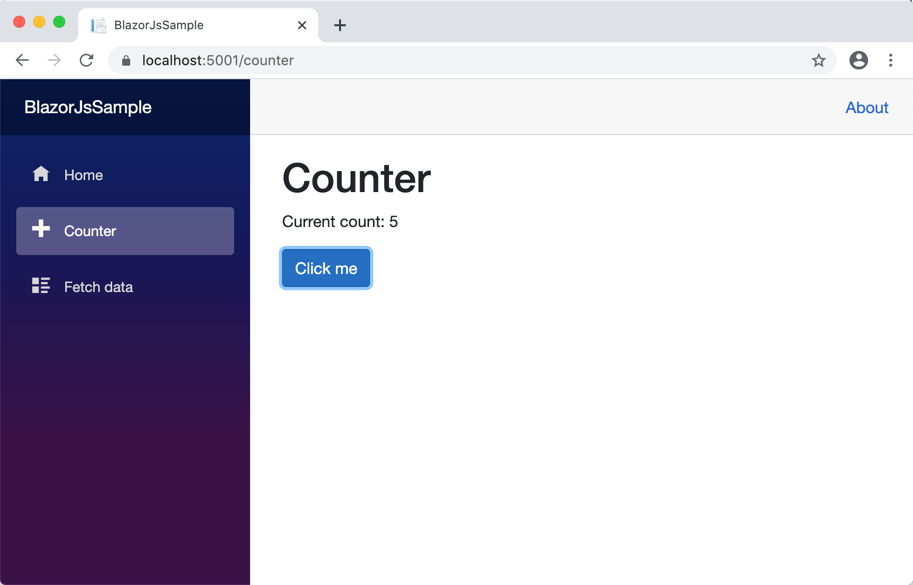
When you run the app, using the dotnet run command, you will see the page like below. Navigate to the Counter page and click the Click me button to confirm the counter is increasing.
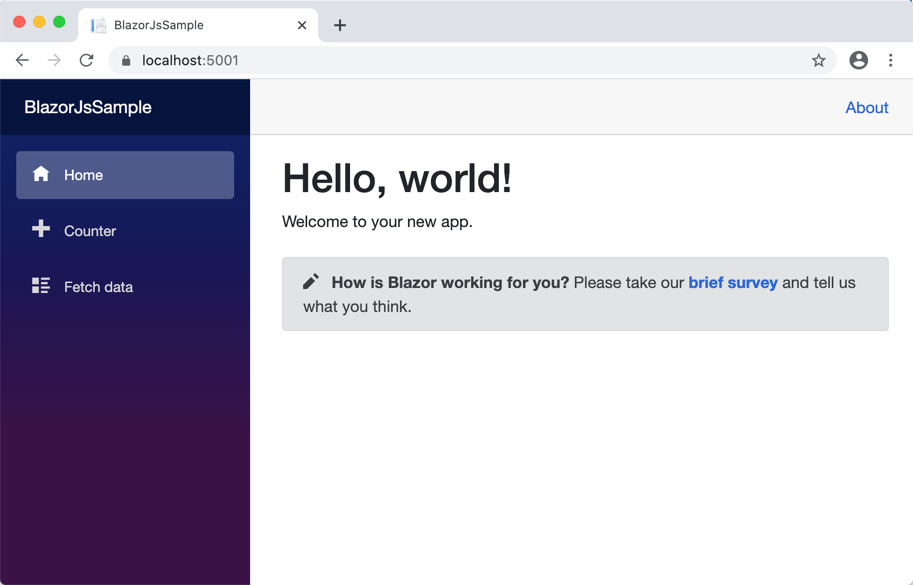
What we just did is the same process as documented on the Blazor Getting Started page.
Adding React UI Component
Fluent UI is a UI framework applied to all Microsoft 365 applications. Fluent UI uses React, and it's really easy to integrate into web applications or web-based widgets. Here in this post, we're using the Progress Indicator control so that the control shows progress when we click the Click me button. As there's a CodePen example on the document page, we simply use that.
This exercise initially came from the YouTube video by Hassan Habib, which uses Blazor Server. I converted it for Blazor Web Assembly application.
Open the index.html file and add the React related JavaScript references.
| <script crossorigin src="//unpkg.com/react@16/umd/react.production.min.js"></script> | |
| <script crossorigin src="//unpkg.com/react-dom@16/umd/react-dom.production.min.js"></script> | |
| <script crossorigin src="//unpkg.com/office-ui-fabric-react@7/dist/office-ui-fabric-react.js"></script> |
Web Assembly has the concept of JS interoperability so that Blazor Web Assembly can call JavaScript functions from C# codes and vice versa. Write a JavaScript snippet like below. When Blazor calls the RenderProgressBar function with the parameter of count, the function creates the ProgressIndicator component and render it to the reactProgressBar area.
NOTE All JavaScript functions called by Blazor should be global-scoped under the
windowobject.
| <script> | |
| window.RenderProgressBar = (count) => { | |
| const Progress = () => React.createElement( | |
| Fabric.ProgressIndicator, | |
| { | |
| 'label': 'React Counter', | |
| 'description': count, | |
| 'percentComplete': (count % 10) * 0.1 | |
| }, | |
| null | |
| ); | |
| ReactDOM.render(Progress(), document.getElementById('reactProgressBar')); | |
| } | |
| </script> |
All JavaScript part is done. Now let's modify the Counter.razor page. In the page, we should call the JavaScript function declared above. In order to call a JavaScript method, IJSRuntime instance is required. Within a .razor page, it can be injected by the @inject directive (line #2). Then change the IncrementCount() method to be async (line #15) that calls the InvokeVoidAsync() method. The InvokeVoidAsync() method calls the RenderProgressBar function (line #19). Finally, put a div placeholder with the ID of reactProgressBar so that the React UI component is rendered (line #10).
| @page "/counter" | |
| @inject IJSRuntime Jsr | |
| <h1>Counter</h1> | |
| <p>Current count: @currentCount</p> | |
| <button class="btn btn-primary" @onclick="IncrementCount">Click me</button> | |
| <div id="reactProgressBar"></div> | |
| @code { | |
| private int currentCount = 0; | |
| private async void IncrementCount() | |
| { | |
| currentCount++; | |
| await Jsr.InvokeVoidAsync("RenderProgressBar", currentCount); | |
| } | |
| } |
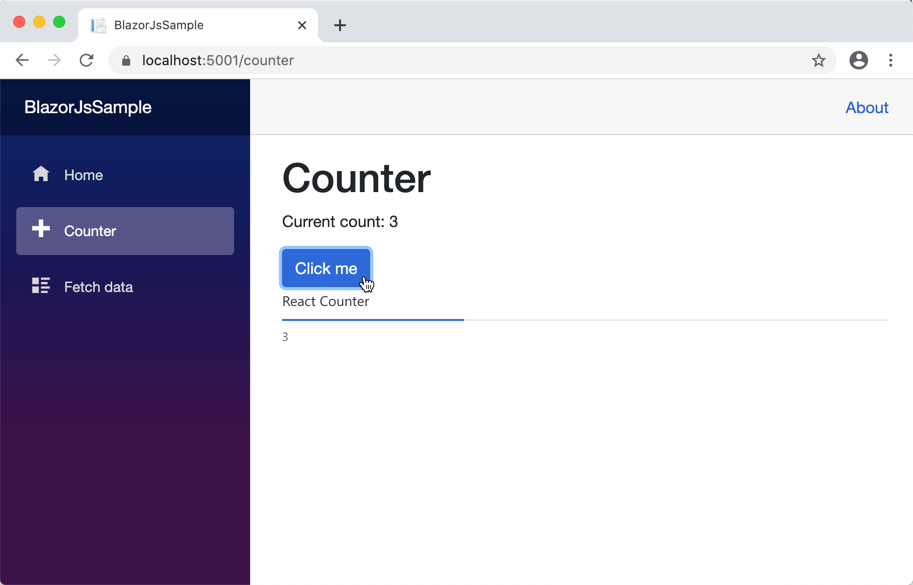
Let's rerun the application and punch the Click me button. You'll be able to see the Progress Indicator component right below the button.
So far, we have walked through the way to add React UI components into the Blazor Web Assembly application. There are a few caveats that this post hasn't covered, though:
- It always renders the component every time the counter value changes. As Blazor has the state management feature, it may be worth considering. But make sure that it also increases the complexity of the app.
- We used CDN to import React libraries. We can also consider the npm packages, which will be covered in the next post.