- Adding React UI Components to Blazor Web Assembly App
- Adding React UI Components to Blazor Web Assembly App by node.js
- Hosting Blazor Web Assembly App on Azure Static Web App
In my previous post, I showed how to integrate Blazor Web Assembly app with React-based Fluent UI components, using CDN. While it's one approach for front-end web development, many others use node.js and npm packages as an alternative approach. In this post, I'm going to use this way.
The sample code used in this post can be fount at https://github.com/devkimchi/Blazor-React-Sample.
Creating Blazor Web Assembly Application
Unlike Blazor Server, we MUST have the latest version of .NET Core SDK (3.1.4 or later) to develop the Blazor Web Assembly app. Once installed, follow the Blazor Getting Started page and create a simple application.
| dotnet new blazorwasm -n BlazorNpmSample |
We use
blazorwasminstead ofblazorserveras we're building a web assembly application which is purely running on the client-side.
When you run the app, using the dotnet run command, you will see the page like below. Navigate to the Counter page and click the Click me button to confirm the counter is increasing.
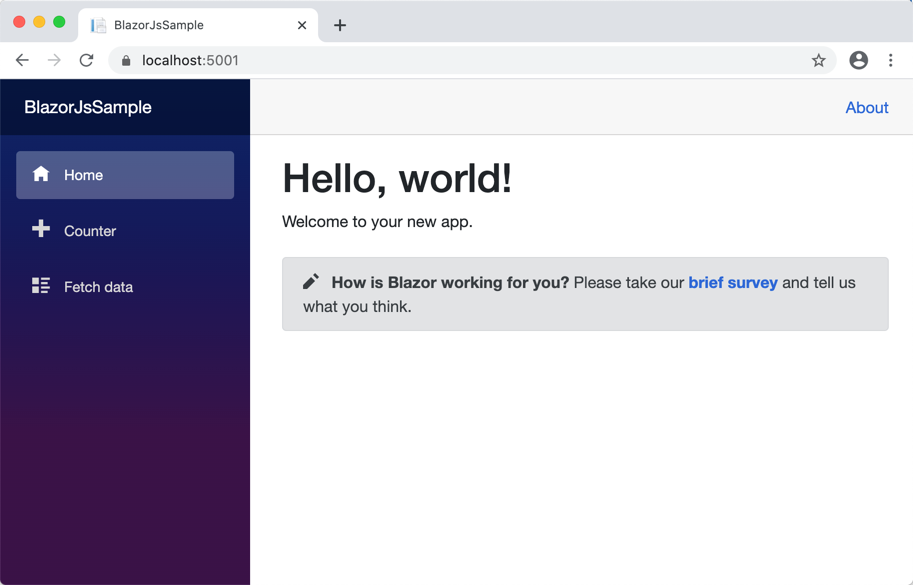
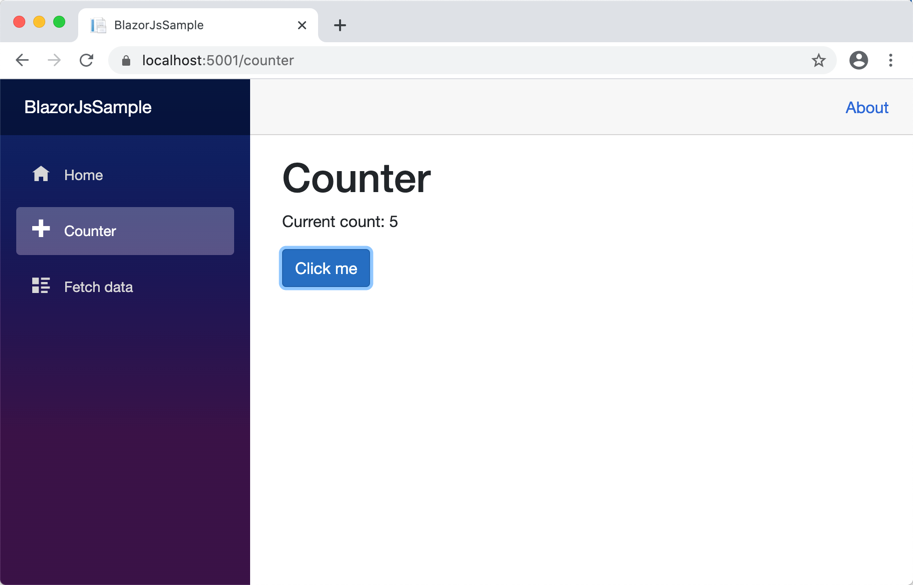
What we just did is the same process as documented on the Blazor Getting Started page.
Adding React UI Component
Kedren Villena has written an awesome post about this approach.
While my previous post uses CDN for JavaScript libraries and deals with the Fluent UI components, I'm using node.js and npm packages instead. Create the JsLibraries directory at the root of the Blazor app project. Then run the following command to initialise an npm package.
| npm init |
Once the basic scaffolding is done, enter the following command to install React-related packages.
| npm install @fluentui/react react react-dom --save |
Then, install the following packages for development, not for distribution.
| npm install @babel/core babel-loader webpack webpack-cli --save-dev |
NOTE If you are using Mac OS and get
node-gyperror while installingwebpackorwebpack-cli, this is a known issue. Follow the instruction from this page to fix it.
Create the src directory and add both index.js and progressbar.js files. The progressbar.js file contains the component logic, and index.js exposes those components to Blazor Web Assembly app. Enter the following code to the progressbar.js file.
| import * as React from 'react'; | |
| import ReactDOM from 'react-dom'; | |
| import { ProgressIndicator } from '@fluentui/react/lib/ProgressIndicator'; | |
| export function renderProgressBar(count) { | |
| const Progress = () => React.createElement( | |
| ProgressIndicator, | |
| { | |
| 'label': 'React Counter', | |
| 'description': count, | |
| 'percentComplete': (count % 10) * 0.1 | |
| }, | |
| null | |
| ); | |
| ReactDOM.render(Progress(), document.getElementById('reactProgressBar')); | |
| } |
Let's compare to the following code from the previous post. You can find out how the code above is changed from the code below. First of all, React libraries are imported (line #1-3), then export the renderProgressBar function (line #5). You can also notice that the exported function has yet not been directly added to the window object, which will discuss later in this post.
| <script> | |
| window.RenderProgressBar = (count) => { | |
| const Progress = () => React.createElement( | |
| Fabric.ProgressIndicator, | |
| { | |
| 'label': 'React Counter', | |
| 'description': count, | |
| 'percentComplete': (count % 10) * 0.1 | |
| }, | |
| null | |
| ); | |
| ReactDOM.render(Progress(), document.getElementById('reactProgressBar')); | |
| } | |
| </script> |
The index.js wraps the exported function (line #3). I interpret that how the index.js file works looks like an IoC container that declares dependency for Blazor app to use. I like this idea.
| import { renderProgressBar } from './progressbar'; | |
| export function RenderProgressBar(count) { | |
| return renderProgressBar(count); | |
| } |
I've created both index.js and progressbar.js files so far. As I installed webpack, I'll use it to compile all the JavaScript files that I created. Let's create webpack.config.js. I also use babel-loader to load babel that translates modern JavaScript syntax to web browser-compatible ones (line #10). All .js and .jsx files are included for that translation (line #7). After the bundling, the compiled output is copied to the wwwroot/js directory of the Blazor Web Assembly app, as bundle.js (line #16-17). It's interesting to see both library and libraryTarget options (line #18-19). As we all know, the Blazor Web Assembly app refers the JavaScript modules under the window object and, instead of being individual modules, webpack compiles all the modules under FluentUiComponents, which works like a namespace.
| const path = require("path"); | |
| module.exports = { | |
| module: { | |
| rules: [ | |
| { | |
| test: /\.(js|jsx)$/, | |
| exclude: /node_modules/, | |
| use: { | |
| loader: "babel-loader" | |
| } | |
| } | |
| ] | |
| }, | |
| output: { | |
| path: path.resolve(__dirname, '../wwwroot/js'), | |
| filename: "bundle.js", | |
| library: "FluentUiComponents", | |
| libraryTarget: "window" | |
| } | |
| }; |
Open package.json and update the following (line #4). After that, we can build the progress bar through this command, npm run build.
| { | |
| ... | |
| "scripts": { | |
| "build": "webpack --mode production" | |
| }, | |
| ... | |
| } |
Once completed, update two parts at the Blazor app side. Open index.html and add js/bundle.js reference (line #2).
| <script src="_framework/blazor.webassembly.js"></script> | |
| <script src="js/bundle.js"></script> |
Then, Counter.razor calls the JavaScript function like below. Unlike the previous post merely calling the function, RenderProgressBar, this time it calls the function like FluentUiComponents.RenderProgressBar because webpack has bundled the package in that way (line #4).
| private async void IncrementCount() | |
| { | |
| ... | |
| await Jsr.InvokeVoidAsync("FluentUiComponents.RenderProgressBar", currentCount); | |
| } |
Building npm Packages within Blazor Project Together
If we want to run this app, we should build both Blazor app and npm package separately. But there's another way to build both together, by modifying the .csproj file. Open the .csproj file. Add JsLibraryRoot and DefaultItemExcludes elements to PropertyGroup to exclude node_modules (line #7-8). Then, to make sure whether the node_modules is properly excluded, add ItemGroup, Content and None elements (line #18-22). Finally, to run the npm commands, add Target that runs npm install and npm run build (line #24-28).
| <Project Sdk="Microsoft.NET.Sdk.Web"> | |
| <PropertyGroup> | |
| <TargetFramework>netstandard2.1</TargetFramework> | |
| <RazorLangVersion>3.0</RazorLangVersion> | |
| <JsLibraryRoot>JsLibraries\</JsLibraryRoot> | |
| <DefaultItemExcludes>$(DefaultItemExcludes);$(JsLibraryRoot)node_modules\**</DefaultItemExcludes> | |
| </PropertyGroup> | |
| <ItemGroup> | |
| <PackageReference Include="Microsoft.AspNetCore.Components.WebAssembly" Version="3.2.0" /> | |
| <PackageReference Include="Microsoft.AspNetCore.Components.WebAssembly.Build" Version="3.2.0" PrivateAssets="all" /> | |
| <PackageReference Include="Microsoft.AspNetCore.Components.WebAssembly.DevServer" Version="3.2.0" PrivateAssets="all" /> | |
| <PackageReference Include="System.Net.Http.Json" Version="3.2.0" /> | |
| </ItemGroup> | |
| <ItemGroup> | |
| <Content Remove="$(JsLibraryRoot)**" /> | |
| <None Remove="$(JsLibraryRoot)**" /> | |
| <None Include="$(JsLibraryRoot)**" Exclude="$(JsLibraryRoot)node_modules\**" /> | |
| </ItemGroup> | |
| <Target Name="PublishRunWebpack" AfterTargets="Build"> | |
| <!-- As part of publishing, ensure the JS resources are freshly built in production mode --> | |
| <Exec WorkingDirectory="$(JsLibraryRoot)" Command="npm install" /> | |
| <Exec WorkingDirectory="$(JsLibraryRoot)" Command="npm run build" /> | |
| </Target> | |
| </Project> |
Now, let's run the dotnet build . command. It will build both Blazor and npm package at the same time. Run the Blazor app and click the Click me button. We'll see the progress bar as expected.

So far, we've built a Blazor Web Assembly app with React UI components, using npm packages. Let's deploy and run this Blazor app on Azure Static Web App instance in the next post.