This is the first post of the series to let teachers and lecturers build an online students' check-in app, using Power Apps, Azure Functions, and Azure Face API.
- Capturing Face Images from Browser to Azure Blob Storage via Azure Functions
- Identifying Students' Face with Azure Functions and Azure Face API
- Building Students' Check-in App with Power Apps, Azure Functions and Azure Face API
As the unprecedented COVID-19 pandemic situation has hit all around the world, schools have shut down, companies have closed the door. Therefore, all students and employees are accessing to their organisation's resources remotely, like online lectures or conference calls. There are funny jokes around this situation as well.
Let's focus on the school's circumstances. Checking students attendance is as vital as other measures. Imagine that a teacher runs an online class and she wants to check all students have attended her class at the beginning. Although there are thousands of ways to sort it out, I'm going to use Azure Face API to identify students in an app. In this post, I'm going to capture face images from a web browser and save it to Azure Blob Storage through Azure Functions.
The sample code used in this post can be downloaded from Azure Functions Face Recognition Sample.
Capturing Faces on Web Browser
Your modern web browsers support Media Capture API so that we can easily take photos using a web cam. This API uses the getUserMedia() function. Its usage can be found at the MDN document, but I'm taking a code snippet from the getUserMedia() tutorial at HTML5 Rocks. The complete source code is here.
This is the HTML part of the web page to access to the camera. We get the input from the webcam from the video tag (line #2), take a picture and manipulate the image data on the canvas tag (line #4), and send the image data to the img tag (line #3).
| <div id="screenshot"> | |
| <video autoplay></video> | |
| <img src=""> | |
| <canvas style="display:none;"></canvas> | |
| <div> | |
| <button class="capture-button">Capture video</button> | |
| <button id="screenshot-button">Take screenshot</button> | |
| </div> | |
| </div> |
Here's the JavaScript part of the web page. The captureVideoButton function enables the webcam access (line #13-18), and the screenshotButton function takes the photo and converts it to the embedded image data (line #20-26).
| <script> | |
| const constraints = { | |
| video: { width: 640, height: 480 } | |
| }; | |
| const captureVideoButton = document.querySelector('#screenshot .capture-button'); | |
| const screenshotButton = document.querySelector('#screenshot-button'); | |
| const img = document.querySelector('#screenshot img'); | |
| const video = document.querySelector('#screenshot video'); | |
| const canvas = document.createElement('canvas'); | |
| captureVideoButton.onclick = function () { | |
| navigator.mediaDevices | |
| .getUserMedia(constraints) | |
| .then(handleSuccess) | |
| .catch(handleError); | |
| }; | |
| screenshotButton.onclick = video.onclick = function () { | |
| canvas.width = video.videoWidth; | |
| canvas.height = video.videoHeight; | |
| canvas.getContext('2d').drawImage(video, 0, 0); | |
| img.src = canvas.toDataURL('image/png'); | |
| }; | |
| function handleSuccess(stream) { | |
| screenshotButton.disabled = false; | |
| video.srcObject = stream; | |
| } | |
| function handleError(error) { | |
| console.error('Error: ', error); | |
| } | |
| </script> |
The following part is a very simple jQuery code that sends the embedded image data to the Azure Functions endpoint (line #5-9).
| <script> | |
| (function ($) { | |
| $(document).ready(function() { | |
| $("#screenshot img").on("load", function() { | |
| $.ajax({ | |
| type: "POST", | |
| url: "/api/faces/register", | |
| data: $(this).attr("src") | |
| }); | |
| }); | |
| }); | |
| })(jQuery); | |
| </script> |
The HTML page above is ready to be rendered. Where should it be? As Azure Functions also can render a static HTML page, let's use it now. Here's the function code. There are two notable parts. ILogger instance is removed from the method parameters. Instead, the ExecutionContext instance comes in. The ILogger instance has been moved to the constructor by this dependency injection feature. The ExecutionContext instance was added to trace the execution path of the function instance (line #8). In fact, this ExecutionContext instance allows the function endpoint to read the static HTML file, which is rendered through the ContentResult instance (line #10-15). Don't forget the content type of text/html to render the HTML web page. The whole function endpoint code is here.
| [FunctionName("RenderPageHttpTrigger")] | |
| public async Task<IActionResult> Run( | |
| [HttpTrigger(AuthorizationLevel.Function, "get", Route = "pages/capture")] HttpRequest req, | |
| ExecutionContext context) | |
| { | |
| this._logger.LogInformation("C# HTTP trigger function processed a request."); | |
| var filepath = $"{context.FunctionAppDirectory}/photo-capture.html"; | |
| var file = await File.ReadAllTextAsync(filepath, Encoding.UTF8).ConfigureAwait(false); | |
| var result = new ContentResult() | |
| { | |
| Content = file, | |
| StatusCode = 200, | |
| ContentType = "text/html" | |
| }; | |
| return result; | |
| } |
Once you complete by this far, you can start running the function app on your local machine. The rendered web page might look like:
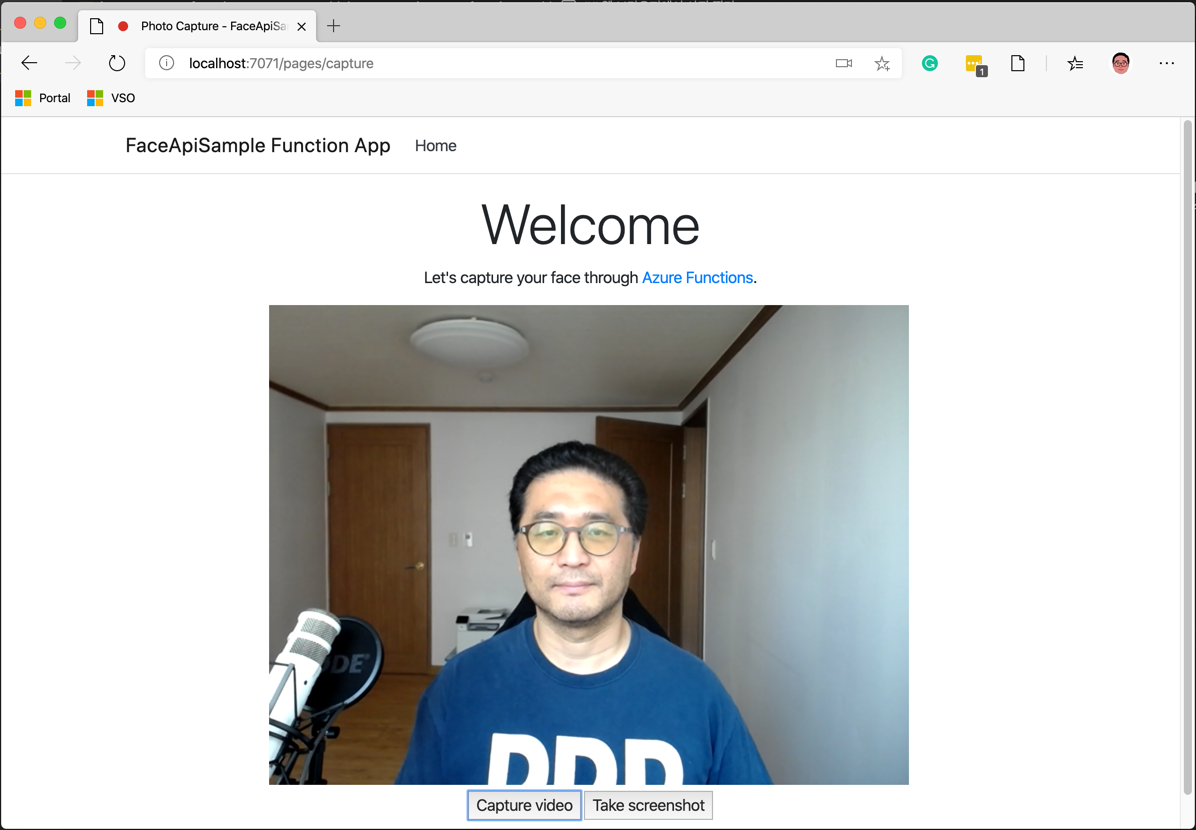
All done! Let's take a picture and store it to Azure Blob Storage.
Uploading Embedded Image to Azure Blob Storage
The img tag in the web page has the src attribute value like:
| data:image/png;base64,iVBORw0KGgoAAAANSUhEUgAAAoAAAAHgCAYAAAA10dzkAAAgAElEQVR4Xry9iZfmV3keeKuqq7qru9UtJI... |
It's base 64 encoded string, which is the embedded image data. This value has been carried to the Azure Functions, and the function should convert the encoded image data to binary for Azure Blob Storage. Please note that the embedded image data contains the header value at the beginning, like data:image/png;base64, followed by the base 64 encoded image. Therefore, to handle the binary data, the header MUST be removed. It's a simple string manipulation process.
First of all, read all the data from the web page (line #10), use the Split() method to extract the header value from the payload. The , delimiter divides the payload into two parts (line #13), and the : and ; delimiters extract the content type (line #14).
| [FunctionName("PhotoCaptureHttpTrigger")] | |
| public async Task<IActionResult> Run( | |
| [HttpTrigger(AuthorizationLevel.Function, "post", Route = "api/faces/register")] HttpRequest req) | |
| { | |
| ... | |
| var body = default(string); | |
| using (var reader = new StreamReader(req.Body)) | |
| { | |
| body = await reader.ReadToEndAsync().ConfigureAwait(false); | |
| } | |
| var segments = body.Split(new[] { "," }, StringSplitOptions.RemoveEmptyEntries); | |
| var contentType = segments[0].Split(new[] { ":", ";" }, StringSplitOptions.RemoveEmptyEntries)[1]; | |
| var encoded = segments[1]; | |
| ... | |
| } |
Then, the base 64 encoded string is converted to a byte array, which is uploaded to Azure Blob Storage through the UploadByteArrayAsync() method (line #9). The code below is not the whole for brevity but shows the basic workflow. The full codes can be found at here.
| var bytes = Convert.FromBase64String(encoded); | |
| var client = new CloudBlobClient(); | |
| var container = client.GetContainerReference("faces"); | |
| await container.CreateIfNotExistsAsync().ConfigureAwait(false); | |
| var blob = await container.GetBlockBlobReference("filename.png") | |
| .SetContentType("image/png") | |
| .UploadByteArrayAsync(bytes, 0, bytes.Length) | |
| .ConfigureAwait(false); |
By this far, you can take your face on a web browser and save it to Azure Blob Storage at once.
So far, as the first step of the blog series, we take a photo on a web browser and save it to Azure Blob Storage through Azure Functions. The stored images will be used to identify whether my picture is actually me or not. Let's run the face recognition based on the stored faces in the [next post][pose series 2].